DIY Baby Costume – “Where the Wild Things Are” Wolf Suit

wolfsuit

I know what you’re thinking “enough already with this WTWTA birthday party, I’m so sick of hearing about it I’m about to go burn the book!” lol, almost done, I promise! When I was drafting a post about Baby P’s adorable birthday invite I realized that I just had to share the pictures from my little backyard photo shoot when taking a picture to use for the invite. I was inspired when I found an invitation on Pinterest of a little boy dressed up as the character of “Max” in the most adorable wolf suit and just knew that I had to recreate it for P! The first step was to create a wolf suit. I knew that these were available for purchase but with my already meager party budget I had no business even entertaining the idea of buying a costume, especially to use for only one picture and especially because Pottery Barn Kids was selling them to the tune of $70.00 – say whaaaaat??!!! Anyhow, I figured that since it was just for the invitation it only had to look convincing enough for the recipients to get it when read along with the text so I knew that creating my own wouldn’t pose too much of a challenge, all I needed was a white sweatshirt, pants and a tail of some sort. Surprisingly these items were easy to come by and I say surprisingly because who on Earth would sell a white sweatshirt and pants for tiny humans that are always dirty? Maybe they’re meant to be worn ironically or something, haha anyway, I digress, back to creating the wolf suit. I found the sweatshirt and sweatpants on Amazon because I didn’t have time to run to every second hand store searching for these particular items in his size but if you do by all means find them at a thrift store or ask to borrow them from friends as you wont be altering them in any way. Please read on to see where I found the rest of my embellishments for the costume and of course to see the finished product – the picture of my squishy Baby P wearing it!

pinvite

I chose this particular photo to use for the invitation, if you’re interested in seeing how I made it myself check out this post and to find out how you can easily make other greeting cards and invitations without Photoshop, check out this post!

WOLF SUIT

1 pair of white sweatpants

  • 1 white hooded sweatshirt
  • 3 cardboard circles (to make the buttons)
  • 3 medium sized safety pins and 1 large safety pin
  • 1 small piece of faux fur fabric (less than 1/8 of a yard is fine)
  • 1 crown (I fashioned mine out of a left over box and yellow felt fabric but a gold plastic crown would be easy to come by, even a Burger King crown would work! haha)

To assemble the costume all I did was draw a black “X” on each one of the cardboard circles then used the three smaller safety pins to secure them to front of the sweatshirt right beside the zipper. I also cut a small tail out of the faux fur fabric and used the large safety pin to secure it to the inner back of the pants. That’s it! Clearly this is nothing fancy but the outcome was absolutely adorable and it served the purpose I needed. If you are planning to use this as a Halloween costume or want it to be worn for party you can jazz it up a little more with real buttons and by attaching some brown felt or fur feet to the top of their shoes.

Here are just a few of the pictures of P in his wolf suit!

IMG_0019 IMG_0022 IMG_0042

IMG_0037 IMG_0038  IMG_0031 IMG_0047

DIY Oversized Valentine’s Day Sign – A $9 Project!

xoxosign2

After posting about my DIY Valentine’s Day Wreath I felt super proud to have gotten a post up that actually preceded the holiday for which I created it, haha. So in keeping with that rhythm I’d like to share one more Valentine’s Day DIY project that I had made mention of in my wreath post – my DIY oversized Valentine’s Day “XOXO” sign, perfect to lean on your front porch and cause your neighbors to do a double take when driving by :). This project was actually inspired by DIY Oversized Holiday Sign that I displayed throughout the holidays (I will do a separate post about that soon along with the rest of my DIY Christmas décor). As I was reluctantly stripping my stoop of all of it’s holiday awesomeness I realized that since my “NOEL” sign was so easy to create (less than $9!) I could just create a similar one for Valentine’s Day! Before I get to the tutorial I am going to admit a serious “mom-brain” moment and let you know that you can actually make two of these signs for the price of one by simply making your sign reversible, something I myself didn’t realize until my friend commented on my picture and said “I would love to have one of those with something for Christmas on one side and Valentine’s Day on the other” – DUH, Natasha! So had my brain actually been functioning on the day I created this I would have simply turned my “NOEL” sign over and painted the “XOXO” on the back. However, no harm done as I can just do my St. Patty’s day sign on the back of my Valentine’s Day one, that’s right, I love this project so much that I’m pretty sure I’ll be making one for each and every holiday! Hope this inspires you to create a simple project that makes a BIG statement :).

val2

For my throwback-Thursday I’ll share this adorable Valentine’s Day picture of my little Baby P, at the time just four months old, my how time flies! Click on this picture for the link to my post about all of my little DIY Holiday Photos, if you love squishy babies you’re in for a treat! 🙂


SUPPLIES

  • 1 4ft X 1 ft board – the cheap “white board” stuff is fine, that’s how I got away with this being a $9 project, since these boards already come in this size there is no need to have it cut (although if you’d like it smaller go ahead and have them cut it down to size for you right there in the store). I purchased my board at Lowes for $8.97 less my military discount. Try to pick a piece that doesn’t have any large cracks as some of them do.
  • latex paint – any color you wish! For the background of my board I used “March Breeze” (aka white lol) and for the letters I used “Front Door Red” and “Dusty Garnet” all by Valspar. These colors I already had on hand since I tend to collect those little sample sized paints available at Lowes, please check out this post to read more about those.
  • black foam brushes
  • electric sander or sanding blocks – for distressing, if you do not plan to distress and your board is in pretty good shape you could probably do without these.
  • painter’s tape (preferably wide)
  • x-acto knife
  • printer
  • Minwax Finishing Paste – any topcoat will do, I used this paste wax because I already had it on hand and it doesn’t require extensive dry time. I used “special dark” to give the sign a more vintage/rustic look.

INSTRUCTIONS

Step 1: Begin by sanding down your board lightly just to soften up any rough or little jagged areas. Next paint your board whatever background color you have chosen. Since I was going for a distressed/white-washed look I only did one thin coat but you can do as many as you want. NOTE: Since my sign wasn’t reversible this time I did not bother to paint the back if you are planning to do a second holiday or saying on the back you can save time by painting the back now, once your front has dried.

Step 2: Next I distressed my board on the edges and a little along the front using my electric sander. This could also be done by hand using sanding blocks or regular sand paper.

Step 3: Using whatever word processor you have at your disposal, create your words. Sometimes I find it is easiest to get the biggest letters by Googling, for example, “letter X” and then copying and pasting the stock image onto your blank document, this way you can maximize your margins and adjust the picture of the letter to be as big as possible, whereas when simply typing the letter x you may not get it to be as big. Make sense? The hearts I just created using the “insert shape” function on your word toolbar, and inserting them right into the middle of the O. Once you are happy with the size of your letters just print out your document. NOTE: this probably goes without saying but if you’re anything like me your brain is occasionally scooped out and the obvious may be temporarily lost on you, but since “XOXO” contains two of each character you need only create one X and one O document and print each twice. This is great because you can be sure that they’re even!

Since I didn't take step-by-step photos of the "XOXO" board here is one from this step when creating my "NOEL" board at Christmas time.

Since I didn’t take step-by-step photos of the “XOXO” board here is one from this step when creating my “NOEL” board at Christmas time.

Step 4: Now cover your board with painter’s tape (this is where it helps to have the wide painter’s tape). Next, arrange your letters on your board, if you’re super OCD you can use a measuring tape or ruler (even a level if you’re super nutty) or you can just wing it and place the letters so that they look even to you and use a bit of tape to hold them in place. Then using your x-acto knife carefully (no craft-induced ER trips please lol) cut around your letters and hearts pressing firmly enough to cut through both the paper and tape, once you have finished (or as you go along, whatever works for you) peel off the letters and you will be left with a stencil of your letters and hearts (Os should be filled in with the exception of the heart portion). *For more on this method check out my post on my first DIY Hand-Painted Sign.

Step 5: Once your little makeshift stencil  is ready to go you can now paint! Using your foam brush apply an even coat of paint to each letter in the colors of your choosing. Allow about half an hour in between coats, juts enough for any wet areas to dry. Since your background is white you should not need more than 2-3 coats. NOTE: If you’re painting a light color over a dark background I would suggest hitting your letters with a coat of cover stain/bonding primer in either brush or spray form (see this link for a product recommendation) then applying your color on top, I will touch more on this when I post about my DIY Oversized Holiday Sign).

Step 6: Allow your piece to dry about 8 hours or overnight. Once it is dry peel off the rest of your painters tape to reveal your beautiful hand-painted letters! At this point you may want to give the letter a very light sanding just to remove any thick areas where the paint may have built up between the tape and the edge of the letters but if you’re happy with how it looks you can just move onto the final step – waxing your piece.

just before the waxing step!

just before the waxing step!

Step 7: Using a lint free cloth or rag apply a thin layer of your paste wax and allow to sit for the recommended amount of time (15 mins I think?) then return with a clean rag and buff your piece. If you are using a liquid or spray topcoat just follow the directions on the package and wait the appropriate amount of times between coats and be sure to allow enough dry-time before displaying your piece out doors. Personally I am partial to the wax (a) because I already had it on hand and (b) once you buff it, it is ready for display, no dry time!

Squishy baby photo-bombing my Valentine's Day stoop photo :)

Squishy baby photo-bombing my Valentine’s Day stoop photo 🙂

Like my wreath? Check out this post to find out how you can easily make one yourself!


DIY Valentine’s Day Wreath

vdaywreath1

Okay, so I know I’ve been skipping around a lot as far as my posts go and I’m doing my best to finish up those featuring Baby P’s First Birthday Bash so that I can finally share that with you. However,  in the meantime I want to share a cute little Valentine’s Day inspired wreath I whipped up last week because believe it or not, just because I don’t post my holiday décor in correct holiday order doesn’t mean that I am not actually decorating in a timely fashion, lol. This wreath is similar to my DIY Mini-Pennant Banner Wreath that I made last spring and is super easy to create! Since we were headed up to DC to visit friends for MLK weekend I wanted to go ahead and get my Valentine’s Day stoop all set up before we left and wanted to stick to what I knew when it came to my décor and keep it simple. Here is a quick little tutorial for my Valentine’s Day wreath just in time for Valentine’s Day, it’s so quick and easy that you’ll have plenty of time to enjoy it even though the 14th is just a few short weeks away 🙂

vdaywreath2

Valentine’s Day stoop with my sweet little frog photo-bombing! Like my GIANT “XOXO” sign? You can find the tutorial on how to make your own for $9 here!

SUPPLIES

  • 18″ Styrofoam wreath frame (available at local craft stores)
  • 2″ wide ribbon of your choice – I went with a red and beige chevron which I found at Hobby Lobby. This wreath required about 2 1/4 spools of ribbon but it may be more or less depending on the ribbon you choose.
  • 2-3″ wired burlap ribbon
  • twine
  • scrap fabric – the amount will depend on how many fabric roses you want on your wreath
  • glue gun & hot glue
  • small stencils
  • black acrylic paint
  • paint brush
  • scissors

INSTRUCTIONS

Step 1: Begin by wrapping your ribbon around your Styrofoam wreath, securing with little lines of hot glue along the way.

Step 2: Once your wreath is covered cut small pennants using your wired burlap ribbon. NOTE: you can also use regular burlap if you have that on hand, I have just found that the wired burlap holds up better to the elements for me as I do not have a storm door. Next, using your small stencils and acrylic paint, paint each letter of L-O-V-E individually onto each of your pieces and allow to dry.

Step 3: In the mean time, create your fabric flowers, for a detailed tutorial on these adorable flowers check out this post. Once you have the amount of flowers that you desire use hot glue to secure them to the bottom right quadrant of your wreath (or wherever you’d like, this is just how I placed them). NOTE: If you do not have the time or will to create your own flowers you can buy ready made fabric flowers from your local craft store but PLEASE try making them yourself, I promise it is super easy!

Step 4: Since your pennants should be dry by now, use hot glue to attach them carefully to your piece of twine then securing your mini pennant banner to the upper left area of your wreath by wrapping the ends of the twine around the body of the wreath then securing it with a tiny dot of hot glue on the back (or just knotting it in back).

Step 5: This is optional, but if you’re so inclined go ahead and fashion a bow out of any left over ribbon and attach it to the bottom center of your wreath using hot glue. Just adds a little extra somethin’ 🙂

THAT’S IT! There are so many ways to customize this by changing up the colors or saying. I look forward to coming back to this wreath for future holidays and simply changing up the theme!

A picture of our new doormat - just for funsies :)

A picture of our new doormat – just for funsies 🙂

DIY Favor Tags & Cupcake Toppers – Where the Wild Things Are

caketopper

So in wrapping up my posts on Baby P’s first birthday bash I figured I’d share one last cute little money saving party idea – DIY favor tags and cupcake toppers! My favor tags were as simple as using the same method I did to create P’s invitation and stapling it to a little baggy of cookies! Due to the wide age range of kids that were going to be in attendance I wasn’t sure what to do for favors but I knew I wanted to do something cost effective, so what’s more cost effective than sugar cookies? Plus I felt that giving something edible really lent itself to the “we’ll eat you up” part of the favor tag. While originally I had planned to make cookies in the shape of a “1” time ended up getting away from me and I just went with simple homemade (and by homemade I mean those ready-to-bake rolls of dough that you buy in Walmart, lol) sugar cookies with sprinkles. I was really happy with how they turned out and even happier that I was able to customize my favor tags to fit the party theme!

close-up of favor tag and cookie bag.

close-up of favor tag and cookie bag.

favors as we displayed them.

favors as we displayed them.

As for the cupcake toppers they were a last minute DIY idea for when I decided that I was going to forgo the idea of having a professional make the cupcakes and smash cake and make them myself. While I’ve gotten crafty with cupcake decorating in the past (check out my margarita and patriotic cupcakes!) I knew that since I needed about sixty cupcakes I didn’t want to commit to any type of elaborate design. In searching various online retailers I came across some pretty adorable cupcake toppers, even some that were already customized to my theme, but in an effort to save some addition money I decided to just create them myself by using Microsoft Word to create little circles with various WTWTA images inside (see my post on DIY Invites & Greeting Cards without Photoshop for more on making some simple designs without fancy computer programs). Once my little circles were printed all I had to do was cut them out and use a glue stick to glue them together around a standard toothpick. While the process was a little tedious it was a super easy and FREE way to jazz up my box cupcakes!

photo 2 (6)photo 5photo 4 (3)


TIP: Want an even easier option? Print the favor tags out on shipping labels and simply stick it to a little colored paper baggy. You can apply this same idea to your cupcake toppers by printing out the characters on circular labels and sticking them together around a toothpick so that you can skip the cutting step altogether.

If you’re interested in throwing your own budget-friendly “Where the Wild Things Are” party and would like to use my caketopper and favor tag designs please contact me and I would be happy to share the document with you free of charge!

DIY Invitations & Greeting Cards – Without Photoshop!

invite4

So while I’m on a roll with sharing my all of my posts related to Baby P’s birthday, I will share another little DIY trick that has come in super handy for me this past year – designing my own invitations and greeting cards! Now, I’ll start by saying one of my goals for the next year (or couple of years if I continue to be as computer illiterate as I currently am, haha) is to learn to use Photoshop to it’s full extent but for now my abilities are extremely limited. So when it came time to design an invitation for J’s surprise 30th (another post that I planned on getting up, oh, about six months ago and have still not gotten around to, lol) I had three choices: (a) become proficient in Photoshop in three days time, (b) purchase an over-priced invitation via Etsy or other online retailer or (c) make one myself using the tools I had at my disposal (spoiler alert: Microsoft Word and Staples print services, lol). Since choices a and b were off the table from the get-go, I remembered that I had very frequently used Microsoft Word to create marketing materials that we didn’t want to pay to outsource when I was working for a gym, so why couldn’t I just apply that same idea to my invitation? I figured I’d give it a try. So while a then six month-old Baby P (*sigh*) napped away in his baby swing, I quickly (and very easily, I might add) created J’s invitation. Once I had gotten the confirmation from others that it actually looked good (not just in my head, lol) I took it up to my local Staples print center and had them printed up on 5X7 high quality cardstock for the cost of about $7.00 for 15! For anyone that has ever purchased cards from Shutterfly, Wedding Paper Divas or another online card retailer, I don’t have to tell you that under forty cents a card is a steal!

Additionally, sometimes the freedom to customize the card to your liking and be able to run up and get extras at your convenience is savings enough. So after my success with J’s invitation I proceeded to use this same idea for a friend’s baby shower invitations, Baby P’s first birthday invites and even my 2014 Christmas card! While I’m sure there are lots of Photoshop tricks that would improve on my method drastically, if you don’t own Photoshop (or you’re like me and own it but are unsure of it’s mysterious ways, lol) this is a great method to creating some cute cards in a pinch, all you need to know are a few simple functions in Microsoft Word and then simply allow your local print store to do the rest!

NOTE: Use of Disney and other copywrited characters is legally allowed for personal use on your part (i.e. using them for your child’s birthday invitation), however, corporate print retailers like Staples will not print your cards for you if they contain these types of copywrite images as it is considered trademark infringement on their part because they would technically be profiting from your use of them. Dumb, I know, but it’s the law. I ran into this problem when creating Baby P’s invitations but was able to have my local postal annex print them for me. So before you

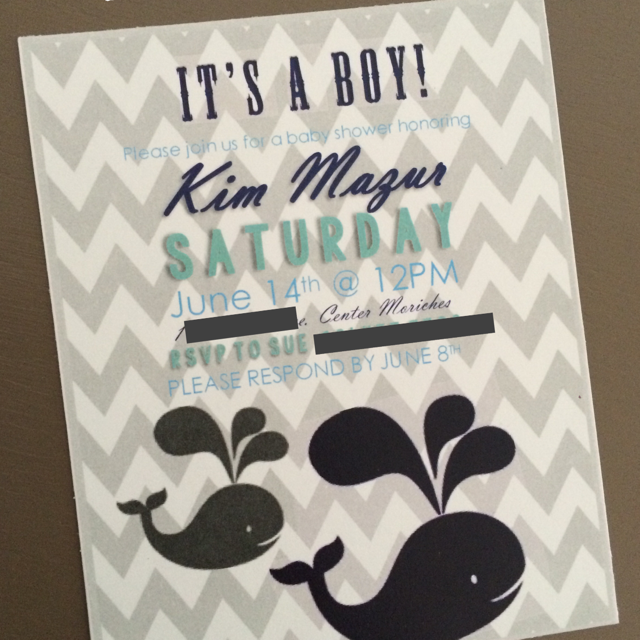
I will use my sweet friend K’s baby shower invite as an example, since it is an easy and trendy little design. This one came in at a cost of just about twenty cents per card since I did four to a page! Check out my post on the “Whale-of-a-Time” Diaper Cake I made for this shower as well. Obviously if you’re proficient in Photoshop this whole post is going to seem extremely silly to you, but if you’re not and are after a cute custom invite or card at a great price this is an easy alternative!

Step 1: Search various online print retailers (like Shutterfly or Tiny Prints) for design inspiration. The inspiration for this particular card actually came from Google when I was searching for whale themed baby shower invitations. Once you have found something you like, try to Google similar background images, for instance, for K’s baby shower invite I Googled “grey chevron background” and for J’s surprise 30th invite I Googled “chalkboard background”, when I found an image that I liked I saved it to my desktop so that it was easily accessible. I also did Google searches for the whale silhouette and saved them to my desktop as well.

this was my inspiration, I found it by way of a Google search for "whale baby shower invitation"

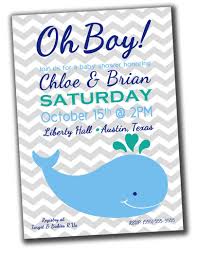
this was my inspiration, I found it by way of a Google search for “whale baby shower invitation”

Step 2: Now I was ready to download a few new fonts. For all of my projects I use http://www.dafont.com to find lots of good free fonts which are simple to download. Once you have downloaded your desired font you can easily add them to your font library by using an online or YouTube tutorial for your specific version of Windows or Mac.

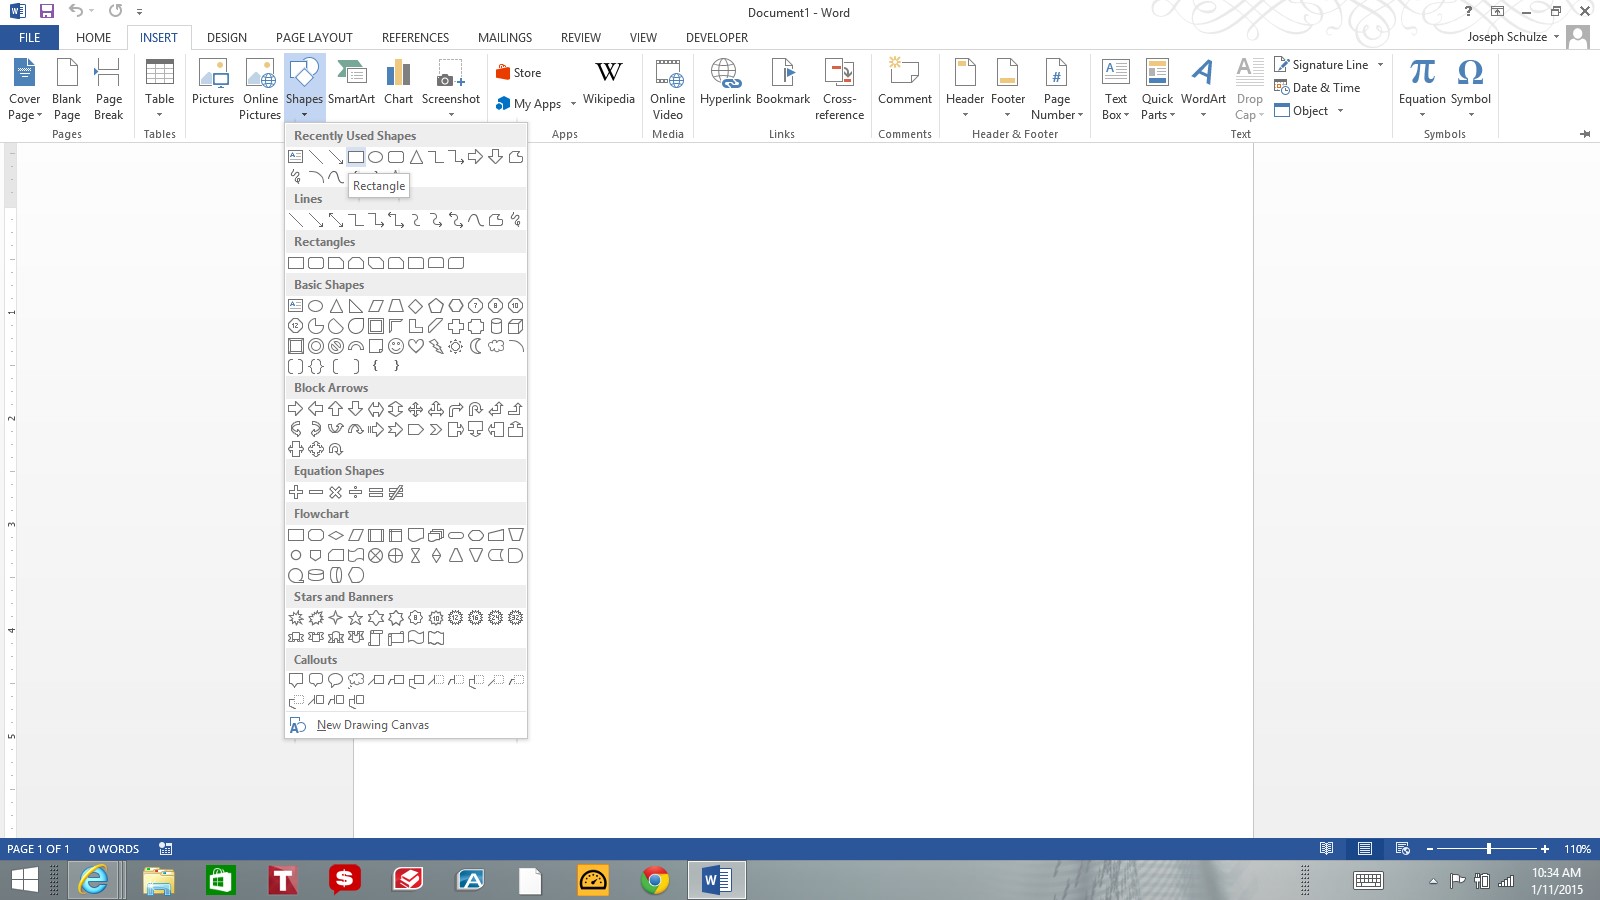
Step 3: To create the actual invite I began by opening Word and inserting an object in your desired shape. NOTE: For cutting purposes a square or rectangle works best, but if you are set on a circle just be prepared to have to cut them each individually. The size of your shape does not matter, just make it large enough for you to work with, the print store will be able to print them to whatever size you want once they receive it. Select: INSERT>SHAPES>RECTANGLE

kinvite1

this is how the dropdown menu appears on Word 2013

Step 4: I then changed the background of the shape to my chevron print that I had saved earlier by selecting: FORMAT>SHAPE FILL>PICTURE and then selecting the chevron background. Then I used the same method to change the outline of the shape to none, however, if you would like a border on your invite simply select FORMAT>SHAPE OUTLINE and then select the weight and color of your shape outline.

kinvite2

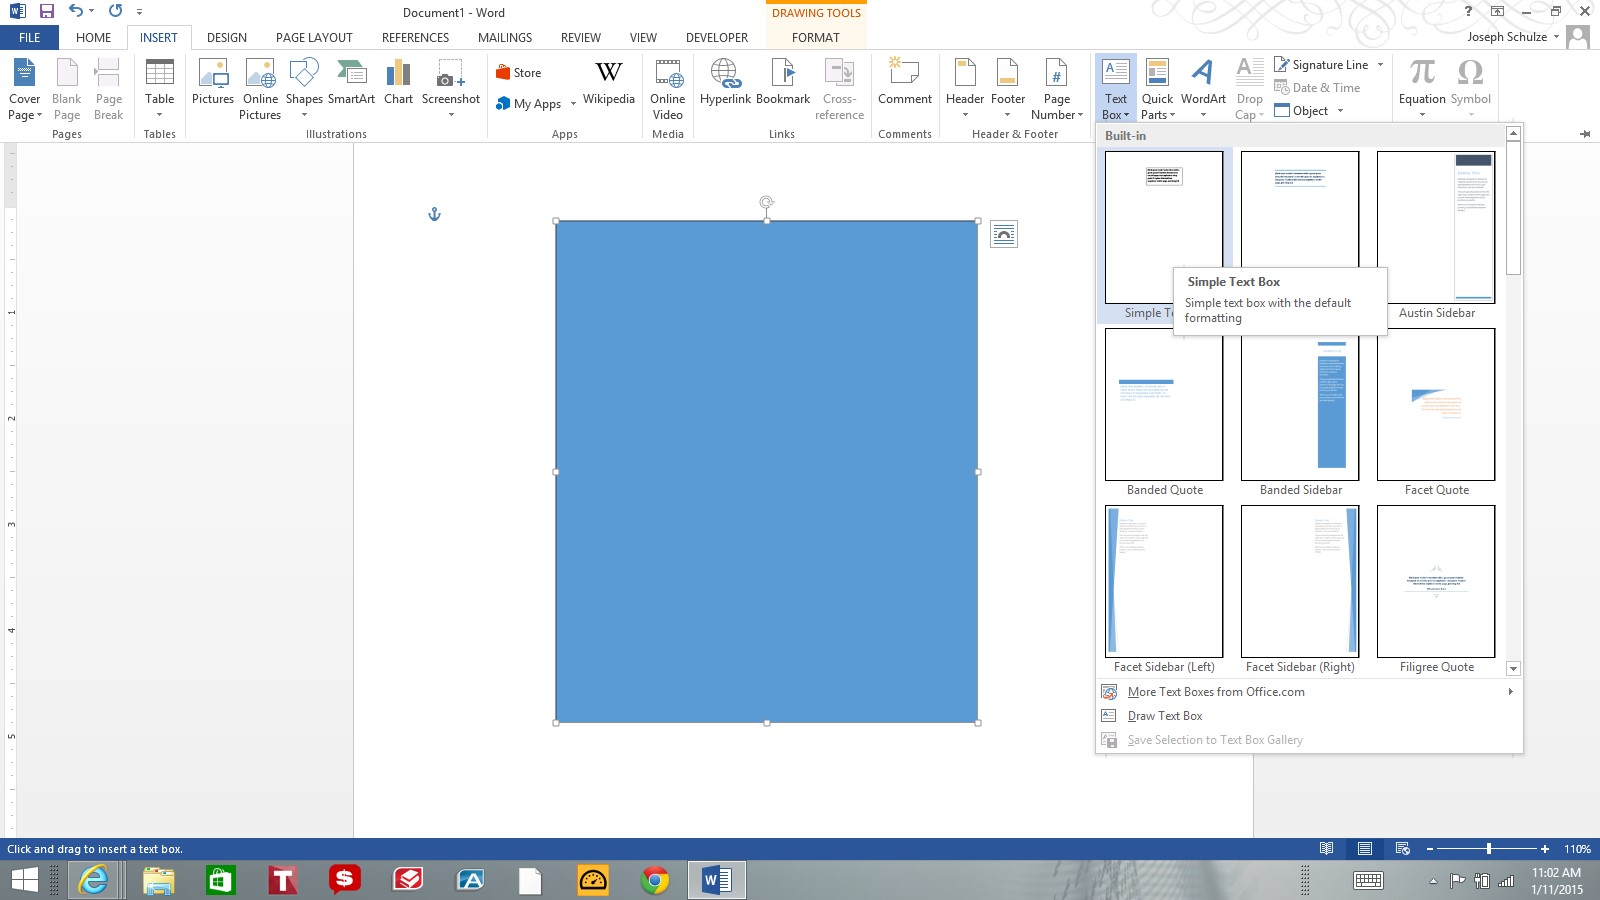
Step 5: Now I added my text. This part I played around with a bit to figure out which fonts looked best together (NOTE: It usually works best to interchange script and solid fonts, fi you need more help with this there are lots of “text matching/combining” pins on Pinterest that are very helpful). When I found the ones that worked for me I added each line of text in a separate text box by selecting the following: INSERT>TEXT BOX>SIMPLE TEXT BOX. Next, I edited my text boxes so that they were transparent and had no outline, this way I was able to move different groupings of text as close or far from each other as I wanted. I did this by going to the “text format” dropdown at the top of my toolbar (pictured below) and selecting: FORMAT>SHAPE FILL>NONE and then FORMAT>SHAPE OUTLINE>NONE. The last thing I did to format my text box was to set the “text wrap” option of the text box to “tight”, as I find this to be the easiest setting for manipulating the placement of the box later on, I adjusted the text wrap option by selecting: FORMAT>WRAP TEXT>TIGHT. Now you can enter text in your text box as you wish! I know it seems like a pain to go through these steps for each individual text box SO, good news is – you don’t have to! Once you have customized one text box you can simply copy and paste that same text box as many times as needed and simply change the text within the box. Once I had created my first line of text I copied the text box and pasted it seven times, then once I had changed each text box to contain my desired text I simply manipulated them into my desired positioning.

kinvite3

Inserting the text box.

kinvite4

changing the background and outline of textbox

kinvite5

changing the text wrap option.


Step 6: My final step was to insert the clipart images of the whales onto my invite. This is important for creating transparency of an object, in other words, editing a clipart object that would otherwise have a colored background to be a plain object against the background of your invite or card. I found these cute little whale images via Google and originally they were just black (in a minute I will explain how I changed them to blue and grey). I pasted the image onto my document, changed the text wrap to “tight” (same method as above) and then set transparency using one of two methods, depending on how detailed your image is, since this one was easy I did the following: FORMAT>REMOVE BACKGROUND (I simply clicked the areas that I wanted to keep, the body of the whale and the water drops and then hit “keep changes”. If your image is too detailed to select each individual detail (like Baby P’s invite) you can simply select: FORMAT>COLOR>SET TRANSPERANCY and then click the background of your image to remove the background, sometimes this can cause your picture to look a bit fuzzy on the edges but depending on the background of your invite or card it probably won’t be noticeable at all. Lastly I changed the colors of my whales by selecting FORMAT>COLOR and choosing from one of the options given (see picture below).

setting transparency and changing color of image

setting transparency and changing color of image


That’s it! I know it sounds like a lot of steps but this invite took me about 3/4 of a naptime to create (not very long!) and once you’ve done it once it’s pretty easy to repeat for different designs.

Printing: I saved mine as a PDF file and emailed it to my local Staples print center, letting them know that I wanted to print 4 to a page on cardstock. NOTE: If you want Staples to cut your invites for you they will charge you $2.00 per cut, which doesn’t sound like very much but if you’re doing 4 to a page that makes 8 cuts and will add $16.00 to your print cost, I suggest just using their rotary cutter for free. It’s a little tedious but again, it doesn’t take very long and it looks great so my advice would be to skip the professional cutting and do it yourself.

I will eventually get around to individual posts about each of my greeting cards/invites but for now these are a few I have done

invite

J’s Surprise 30th invite – the theme was “whiskey & cigars”


invite2

Invite for K’s whale themed baby shower

Baby P's "Where the Wild Things Are" 1st Birthday party invite.

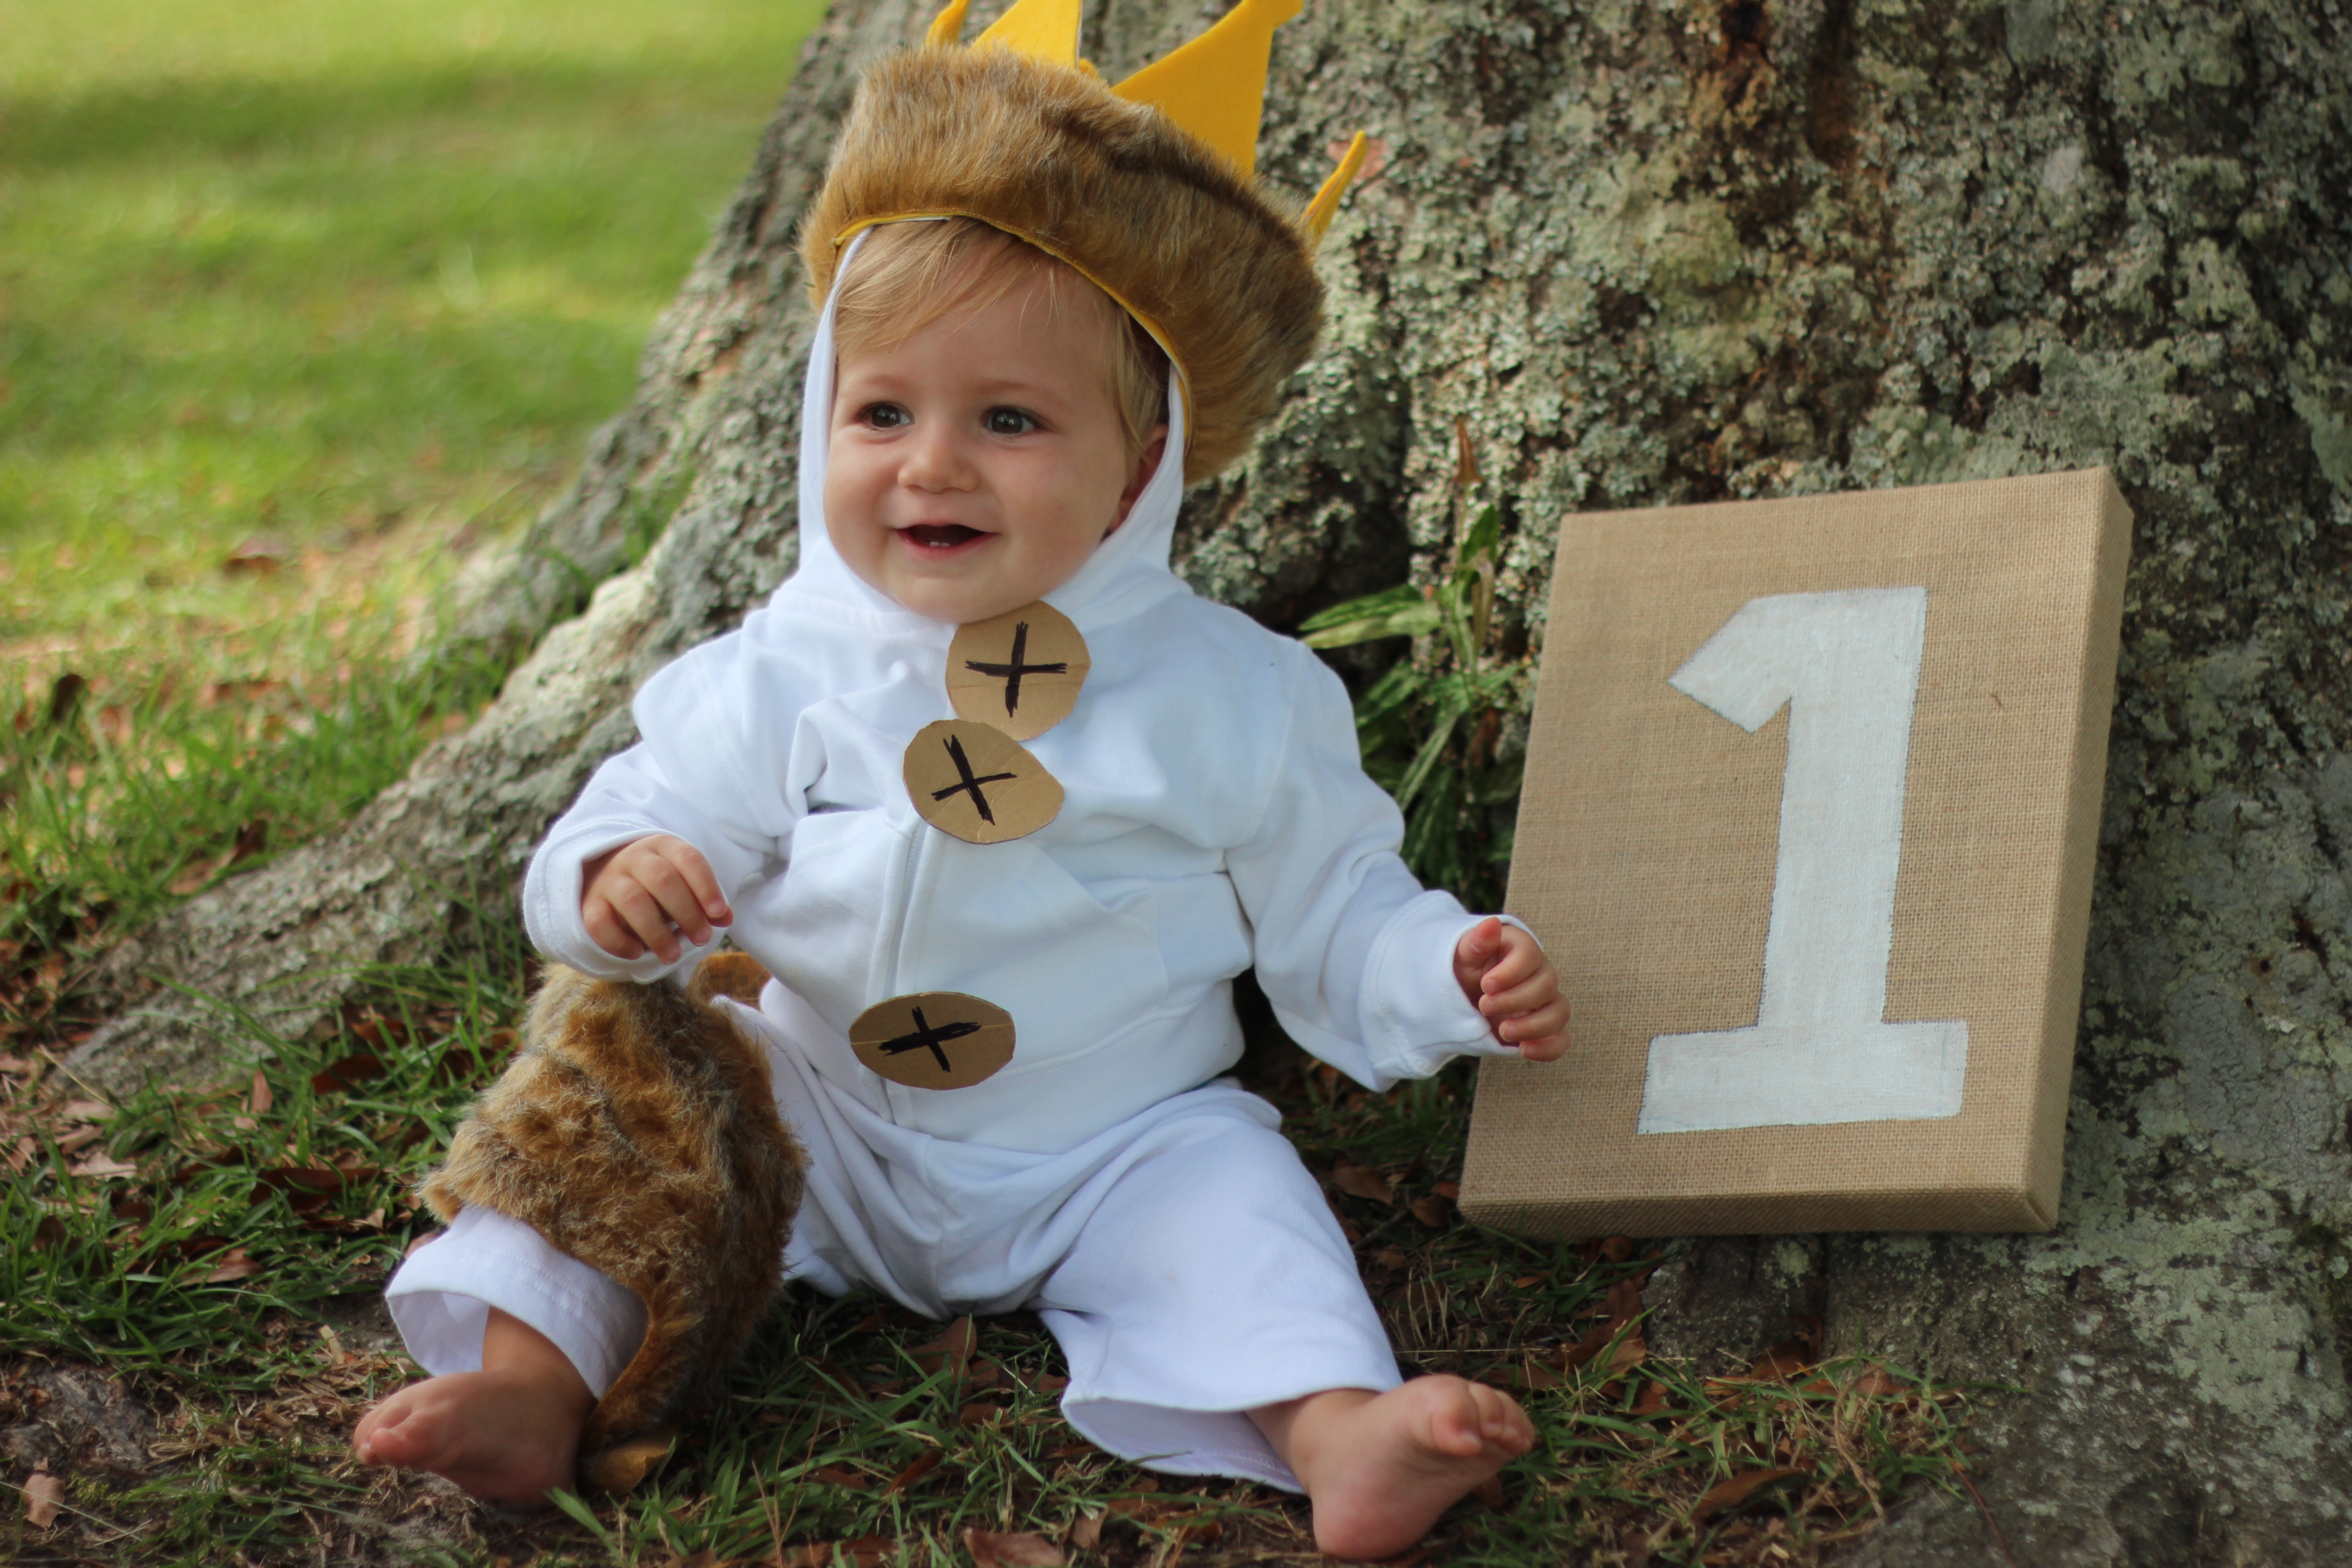
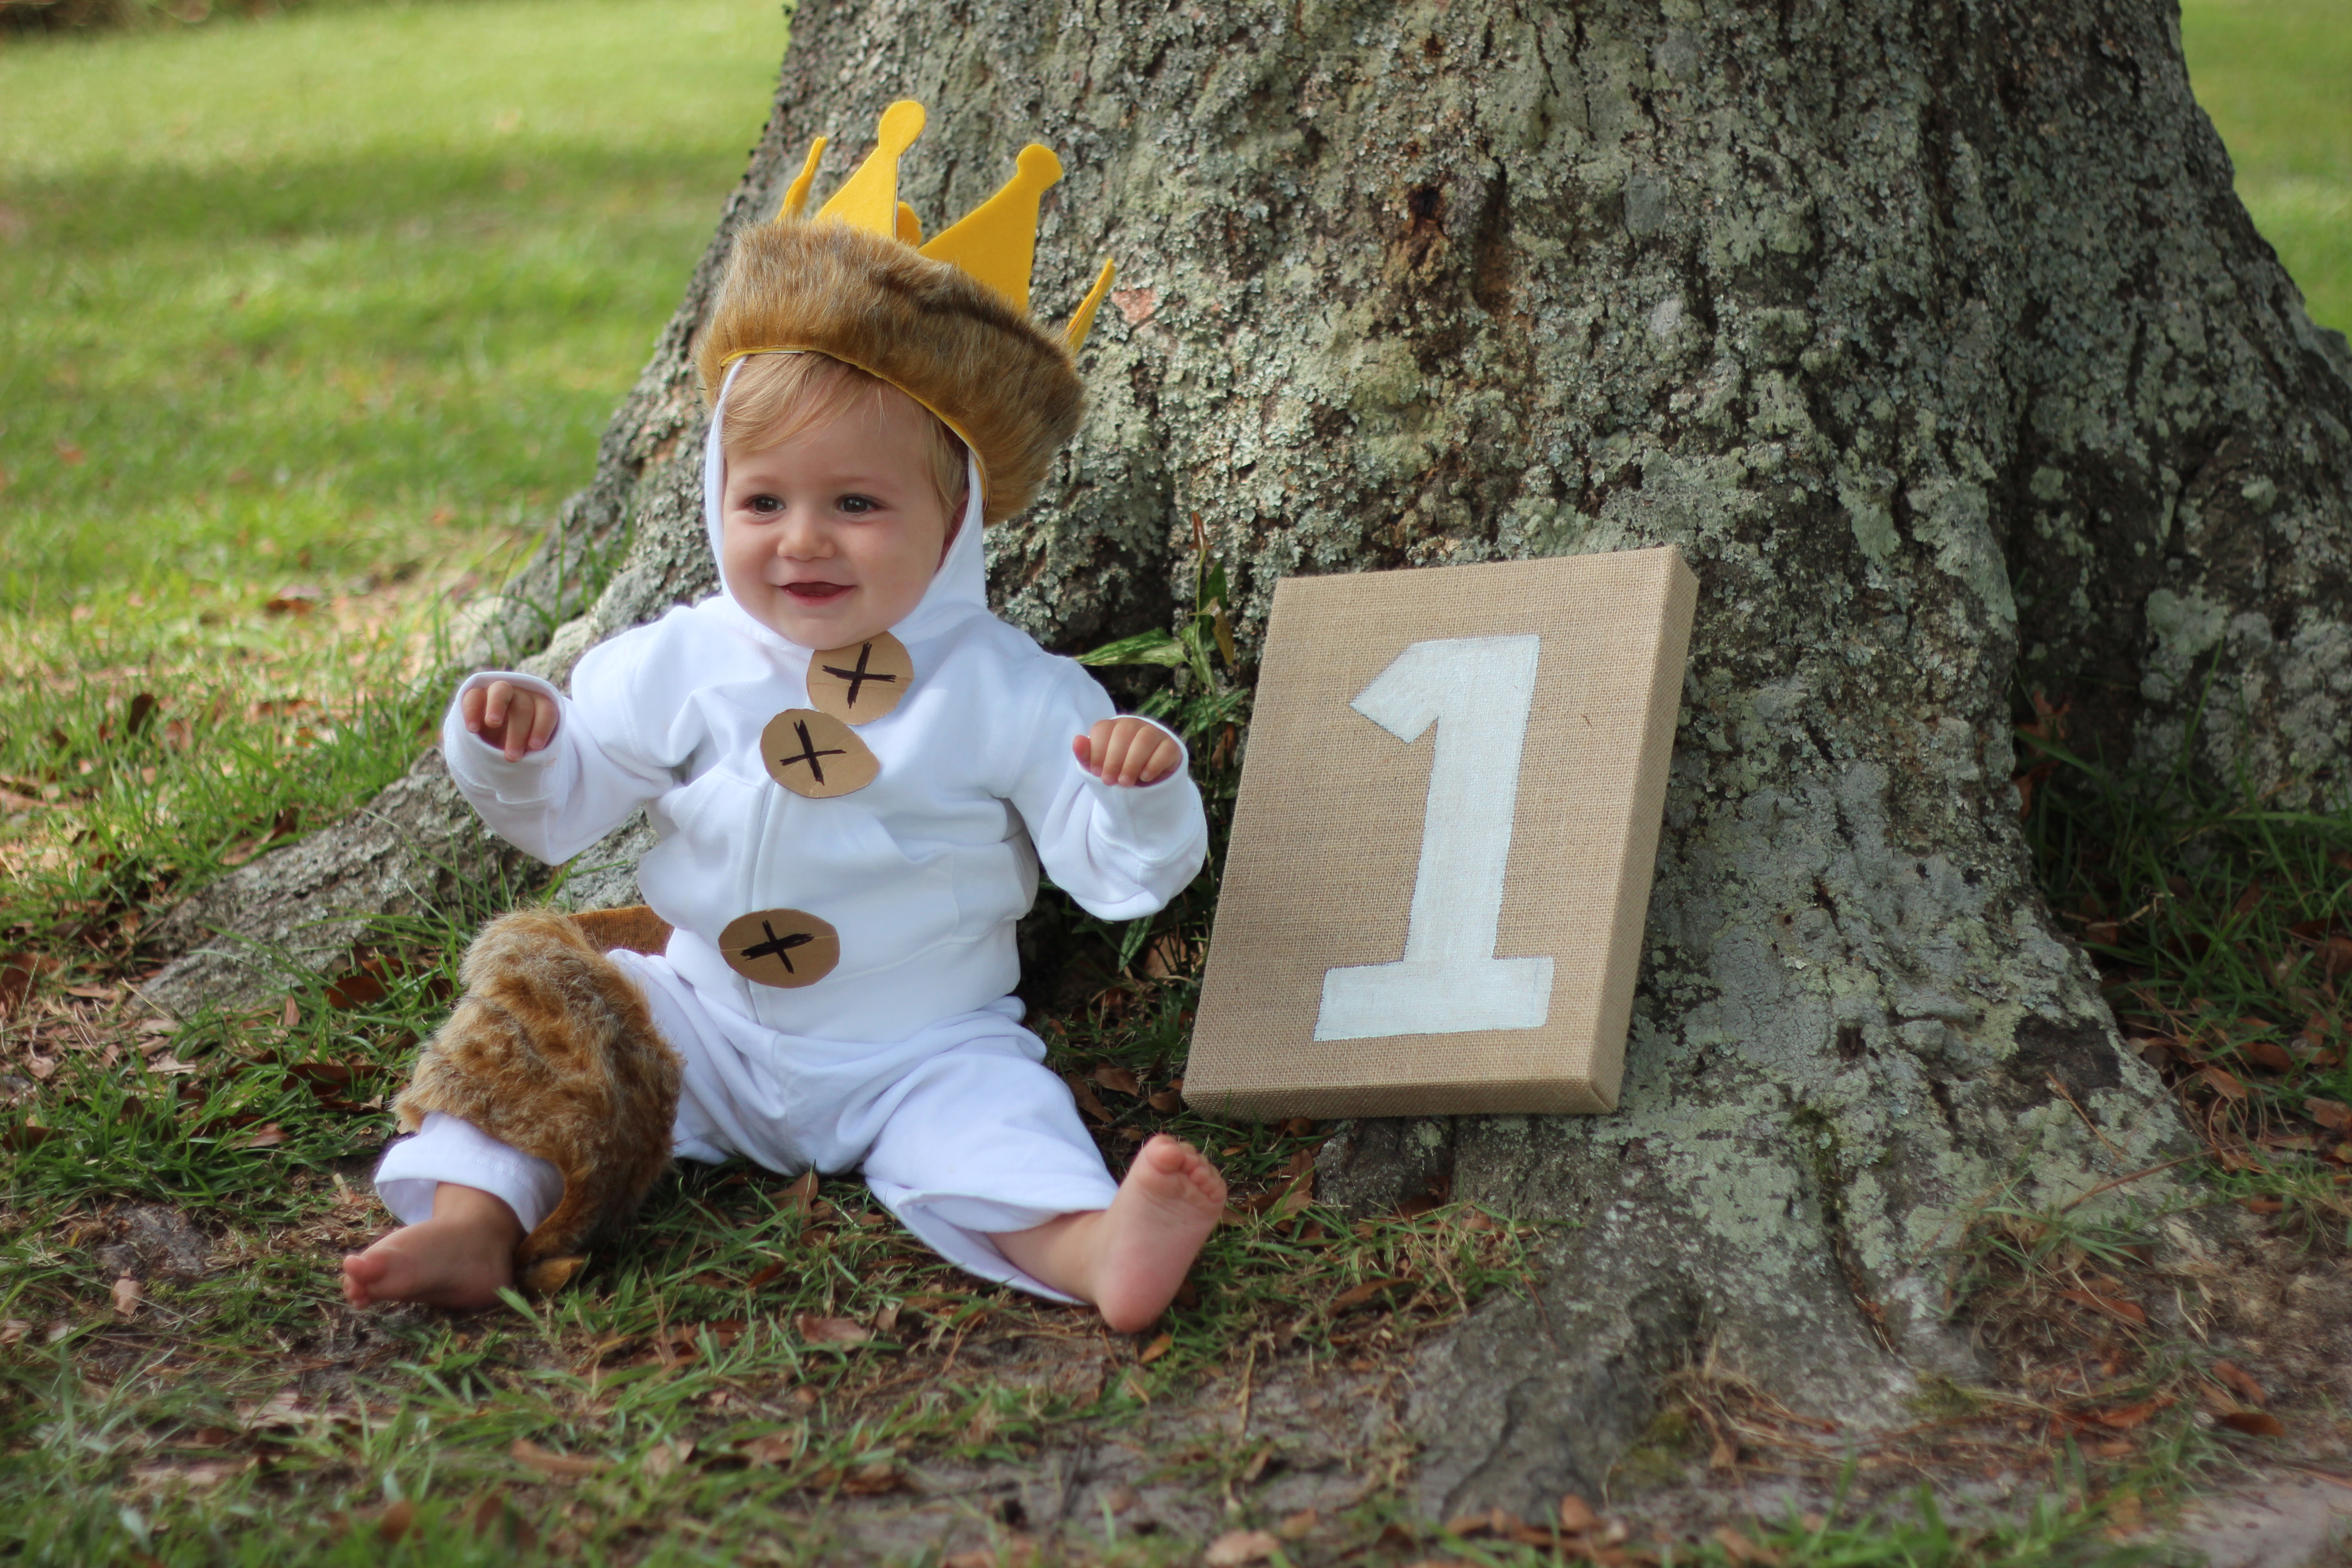
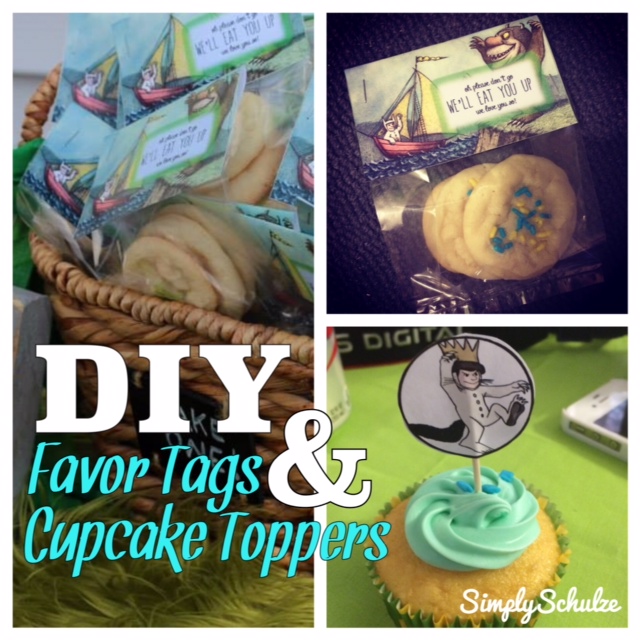
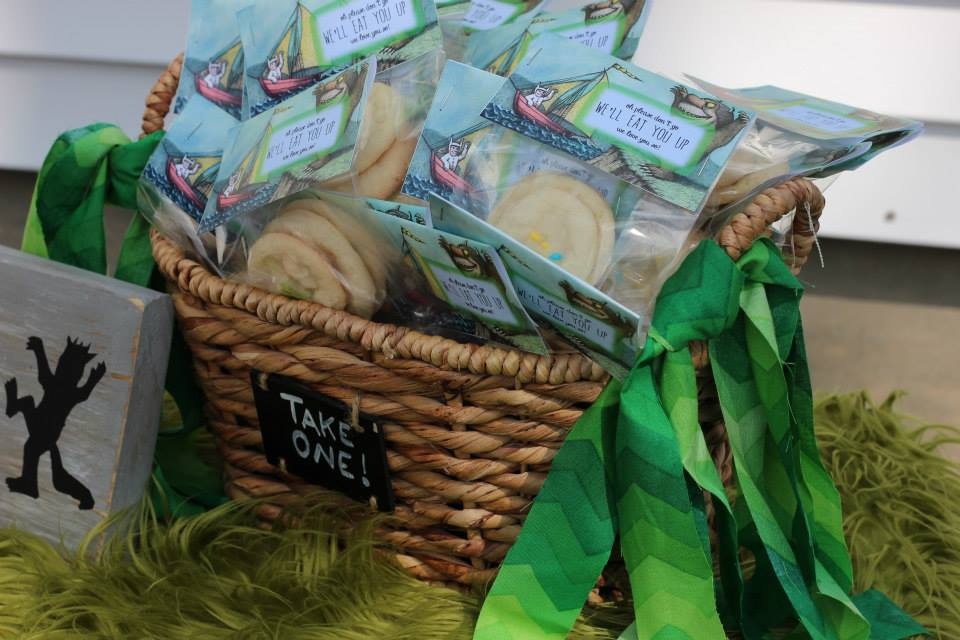
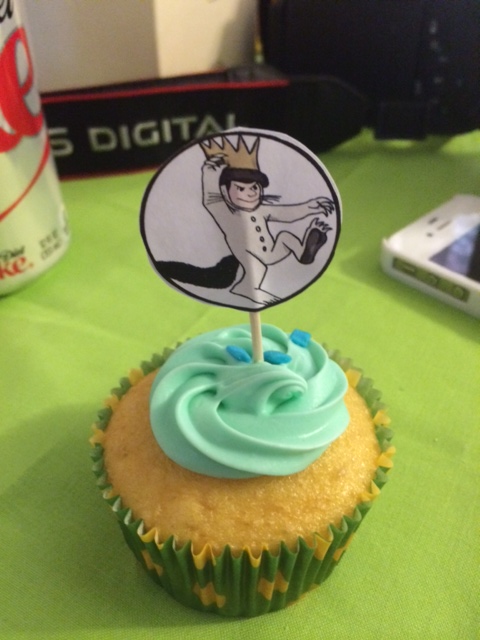
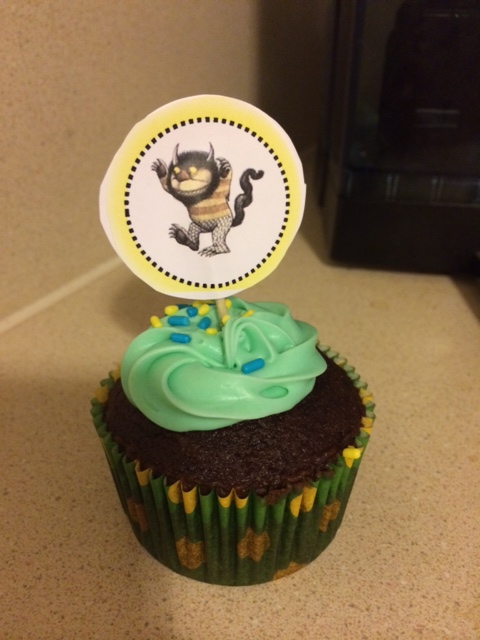
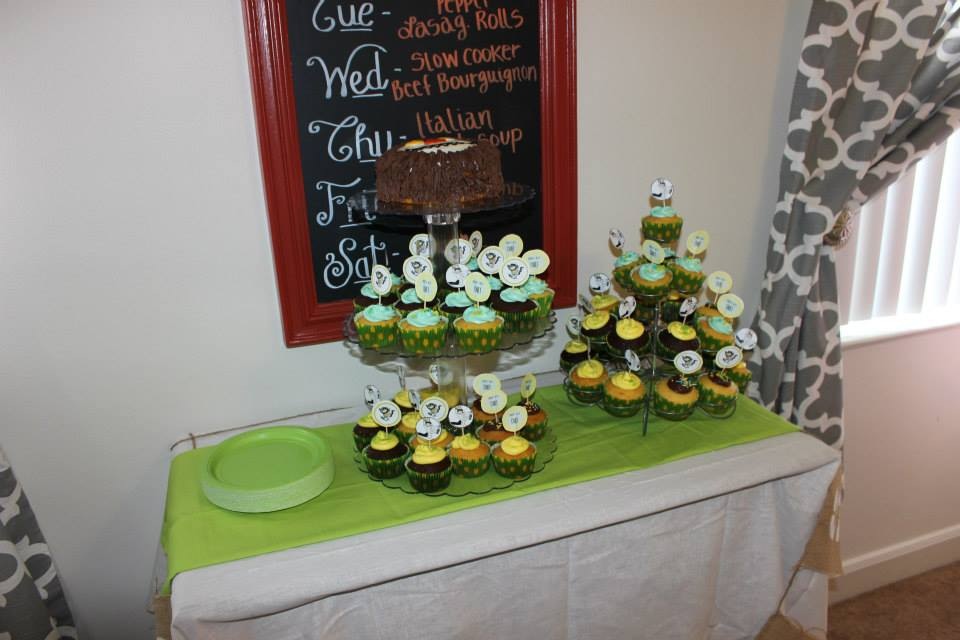
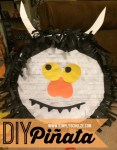
Baby P’s “Where the Wild Things Are” 1st Birthday party invite.

invite3

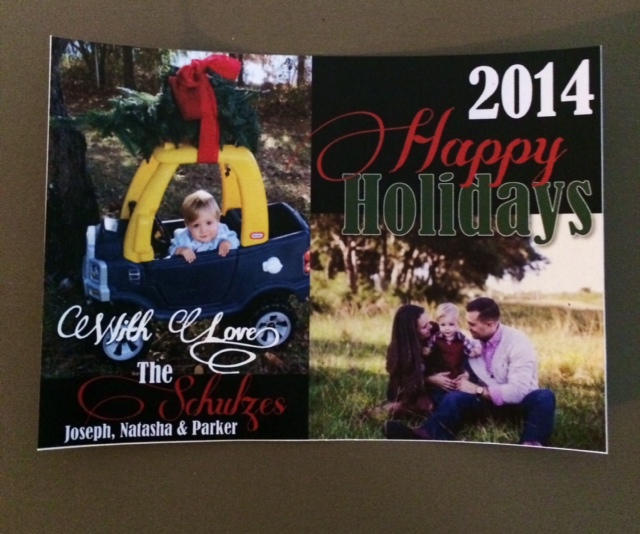
Our 2014 Christmas card! My address list is about 100 people including family and friends so each year I spend close to (if not over) $100.00 on holiday cards and this year I spent just $35 by designing this one myself!

“Where the Wild Things Are” Hand Painted Sign

wtwtasign

So I predict that this will be the first of many posts about baby P’s “Where the Wild Things Are” themed first birthday party. This particular project was part of the DIY “snowball effect” that resulted as my mind raced with DIY inspiration with each party decor addition, lol. While I was already spread way too thin trying to get everything done with for the party, I couldn’t resist adding one more little decor detail in the form of a cute little “we love you so” sign – especially because it cost me nothing but time to create! I used the same piece of wood (taken from my neighbor’s trash) that I used to create my DIY coat rack and my DIY Mason Jar Organizer and the same homemade chalk paint (made using “Stone Mason Grey” by Valspar) that I used when making my first DIY Hand Painted Sign for our laundry room/command center. Since I really liked the font I used for his invitation (called “Hello Goodbye” which I downloaded for free here from dafont.com) I used the same one for the sign and as for the silhouette of “Max” I found that here via Google images. For a full tutorial refer to my DIY Hand Painted Sign post for detailed step by step instructions to create your own sign!


IMG_0354

The sign as we displayed it with P’s guest book and favors.

Interested in making a scrap fabric banner like the one pictured above? Check out my tutorial here!

DIY Pinata – “Where the Wild Things Are”

  As I dive back into blogland after my extended hiatus I figure I will get back into the mix by sharing a few posts about Baby P’s first birthday which although is now three months past (how is time … Continue reading

DIY Hand Painted Coat Rack

Ever since I successfully created the hand-painted sign for our laundry room/command center I felt as though I’ve opened a Pandora’s box of DIY decor options, lol. The second I finished my sign my imagination ran wild with endless possibilities for … Continue reading

DIY Fall Wine Bottle Decor – Perfect for any season!

image (95)

So before I get too ahead of myself with incessant posts about baby P’s first birthday and DIY Halloween decor I just wanted to share this little tid bit of my fall decor that I whipped up using things I always have on hand – wine bottles and scrap fabric 🙂 Now as I do on at least one day most weeks, I found myself in the fabric store buying the fall themed burlap for my DIY Autumn Pennant Banner and happened to walk past their display of little seasonal over-priced chochkies (is that how you spell that word? lol) and saw a cute little decorated wine bottle. As I do with most of the fabric store ready-made decor I passed since I was not about to pay $12.99 for a bottle (a small one at that, if it had actually contained wine at any point I feel bad for the person who emptied it – they got jipped! lol) wrapped in twine, however I did snap a picture and make a mental must-DIY-that note.

Before I get to the tutorial I think it’s worth mentioning that as I fulfill my holiday decorating goal of keeping my home decor themed with each holiday, I’m realizing the fact that Halloween falls right in the middle of the start of fall and Thanksgiving really messes with decor in that I came up with a whole bunch of autumn-y type ideas for our home only to remember that I would have to put up Halloween pieces and then pull the fall stuff out again for the whole harvest/autumn theme that goes along with Thanksgiving. Super complicated stuff this decorating business is, lol! Anyway, before I figured out that I would wind up in a decorating pickle, I decided to re-create the little wine bottle craft that I saw in the fabric store the week before only I would go a step further and create a set of four! Two things I love about this project: first, it is super easy and cheap to create and while I know wine isn’t free but lets be real, wine bottles are plentiful at the Schulze home, lol. Second, since there are four bottles and the embellishments are interchangeable I can easily swap out the wording for any holiday for instance, “noel” for Christmas, “love” for Valentine’s Day, “booo” for Halloween and so on. This can be made with any scrap fabric if you have a particular color scheme in mind or want it to fit the theme of a particular room instead of a holiday that would work too!

my inspiration!

my inspiration!

my version :)

my version 🙂

SUPPLIES

*this supply list is for my specific creation, any scrap fabric combinations can be used!

  • 4 wine bottles, labels removed
  • scrap burlap (plain and printed)
  • scrap lace
  • scrap fall print fabric
  • twine
  • gold ribbon
  • faux fall leaves
  • crafting letters or stencils
  • orange acrylic paint
  • hot glue/glue gun

DIRECTIONS

Step 1: I began by removing the labels from my wine bottles by soaking them in some warm soapy water then scrubbing off with a sponge. Since I drink relatively cheap wine the labels remove pretty easily but if yours are a little more stubborn Goo-Gone will take them right off.

image (89)

Step 2: I then cut my strips of plain burlap and lace and secured them around each of the wine bottles using a few dots of hot glue.

image (90)

my lace was actually cut from a pair of curtains that I found at a thrift store for $0.50!

my lace was actually cut from a pair of curtains that I found at a thrift store for $0.50!

image (92)

Step 3: Next I prepared my “fall” portion of the decor by cutting four small squares of fall themed fabric and then four smaller squares of printed burlap to be glued atop the first squares. Next took my faux fall leaves (purchased at Walmart for $0.98 for a package of about 12!) and used a dot of hot glue to attach two to each fabric square.

image (93)

98 cent Walmart leaves!

98 cent Walmart leaves!

Step 4: At this point I took my craft letters left over from another project and painted them orange (they were originally brown but I felt that the orange stuck out better, at this point you can also stencil the wording directly onto your fabric squares using acrylic paint). Once they had dried I glued each to the front of my fabric squares. To attach the square to the bottles I cut two small holes in the top of each of the fabric piece and ran a piece of twine through each and tied them around the body of the wine bottles. Finally I tied a decorative ribbon bow atop each of the bottle necks – done!

finished product :)

finished product 🙂

Baby Rocking Chair Re-Do – My first re-upholstery project!

image (78)

One of my biggest (and smallest, lol) inspirations for so many of my DIY projects has been none other than my own baby P! Whether it be items for is nursery or coming up with ways to work all of his adorable photos into our decor (check out my DIY Rustic Picture Display!) I am thoroughly amazed by the creativity that this little guy has prompted in me. One of my latest projects was upcycling an old rocking chair that I found at a used furniture store (at the same time I picked up my old shutters that turned into my DIY shutter shelf!) for $8, actually funny story: it was actually $15 but jokingly as I was checking out I said “how about $8.00?” and the guy said “Ya know what, sure. That’s what my wife gets for making me work today instead of fishing!”, haha. Honestly, although the chair is good quality wood, in the state it was in at the time of purchase it wasn’t worth more than $8.00, haha, the seat was covered in a raggy, dirty old cowboy print cloth and smelled like old people (don’t even pretend you don’t know the smell I’m talking about, lol) but despite all of these factors I saw potential!

As soon as I got the chair home I got super motivated and removed the upholstered part of the chair as well as all of the staples that were holding it in place. I even went as far as to borrow a staple gun from a friend for the re-upholstery part of the project, but that was as far as I got before getting swept up in another project and forgetting all about the little rocker. Flash forward to last week, I had used the same paint that I was intending to use on the chair for my DIY Owl Themed Coat Rack/Hooked Sign and knew that this would be a good opportunity to get cracking on the chair.  For the fabric I chose a beautiful grey/brown chevron print decor fabric that I happened to find in the remnants bin at my local fabric store for only $7.00, making the grand total of this project just about $20.00! Now I know that a random $8 cowboy-themed rocking chair probably isn’t an option at your local thrift shop BUT lucky for you this project can be duplicated with any kid-sized chair (or an size for that matter) that you happen to find, even if it doesn’t already come with a piece to reupholster (I was able to salvage the original seat from my piece) you can absolutely fashion your own using a small piece of plywood and simply attach it to the existing seat! You will not believe how easy this project is, especially for how amazing the result. If re-upholstery seems daunting to you don’t let it deter you, I was extremely skeptical about this project as it was my first time working with upholstery but now that I know how easy it is I can’t wait to try my hand at it again! Happy stapling, watch those fingies 😉

image (74)

SUPPLIES: 

*For this project I used chalk paint (find out how I mix my own here), feel free to refer to my re-finishing wooden furniture with gel stain or latex paint posts for alternative painting methods. If you want to add a cushion to a chair that did not have one to begin with simply follow my steps below but use a piece of plywood (something cheap but sturdy), you can even have your local home improvement store cut it for you for free!

  • Kid-sized rocking chair
  • Chalk Paint – I mixed my own (refer to this tutorial to find out how I made it using a sample sized latex paint), the color is “Opera Glasses” by Valspar which is now one of my favorite paint colors as I’m always looking for a good “greige” which is oh-so popular right now.
  • Minwax Finishing Paste Wax in “Special Dark”
  • Sanding blocks or sand paper
  • Black foam paint brush
  • Manual staple gun (if you’re super hardcore and have a power stapler you can use that as well, I’m too clumsy to be around things that shoot out metal, lol)
  • Foam or fiber cushion – I used this one that I purchased at my local fabric store (with a coupon, yay!) but it is also available online via Amazon and most other retailers of fabric.
  • Fabric of your choice – the amount you will need depends on the size of your seat (you won’t need much though, I used about 1/4 of a yard!)
  • Heavy Duty All-Purpose adhesive – anything that says it will bond to most all surfaces, you can’t go wrong with E-6000 or any of those “E” adhesives or Gorilla glue)
  • Scissors

INSTRUCTIONS:

Step 1: I began by ripping all of the original fabric and batting from the chair to reveal the frame. I kept the board that made up the seat as it was in good condition and I wanted to reuse it. I then removed all staples that remained in the wood using needle-nosed pliers.

Dirty and torn, but still promising!

Dirty and torn, but still promising!

image (79)

image (77)

Step 2: I sanded down the chair by hand using a sanding block (150-grit), while I do have an electric sander I feel some projects move quicker when they’re done by hand, especially ones with a lot of nooks and crannies like this chair. Once I had finished sanding I wiped the chair down with a damp cloth to remove any remaining dust particles.

image (63)

chair post-sanding

image (62)

Step 3: Using a black foam brush (I prefer these to regular paint brushes because they don’t leave streaks) I evenly painted the top half of the chair with an even coat of my chalk paint, I then waited about 2 hours before returning to my chair, flipping it upside down and applying the first coat to the bottom. I continued in this fashion for two more coats (three total). I found this was the easiest way to paint the chair on all sides and on the bottom of rocking part.

image (64) image (65)

Step 4: Once my final coat had dried I waxed the chair by applying a thin coat of paste wax using an old rag, waiting the appropriate amount of time (15 minutes I think?) then buffing it out using another rag. At that point the re-painting part of the project was complete – yay!

image (69)

After the chair was waxed. I like that the wax gives it an antiqued look. You can also get a natural or clear wax for protection and sheen without color!

image (70)

Step 5:  I began my reupholstering part of the project by cutting a piece of fabric that was about 4-5 inches wider than the piece of wood that would make up my seat. NOTE: If you are using a thinner fabric that you think may be prone to ripping use a sander to dull down the corners of your wood or cut the tips of your corners off so that they are flat, this won’t make a difference in the look of the chair but will prevent the corners from protruding through the fabric over time. After cutting my fabric, I cut my foam piece to be just big enough to reach over the edges of my board.

image (67) image (68)

Baby P playing peek-a-boo with the fabric, lol!

Baby P playing peek-a-boo with the fabric, lol!

Step 6: Once all of my components were ready I laid my fabric face down, my foam piece atop it in the center and then my wooden seat atop the foam. This step is best done using two people but if you’re all by your lonesome just use your knees to secure the board in place while you tighten and staple – but be careful! Pull one edge of the fabric taught over the edge of the wood and make sure that the foam will wrap nicely around the edge of the wood, if you are happy with the way it looks staple along the edge of the wood, about 2- 3 inches in, I used about six staples per side for good measure! NOTE: The corners will be a little trickier so do your edges first and then your corners last because you may need to manipulate and fold them a bit to get them right.

Step 7: After I made my cushion I trimmed any excess fabric from the bottom that was sticking out too much. Then I was ready to bond my seat to the base of the chair. I did so by applying a generous amount of adhesive to the bottom of the cushion (not too close to the edges, you do not want it oozing out!) and to the base of the chair where the cushion was to be attached, then pressed down firmly to secure it. You may want to place a book or something else flat and heavy on top the seat to hold it in place as it dries (this would be a great job for a kid in time-out! Just kidding, haha). Voila! Finished and beautiful and ready for baby P’s adorable squishy butt to sit on it 🙂

image (71)

Finished product!

NOTE: An optional Step 8 would be to add decorative upholstery nails or trim along the edge where your seat meets your chair. My hubby was opposed to this idea so I left the chair as is (and it looks just adorable without them so it is not necessary to do this by any means). However, this is a great way to add a little extra flare or elegance to your chair and to hide the area where the seat meets the chair.

image (80)

The most rewarding part of this project was seeing how much baby P loved the rocker, which completely took me by surprise because I was sure he wouldn’t want anything to do with it because it’s just a chair, however he loves rocking it and sitting in it and when he sees it he gets so excited, points and says “this! this!”. What a warm feeling to have my crafts appreciated by even the tiniest of people 🙂

image (82) image (87) image (88)