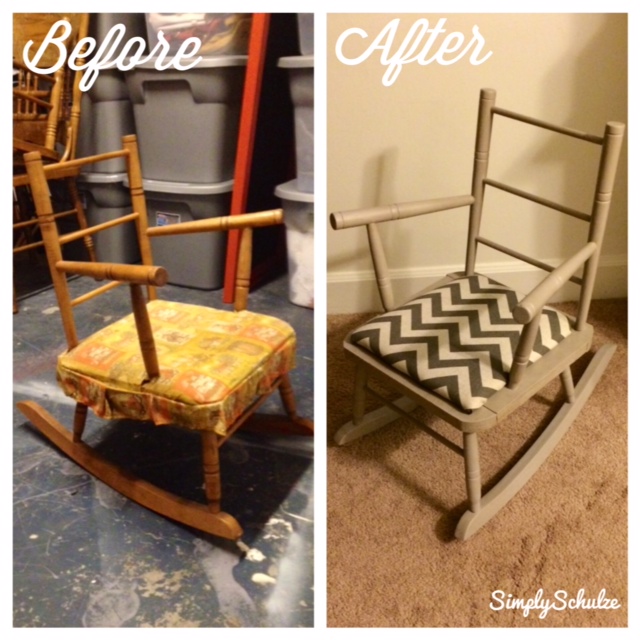
One of my biggest (and smallest, lol) inspirations for so many of my DIY projects has been none other than my own baby P! Whether it be items for is nursery or coming up with ways to work all of his adorable photos into our decor (check out my DIY Rustic Picture Display!) I am thoroughly amazed by the creativity that this little guy has prompted in me. One of my latest projects was upcycling an old rocking chair that I found at a used furniture store (at the same time I picked up my old shutters that turned into my DIY shutter shelf!) for $8, actually funny story: it was actually $15 but jokingly as I was checking out I said “how about $8.00?” and the guy said “Ya know what, sure. That’s what my wife gets for making me work today instead of fishing!”, haha. Honestly, although the chair is good quality wood, in the state it was in at the time of purchase it wasn’t worth more than $8.00, haha, the seat was covered in a raggy, dirty old cowboy print cloth and smelled like old people (don’t even pretend you don’t know the smell I’m talking about, lol) but despite all of these factors I saw potential!
As soon as I got the chair home I got super motivated and removed the upholstered part of the chair as well as all of the staples that were holding it in place. I even went as far as to borrow a staple gun from a friend for the re-upholstery part of the project, but that was as far as I got before getting swept up in another project and forgetting all about the little rocker. Flash forward to last week, I had used the same paint that I was intending to use on the chair for my DIY Owl Themed Coat Rack/Hooked Sign and knew that this would be a good opportunity to get cracking on the chair. For the fabric I chose a beautiful grey/brown chevron print decor fabric that I happened to find in the remnants bin at my local fabric store for only $7.00, making the grand total of this project just about $20.00! Now I know that a random $8 cowboy-themed rocking chair probably isn’t an option at your local thrift shop BUT lucky for you this project can be duplicated with any kid-sized chair (or an size for that matter) that you happen to find, even if it doesn’t already come with a piece to reupholster (I was able to salvage the original seat from my piece) you can absolutely fashion your own using a small piece of plywood and simply attach it to the existing seat! You will not believe how easy this project is, especially for how amazing the result. If re-upholstery seems daunting to you don’t let it deter you, I was extremely skeptical about this project as it was my first time working with upholstery but now that I know how easy it is I can’t wait to try my hand at it again! Happy stapling, watch those fingies 😉
SUPPLIES:
*For this project I used chalk paint (find out how I mix my own here), feel free to refer to my re-finishing wooden furniture with gel stain or latex paint posts for alternative painting methods. If you want to add a cushion to a chair that did not have one to begin with simply follow my steps below but use a piece of plywood (something cheap but sturdy), you can even have your local home improvement store cut it for you for free!
- Kid-sized rocking chair
- Chalk Paint – I mixed my own (refer to this tutorial to find out how I made it using a sample sized latex paint), the color is “Opera Glasses” by Valspar which is now one of my favorite paint colors as I’m always looking for a good “greige” which is oh-so popular right now.
- Minwax Finishing Paste Wax in “Special Dark”
- Sanding blocks or sand paper
- Black foam paint brush
- Manual staple gun (if you’re super hardcore and have a power stapler you can use that as well, I’m too clumsy to be around things that shoot out metal, lol)
- Foam or fiber cushion – I used this one that I purchased at my local fabric store (with a coupon, yay!) but it is also available online via Amazon and most other retailers of fabric.
- Fabric of your choice – the amount you will need depends on the size of your seat (you won’t need much though, I used about 1/4 of a yard!)
- Heavy Duty All-Purpose adhesive – anything that says it will bond to most all surfaces, you can’t go wrong with E-6000 or any of those “E” adhesives or Gorilla glue)
- Scissors
INSTRUCTIONS:
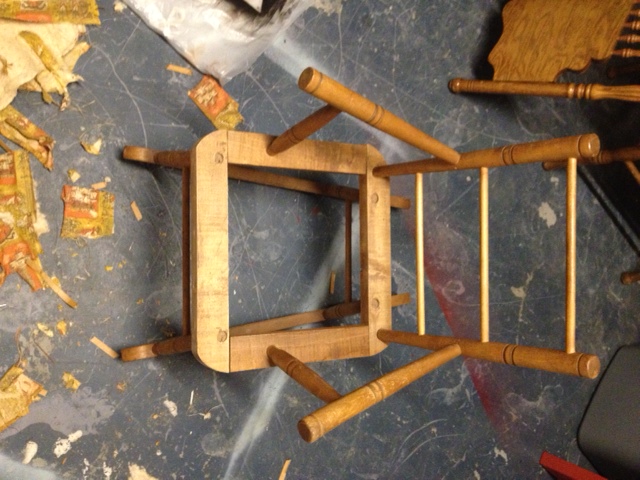
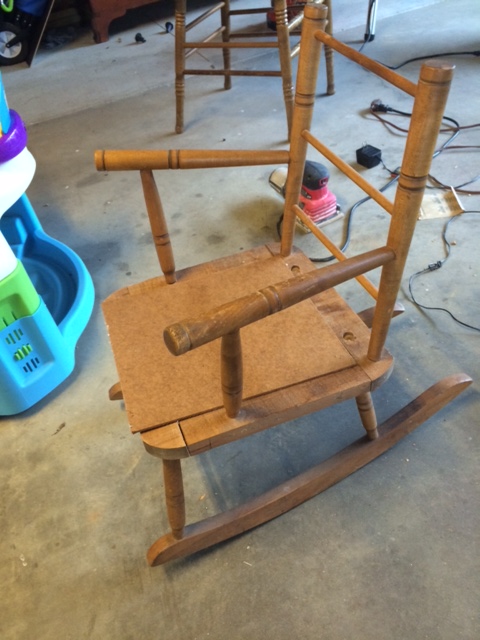
Step 1: I began by ripping all of the original fabric and batting from the chair to reveal the frame. I kept the board that made up the seat as it was in good condition and I wanted to reuse it. I then removed all staples that remained in the wood using needle-nosed pliers.

Dirty and torn, but still promising!

Step 2: I sanded down the chair by hand using a sanding block (150-grit), while I do have an electric sander I feel some projects move quicker when they’re done by hand, especially ones with a lot of nooks and crannies like this chair. Once I had finished sanding I wiped the chair down with a damp cloth to remove any remaining dust particles.
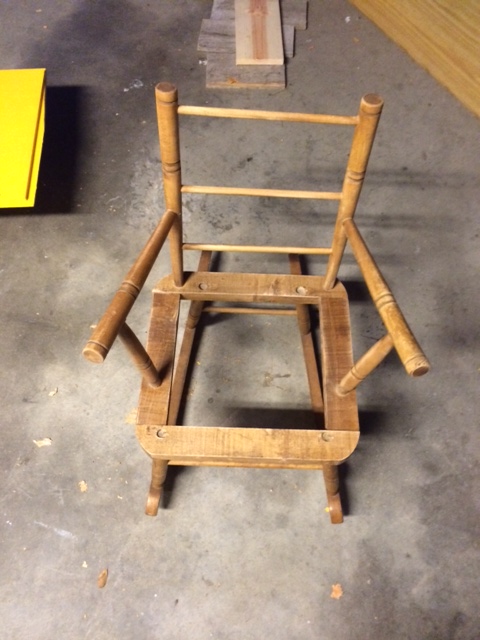
chair post-sanding
Step 3: Using a black foam brush (I prefer these to regular paint brushes because they don’t leave streaks) I evenly painted the top half of the chair with an even coat of my chalk paint, I then waited about 2 hours before returning to my chair, flipping it upside down and applying the first coat to the bottom. I continued in this fashion for two more coats (three total). I found this was the easiest way to paint the chair on all sides and on the bottom of rocking part.


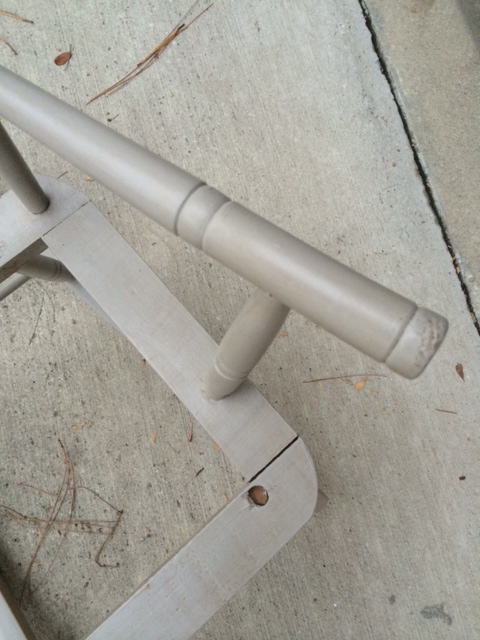
Step 4: Once my final coat had dried I waxed the chair by applying a thin coat of paste wax using an old rag, waiting the appropriate amount of time (15 minutes I think?) then buffing it out using another rag. At that point the re-painting part of the project was complete – yay!

After the chair was waxed. I like that the wax gives it an antiqued look. You can also get a natural or clear wax for protection and sheen without color!
Step 5: I began my reupholstering part of the project by cutting a piece of fabric that was about 4-5 inches wider than the piece of wood that would make up my seat. NOTE: If you are using a thinner fabric that you think may be prone to ripping use a sander to dull down the corners of your wood or cut the tips of your corners off so that they are flat, this won’t make a difference in the look of the chair but will prevent the corners from protruding through the fabric over time. After cutting my fabric, I cut my foam piece to be just big enough to reach over the edges of my board.


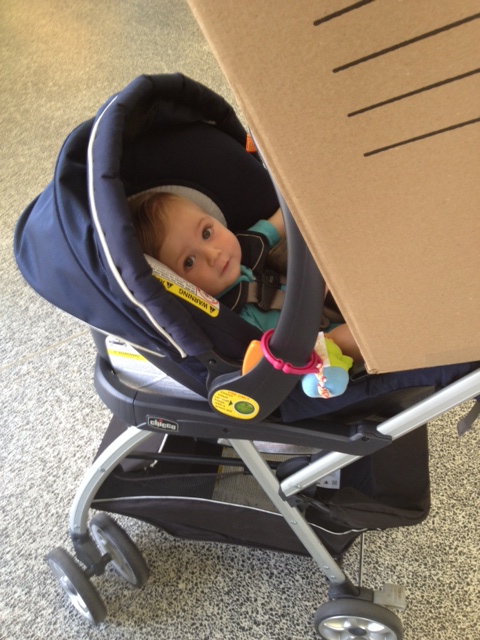
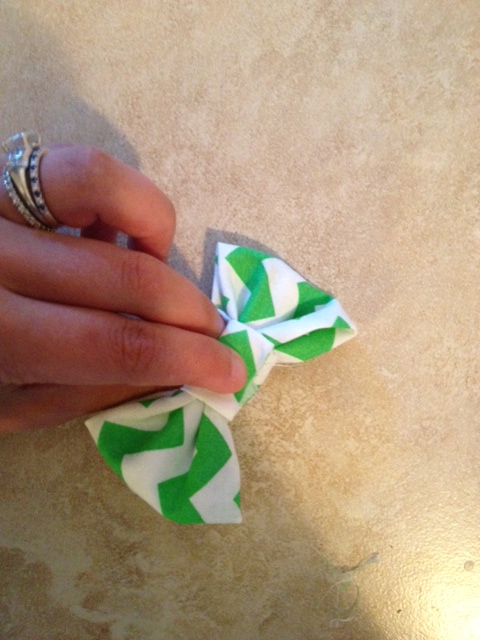
Baby P playing peek-a-boo with the fabric, lol!
Step 6: Once all of my components were ready I laid my fabric face down, my foam piece atop it in the center and then my wooden seat atop the foam. This step is best done using two people but if you’re all by your lonesome just use your knees to secure the board in place while you tighten and staple – but be careful! Pull one edge of the fabric taught over the edge of the wood and make sure that the foam will wrap nicely around the edge of the wood, if you are happy with the way it looks staple along the edge of the wood, about 2- 3 inches in, I used about six staples per side for good measure! NOTE: The corners will be a little trickier so do your edges first and then your corners last because you may need to manipulate and fold them a bit to get them right.
Step 7: After I made my cushion I trimmed any excess fabric from the bottom that was sticking out too much. Then I was ready to bond my seat to the base of the chair. I did so by applying a generous amount of adhesive to the bottom of the cushion (not too close to the edges, you do not want it oozing out!) and to the base of the chair where the cushion was to be attached, then pressed down firmly to secure it. You may want to place a book or something else flat and heavy on top the seat to hold it in place as it dries (this would be a great job for a kid in time-out! Just kidding, haha). Voila! Finished and beautiful and ready for baby P’s adorable squishy butt to sit on it 🙂
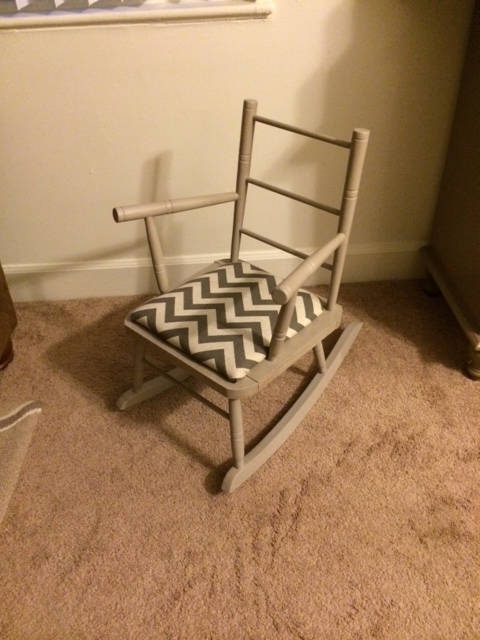
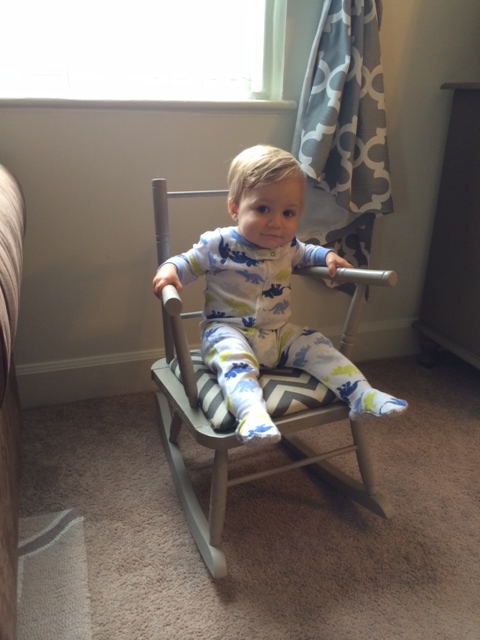
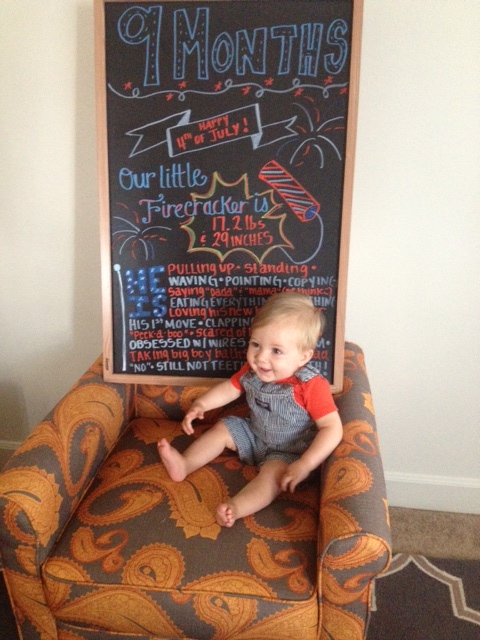
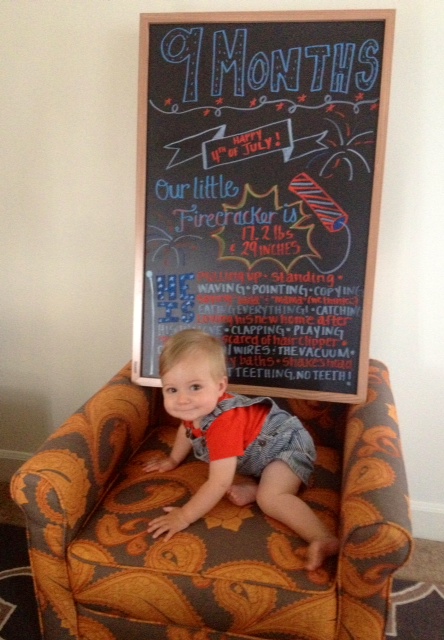
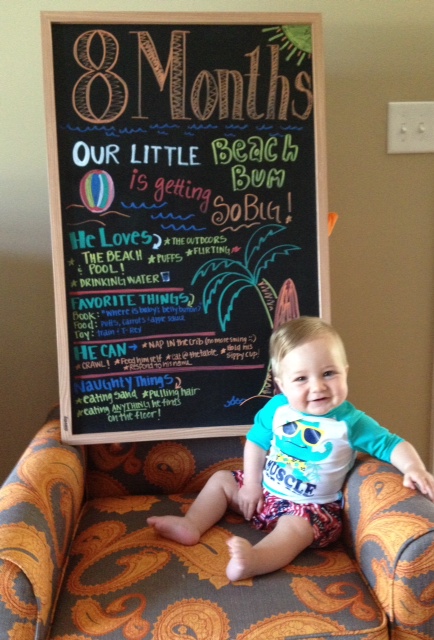
Finished product!
NOTE: An optional Step 8 would be to add decorative upholstery nails or trim along the edge where your seat meets your chair. My hubby was opposed to this idea so I left the chair as is (and it looks just adorable without them so it is not necessary to do this by any means). However, this is a great way to add a little extra flare or elegance to your chair and to hide the area where the seat meets the chair.

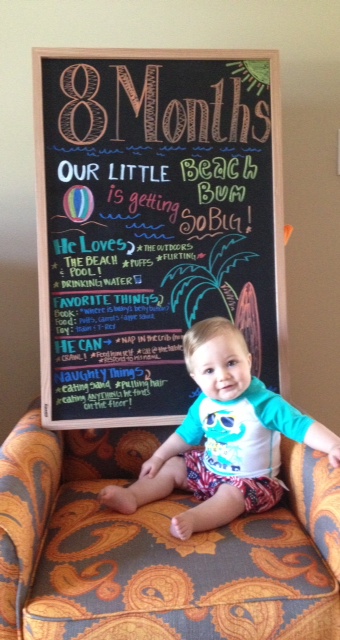
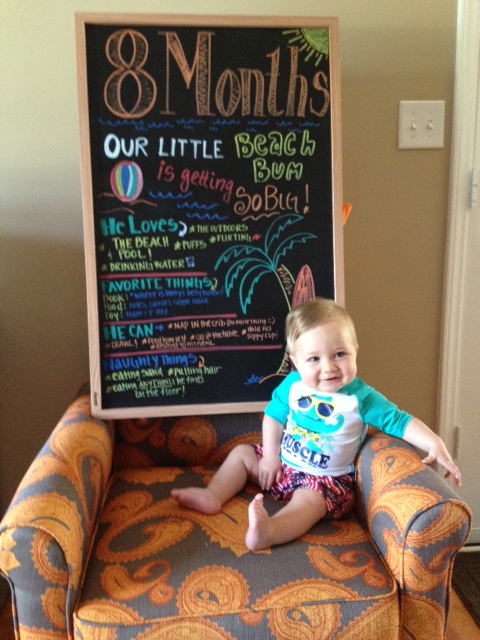
The most rewarding part of this project was seeing how much baby P loved the rocker, which completely took me by surprise because I was sure he wouldn’t want anything to do with it because it’s just a chair, however he loves rocking it and sitting in it and when he sees it he gets so excited, points and says “this! this!”. What a warm feeling to have my crafts appreciated by even the tiniest of people 🙂