Oh my goodness! It sure has been a while, I think this is the longest I’ve gone with posting since I started the blog. I’ve mostly been MIA due to the planning of sweet baby P’s “Where the Wild Things Are” first birthday party (which I can’t wait to share!), so although my posts have been lacking for the last few weeks my crafting has not so be on the look out for lots of new posts in the next few days and weeks 🙂
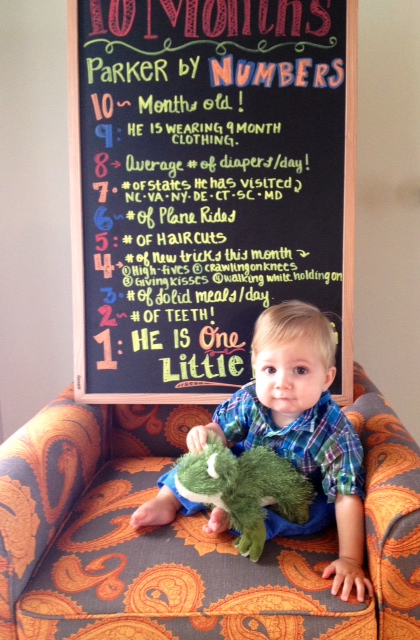
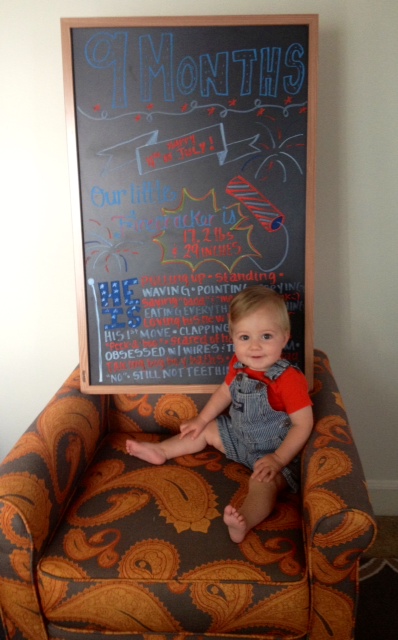
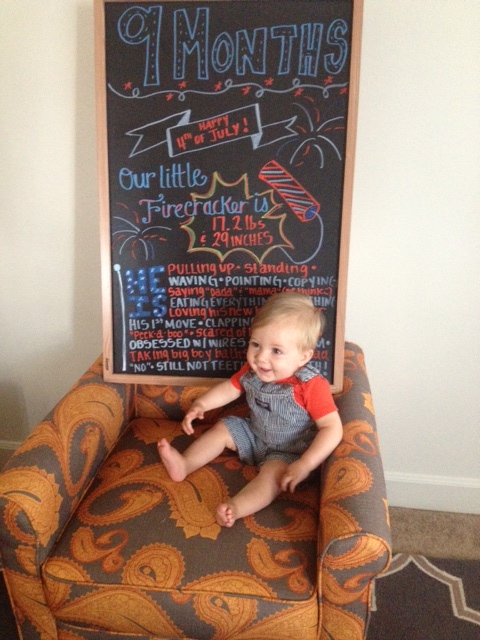
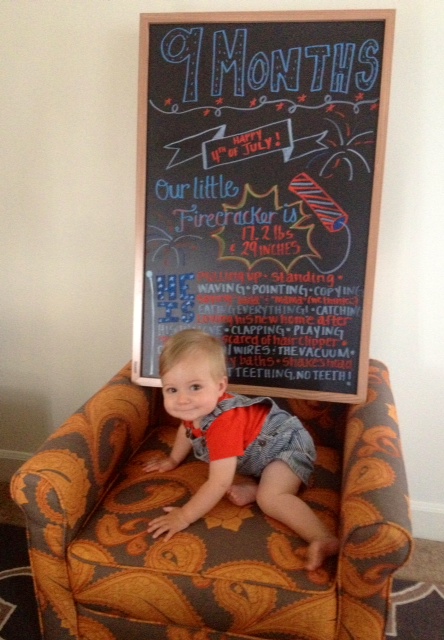
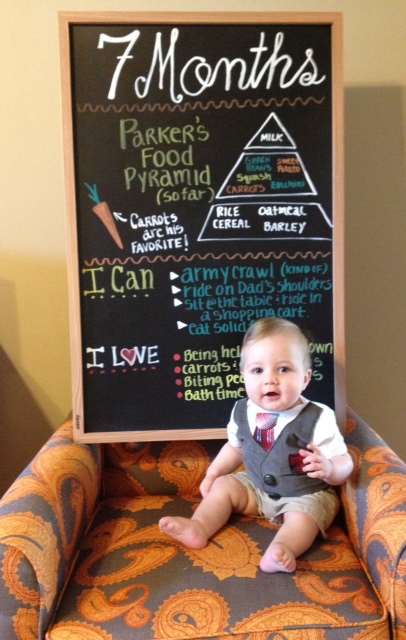
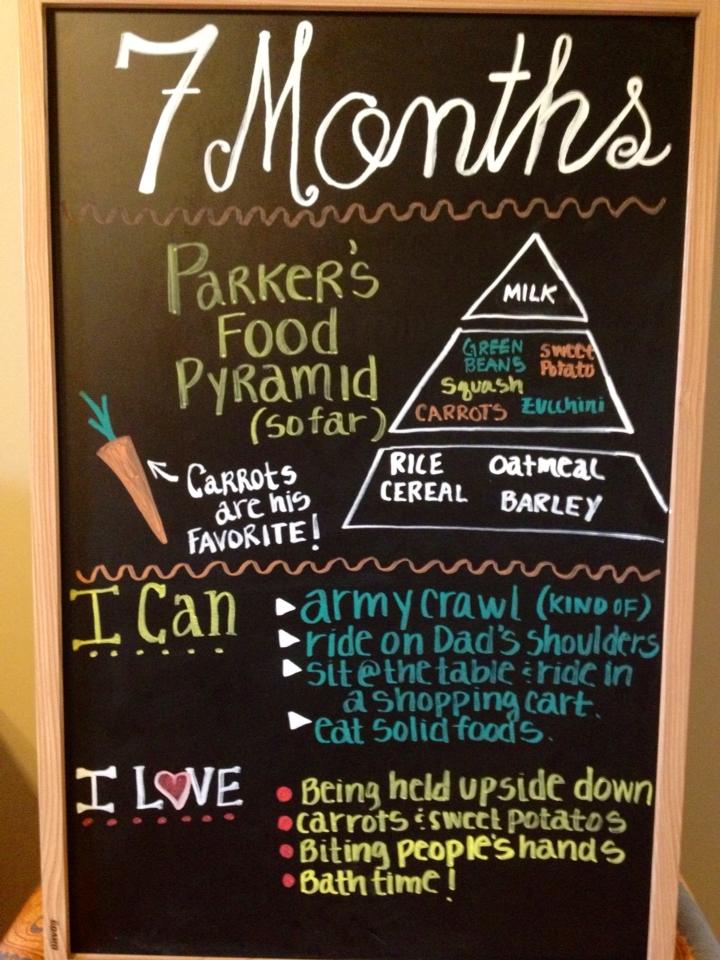
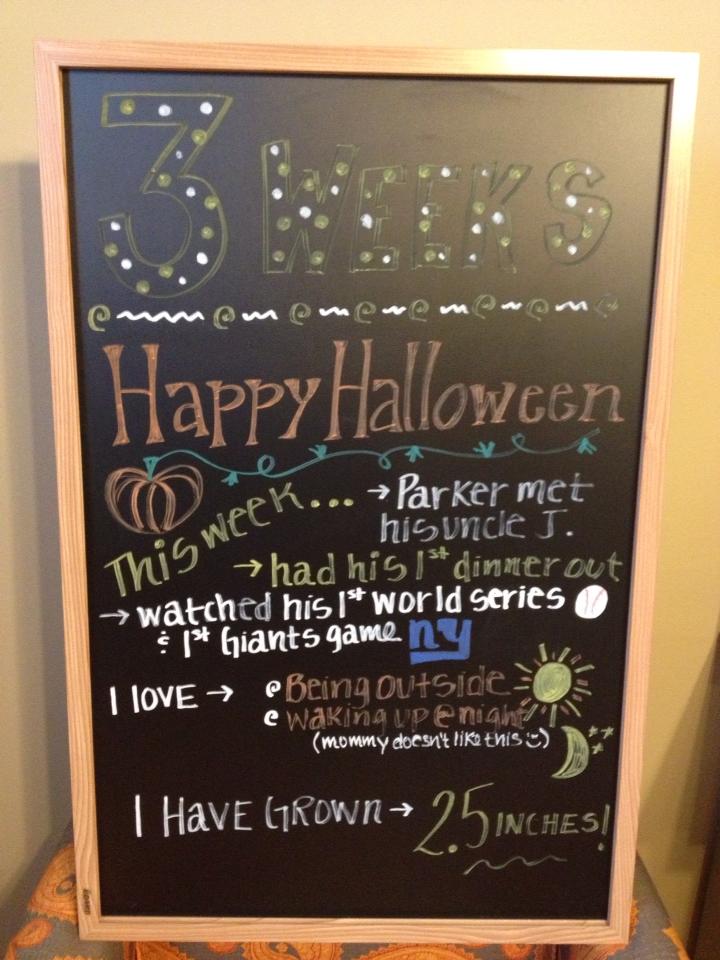
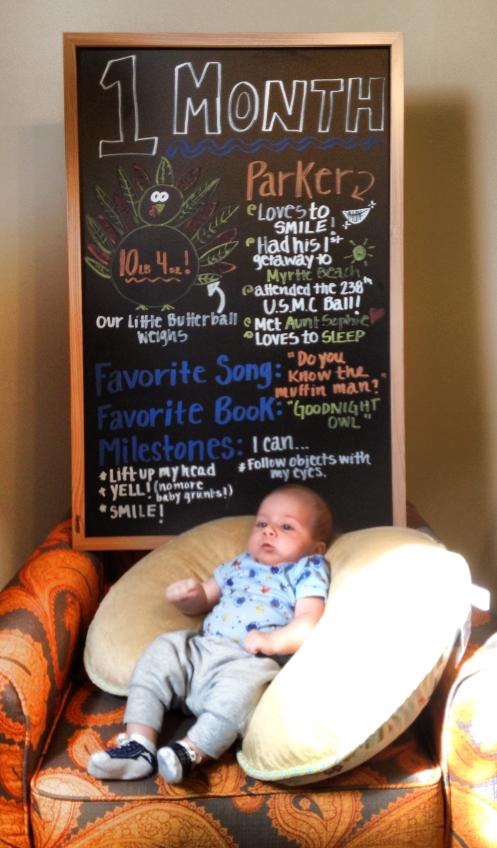
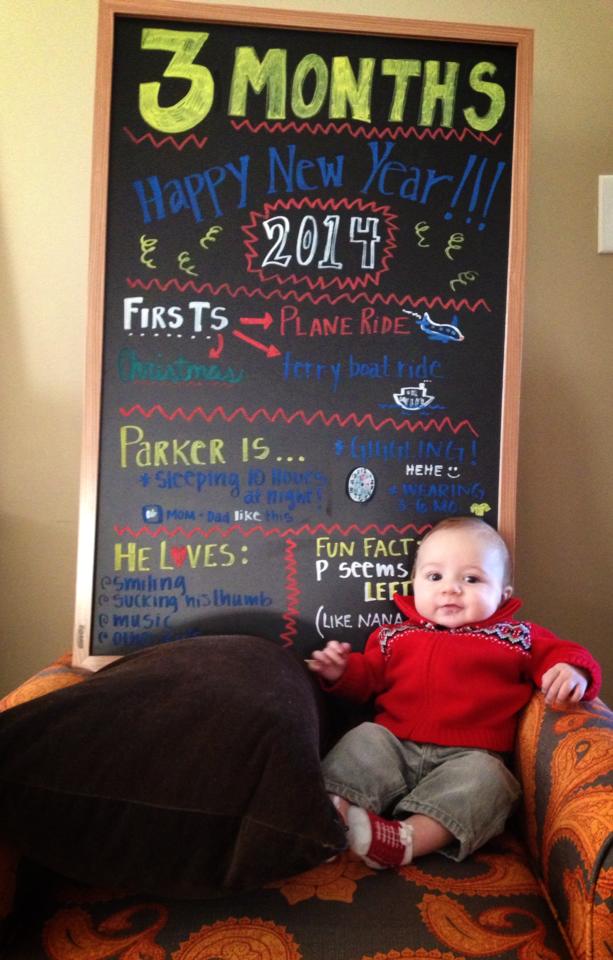
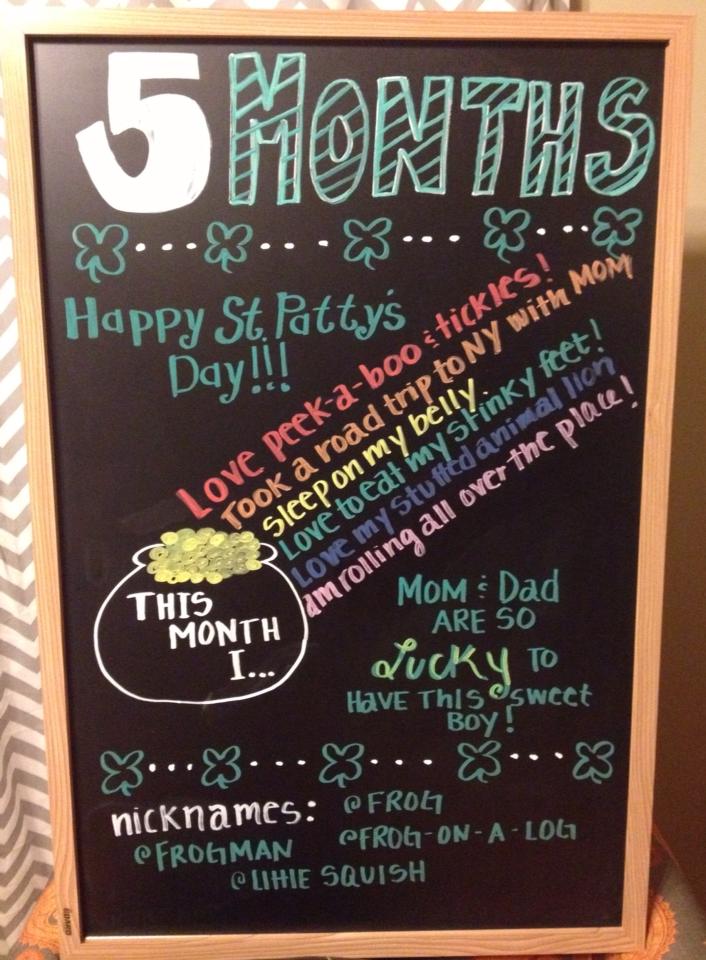
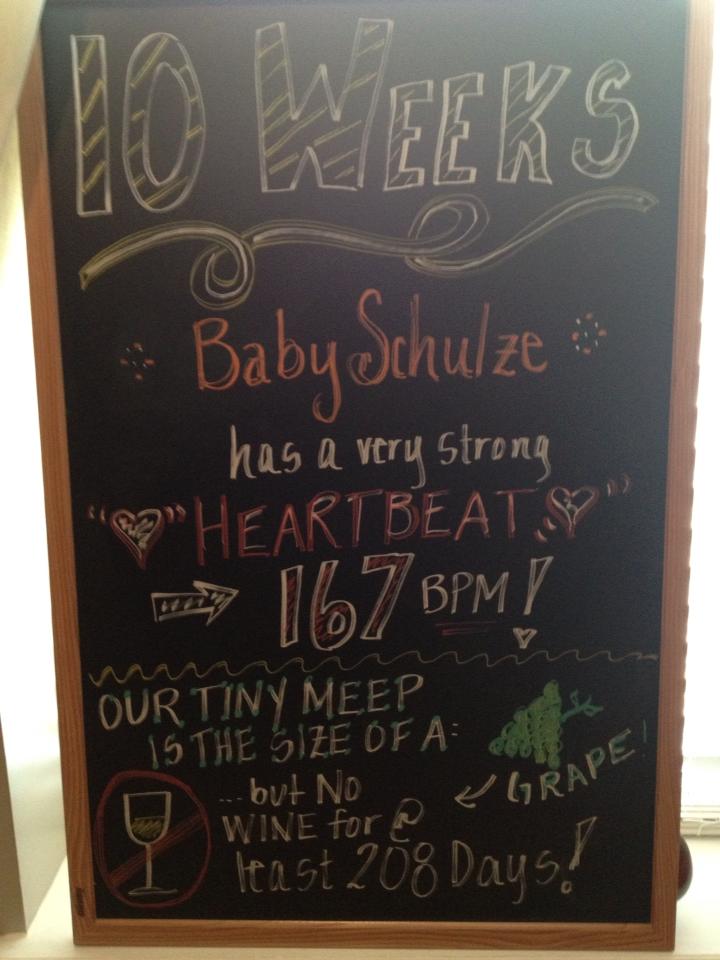
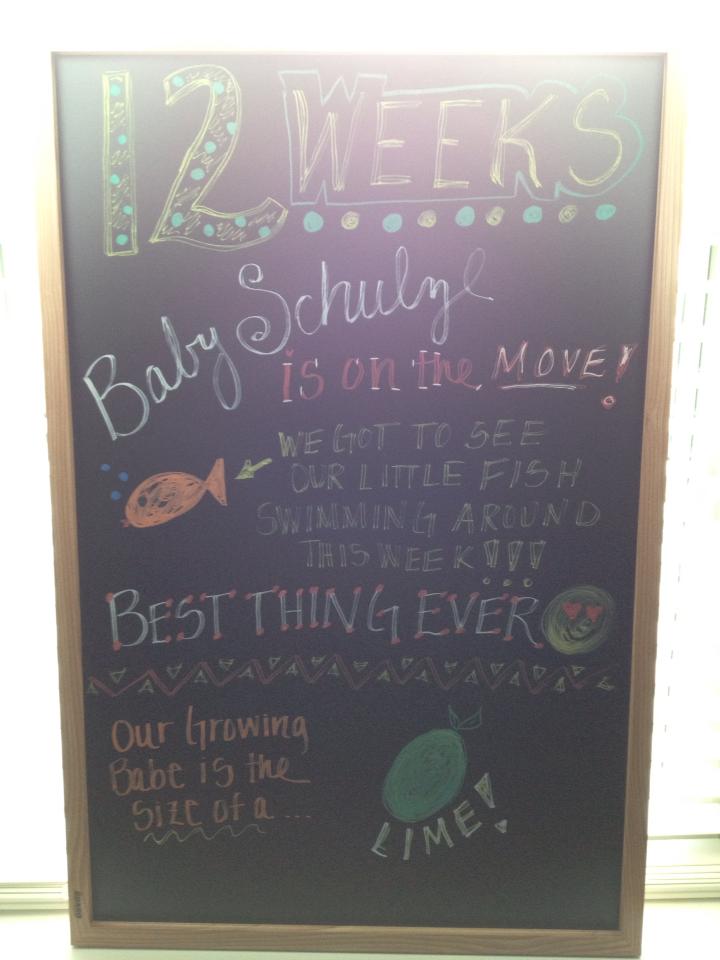
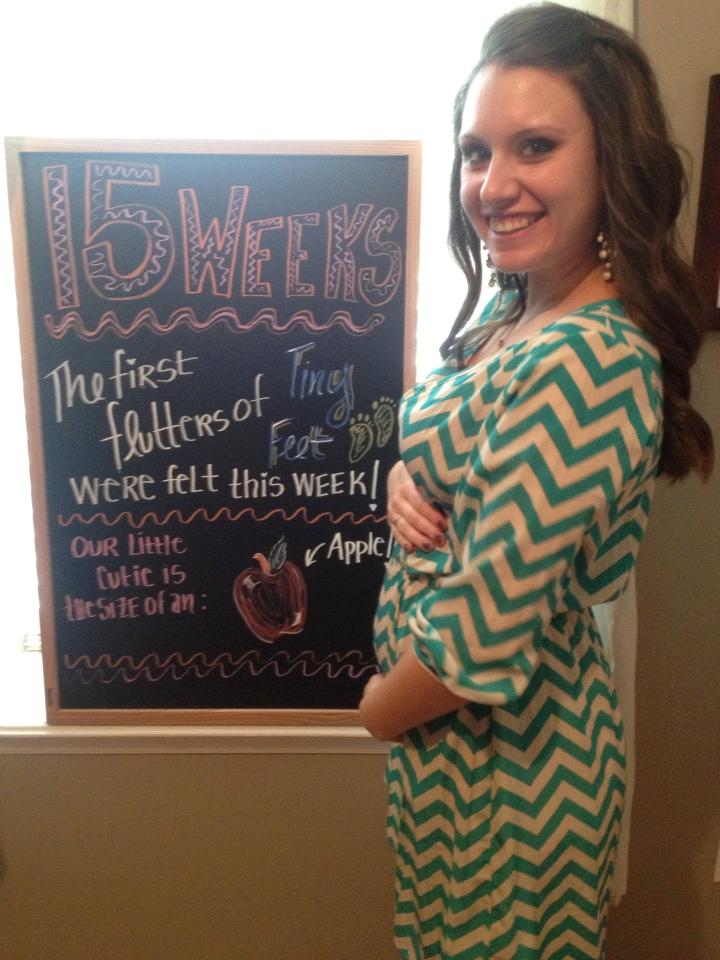
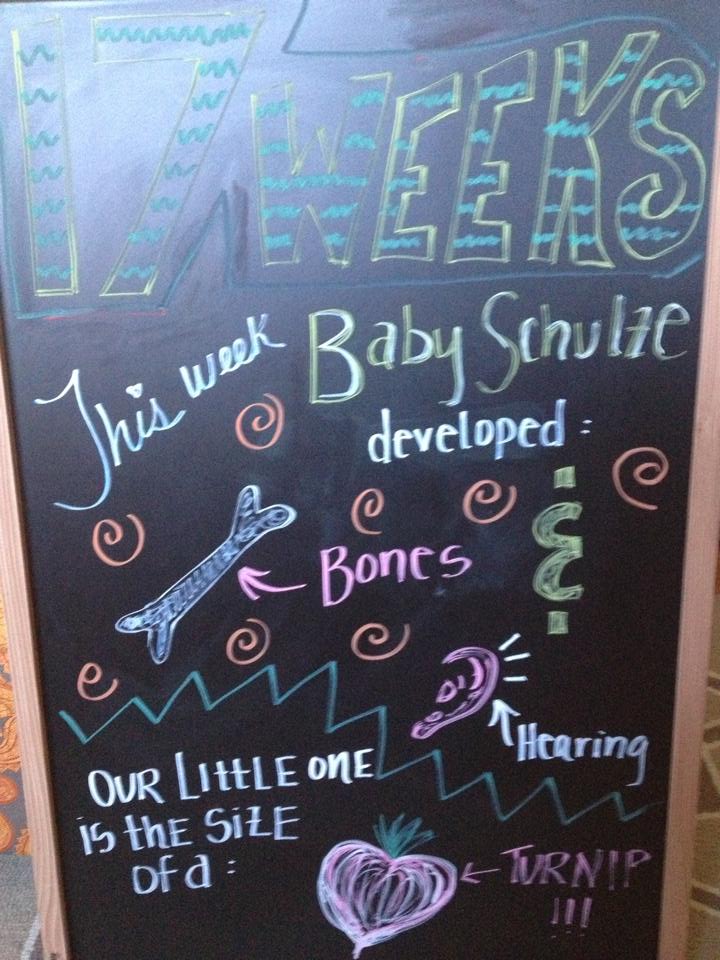
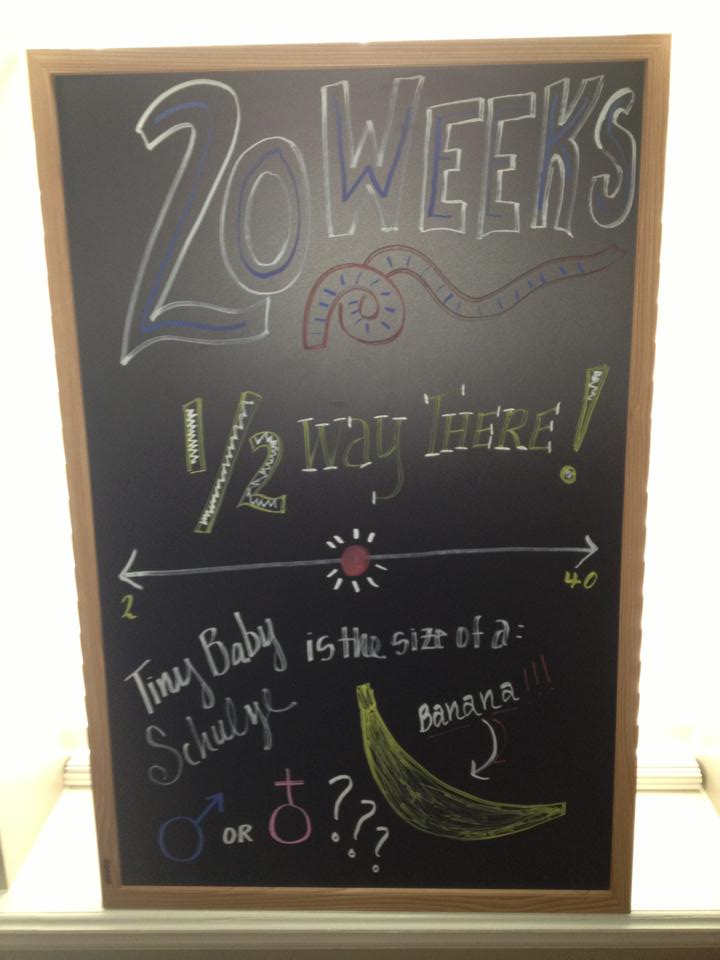
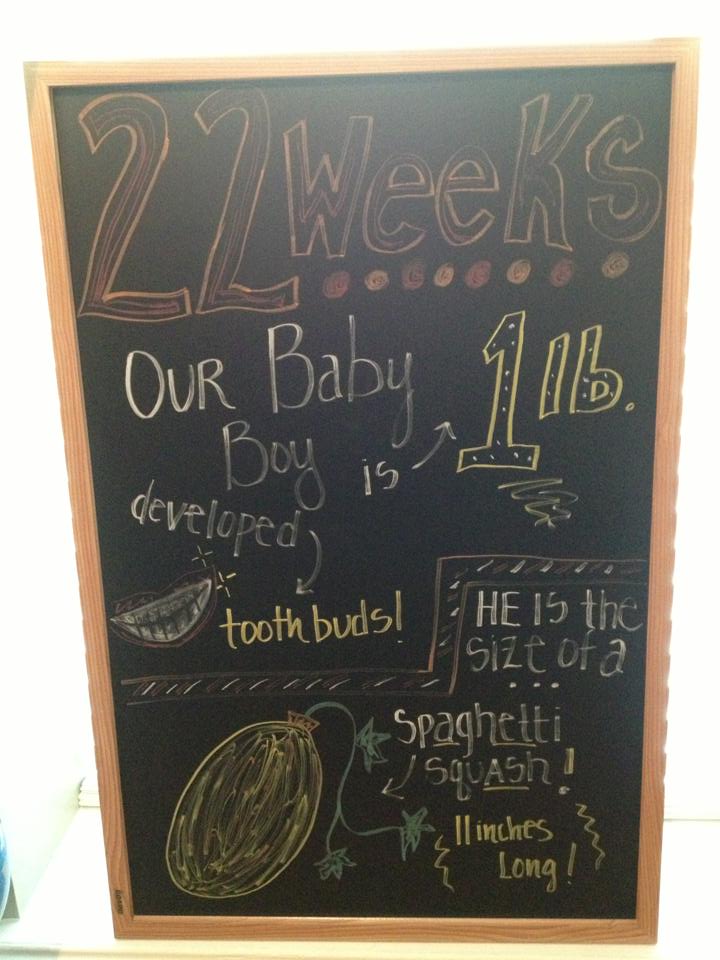
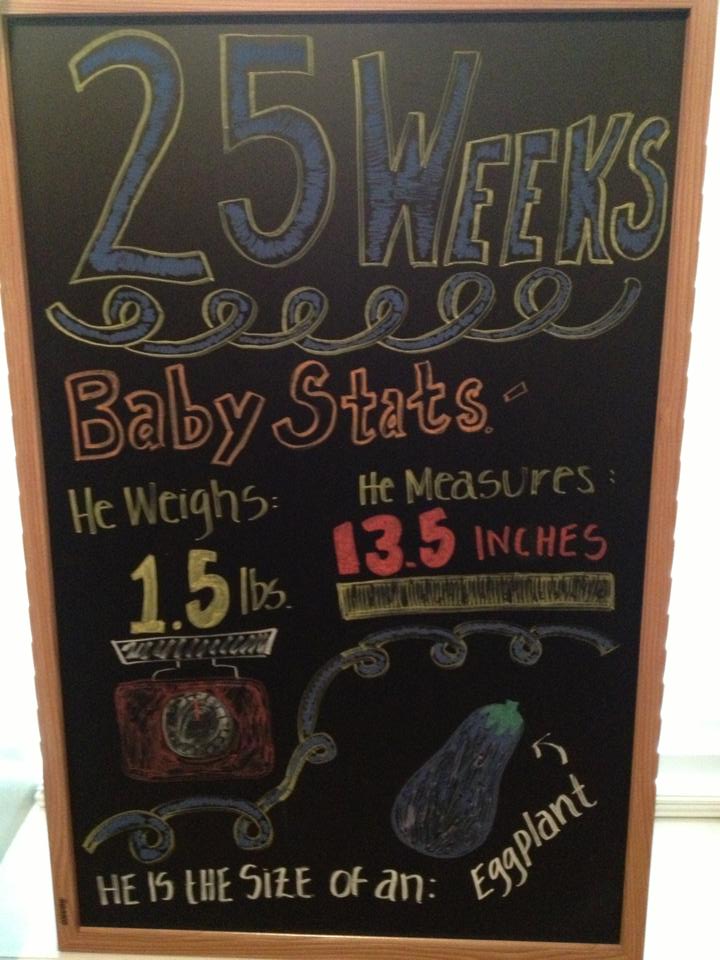
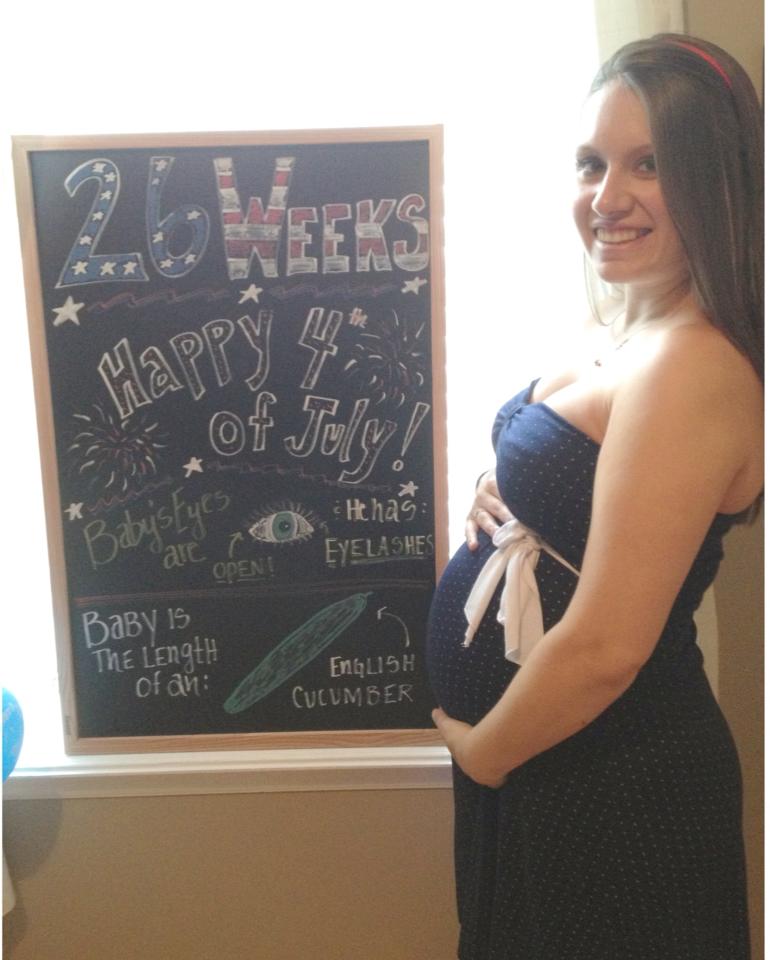
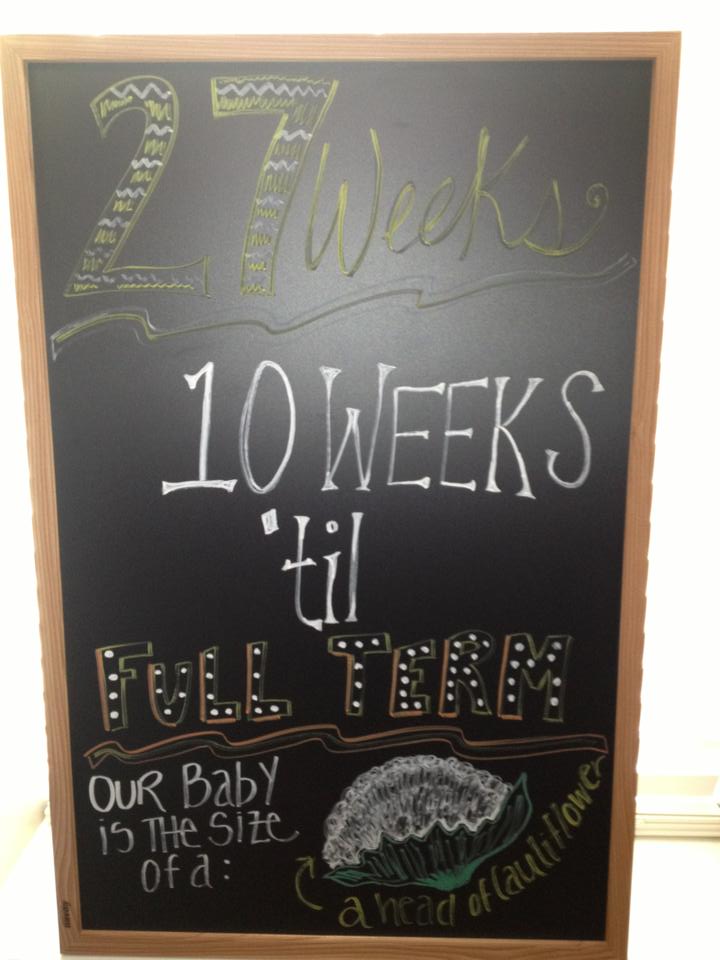
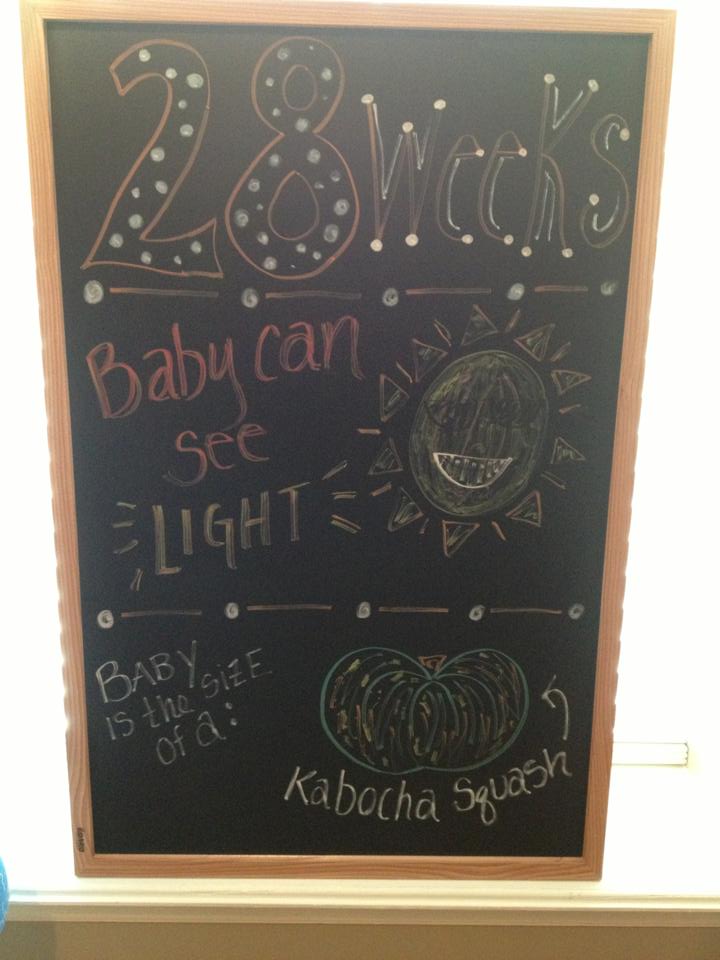
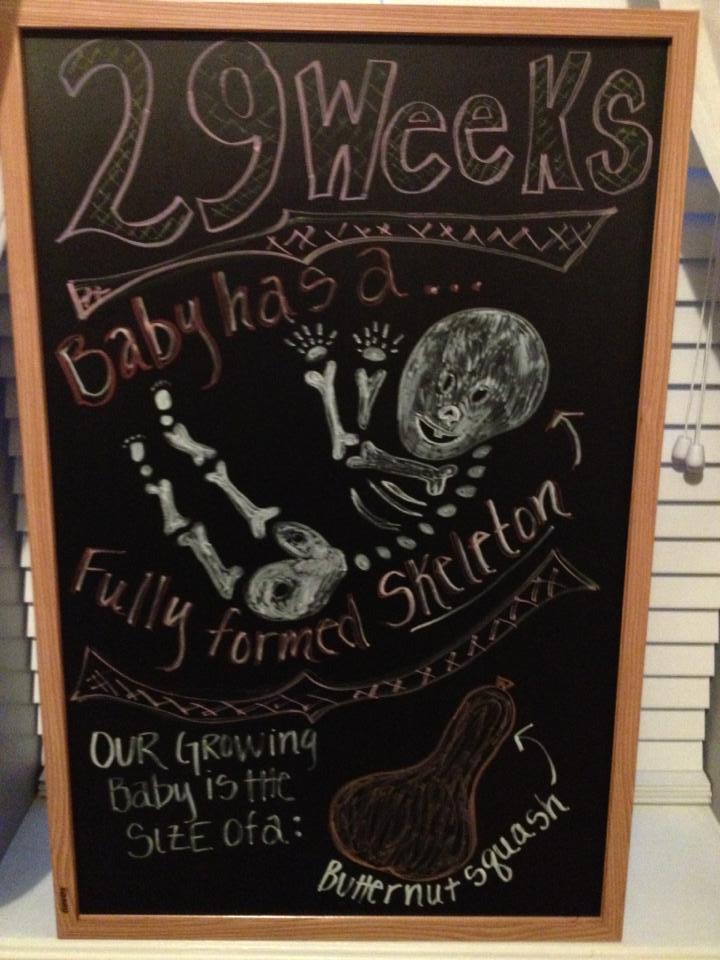
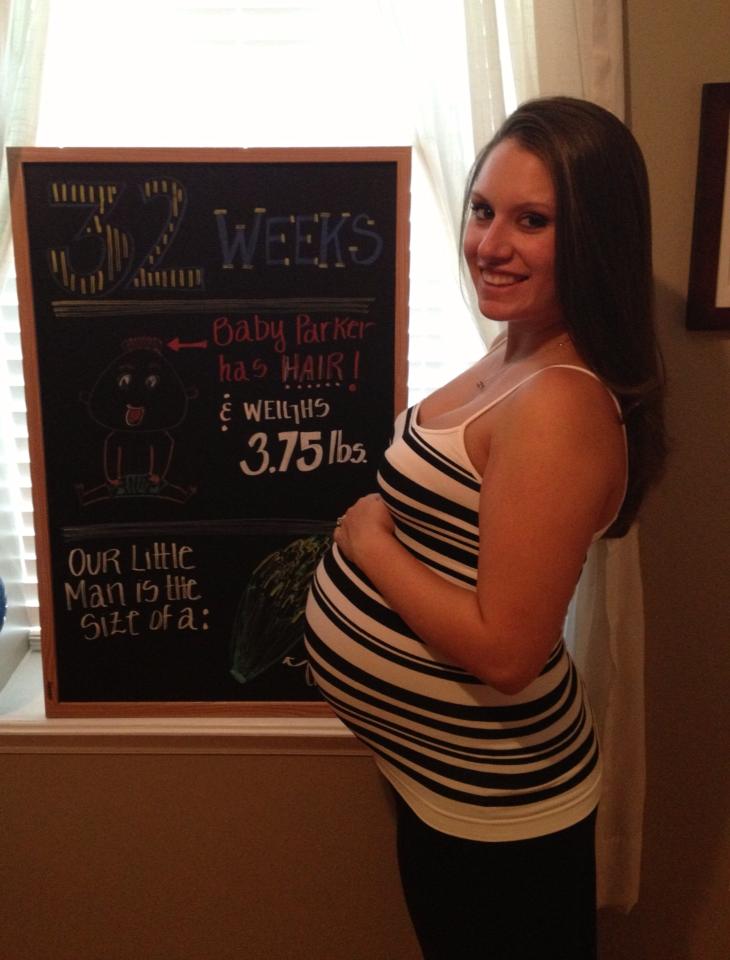
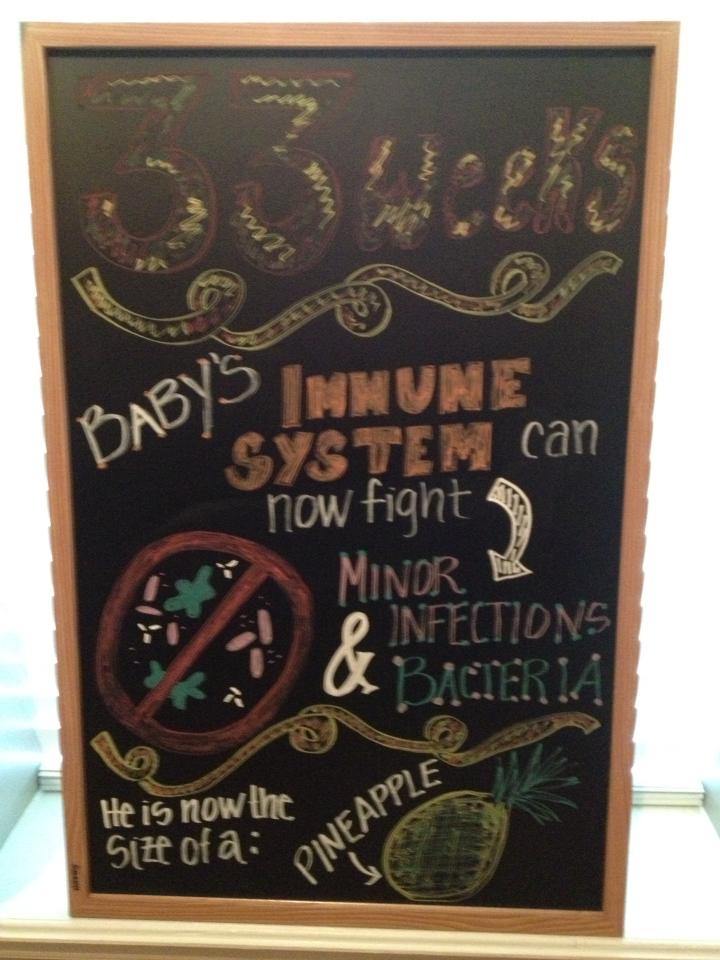
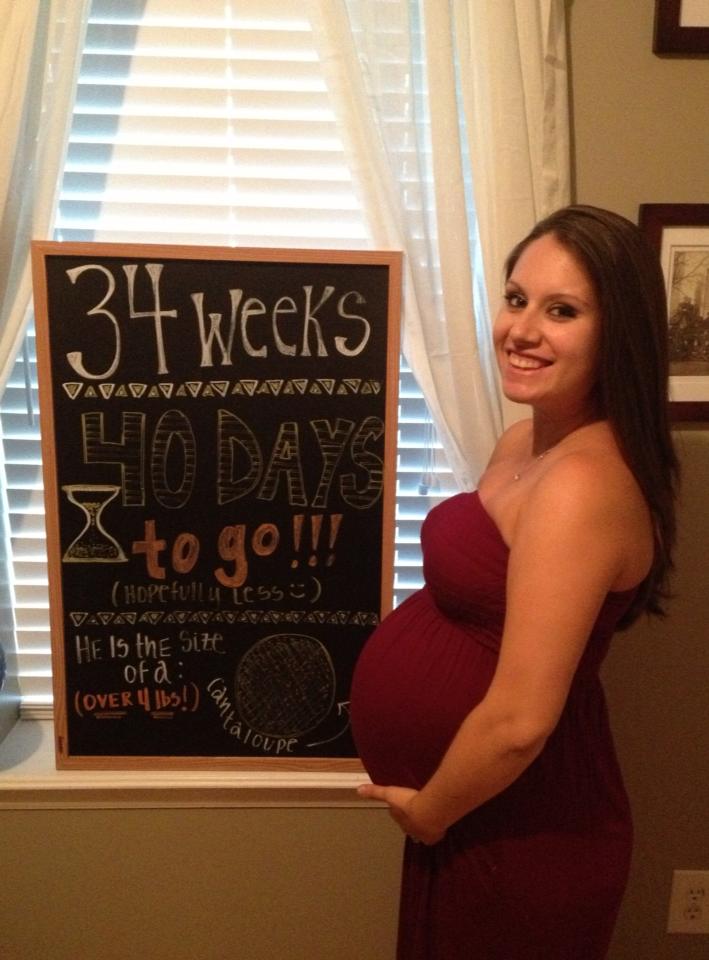
While I’m up to my ears in Halloween decor projects I want to take a quick second to get a post up about my sweet baby P and the fact that he TURNED ONE LAST WEEK!!! I still can’t believe it, I know everyone tells you how the early years will fly but there is nothing that could have prepared me for how fast this year actually went. As for my sweet one year old he is saying several words, walking, eating everything in sight (with the exception of milk, we’re still working on that one lol) and has the funniest little personality. He is learning something new each and every day and it is just amazing to have been able to watch our little boy grow and change right before our eyes over the past year. Looking back on my very first chalkboards while documenting my pregnancy it’s so fascinating to see how our little baby has grown into the little energetic and funny frog that we have the pleasure of spending the rest of our lives with. I will continue to document baby P’s growth using my go-to method of chalk boards but will probably reduce my updates to every three months or so. I hope checking out my other posts on documenting baby P’s growth (month one – six, seven, eight, nine, ten and eleven) will inspire you to document your baby as such, I am so excited to one day be able to share these pictures with him and glad that I will get to look back and remember all the small details of his development 🙂

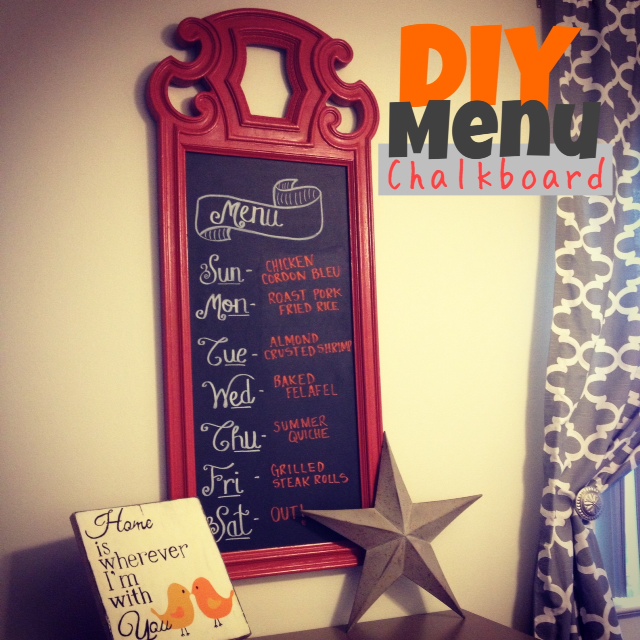
Just so everyone know, I do know the correct spelling of “avocado” lol it was late and my brain was a mush of birthday party planning and chalkboard art 😛