
With several new squishy babies coming into my life in the near future, courtesy of my sweet friends, I am in full baby shower planning/gifting mode. I recently posted my tutorial for DIY Little Man bow tie onsies and am delighted to report that I’ve successfully completed another version of a no-sew “little man” onsie, featuring a fabric neck tie in the form of a fabric applique. This onsie was even easier to create than the first and only requires four items (one of which is an iron, so it doesn’t count lol), no gluing, no sewing, just cut, iron and DONE. If I haven’t already captured your attention with the appeal of a three step process let me tell you this – I spent about $6.00 on supplies for this project (not including the onsies themselves, as I used a pack I already had) and that $6.00 investment has the potential to yield up to twenty onsies (if not more)!!! I will reiterate what I said in my bow tie post, and that is, for a few bucks you have a grand slam of a baby shower gift for any “little man” that may come in to your life, not to mention they make ADORABLE decorations in the form of a onsie clothesline that mama-to-be can keep after the shower (see below). If you are looking to give a meaningful gift that is easy and cost effective, look no further! Of course I adapted this tutorial from the hundreds on Pinterest, and will the include the link to one below in the event that you do want to do a bit of sewing.

here is squishy baby P sporting the onsie!
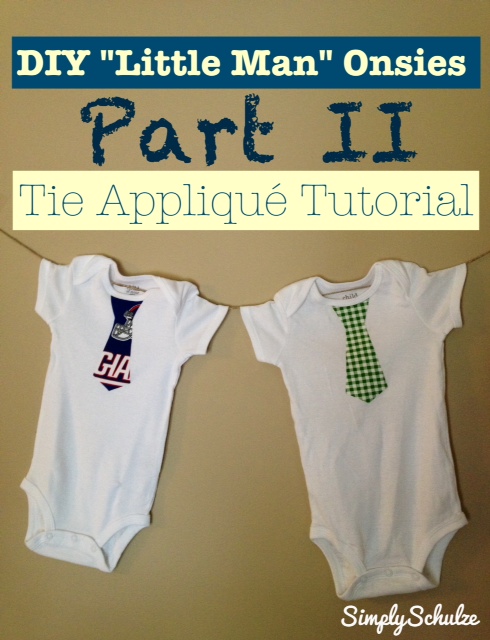
DIY “LITTLE MAN” TIE APPLIQUE ONSIES
YOU WILL NEED:
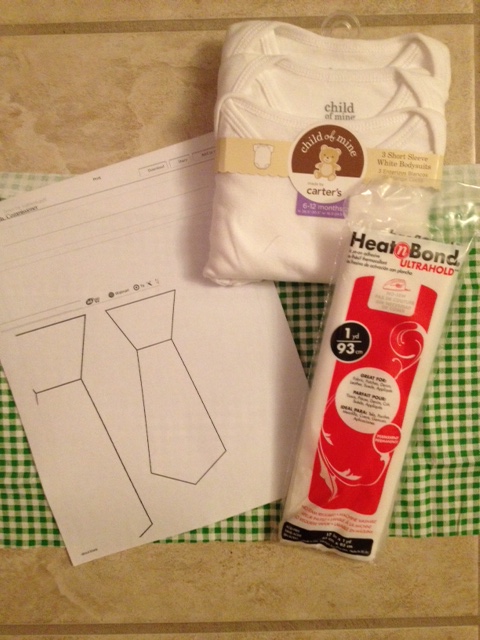
- White onsie or t-shirt
- Fabric of any choice (this is a great opportunity to use up scrap fabric or hit up your local store’s remnants bin, as I do. The green gingham fabric featured below I purchased for $0.79 and it is a little less than a yard in length and 12 inches in width, enough for MANY onsies or bow-ties).
- Heat ‘n’ Bond Iron-On Fabric Adhesive (any brand will do, if it says it is suitable for patches or appliques you are good to go, I purchased mine at Walmart for about $3.00 and it is enough for tons of future projects so you are getting your money’s worth for sure!)
- Tie Pattern (the pattern is printable and available in two sizes, use the smaller for onsies and the larger for toddler boy t-shirts. If you don’t have access to a printer feel free to make your own pattern).
- Scissors
- Iron
INSTRUCTIONS:
Step 1: Take your fabric and cut a piece just large enough for your tie, then do the same with the Heat ‘n’ bond adhesive (this way you can maximize the amount of supplies remaining for future projects).
Step 2: Turn fabric upside down (so back is facing up) and place fabric adhesive side down on fabric so that the paper liner is facing up. Place your iron over the paper backing and hold down for about two seconds, repeating over entire area until adhesive is fused to fabric.

Step 3: Now, trace your tie pattern onto the paper backing and cut out. It is optional to cut the top of the tie pattern in a circular fashion to fit the neck of the onsie, I did so but it looks fine either way!

Step 4: Peel off the paper back from your tie and place it adhesive-side down on your onsie. Hold the iron over the fabric for about 8 seconds, working in sections until the entire tie is fused to the fabric. That’s it, little man onsie complete!

Step 5: A fifth, and optional step, would be to stitch around the onsie as shown in this tutorial (and in most tutorials). As I’ve mentioned before, while I am planning to learn how to use my sewing machine, I currently only sew by hand and to stitch the tie by hand would totally defeat the purpose of this being a quick project, haha. Don’t worry, it looks fab without the stitching as well!
NOTE: Turn inside out when washing, when possible hand wash and hang dry.

Completed onsies!

they had some NY Giants fabric on clearance! Little P will be look fab come football season! Go Giants!


check out my post on DIY hair bows to see how I made my matching bow!

Pingback: Documenting Baby P’s First Year – Month 11 | simplyschulze
Pingback: Football Themed Wreath – NY Giants | simplyschulze