
Let me start by saying I am in love with this craft. This is the quicker, shabby-chic version of a traditional fabric pennant banner (if this isn’t quite your thang, check out my DIY no-sew fabric pennant banner tutorial or my DIY rustic burlap pennant banner tutorial). I plan to come back to this craft time and time again, especially for holiday and party decor. I have seen these done before, however, never had a reason to attempt one until it came time to throw my friend a baby shower and of course I got way carried away when it came to decor and decided that this would make a great last minute addition. Using scrap fabric left over from the wreath I had made the mama-to-be (I will post about the wreath and the shower itself soon!), I was able to create this adorable scrap fabric banner in about 20 minutes! I think my favorite thing about this banner (aside from the fact that it was free to make since I reused left over supplies), is that while it is simply strips of fabric tied to a string, it is a great way to tie all of your decor together by incorporating all of the colors in your color scheme. This would also make an adorable addition to a nursery, I will absolutely come back to this idea for any future nurseries I may be decorating in the distant future! If you have an event coming up and are looking to add a little something extra, just dig around in the depths of your fabric scraps and chances are you can throw something together with scrap that you already have. If you are making this with no fabric on hand, no problem – hit up the remnants or clearance bin at your local fabric store or Walmart, you can often get close to a yard for under a dollar which is much more than you will need for this project anyway! I hope this inspires your next holiday or party decor project and remember not to throw away any of those fabric scraps along the way 🙂

The banner as we displayed it at the baby shower over a chalkboard with baby’s monogram!
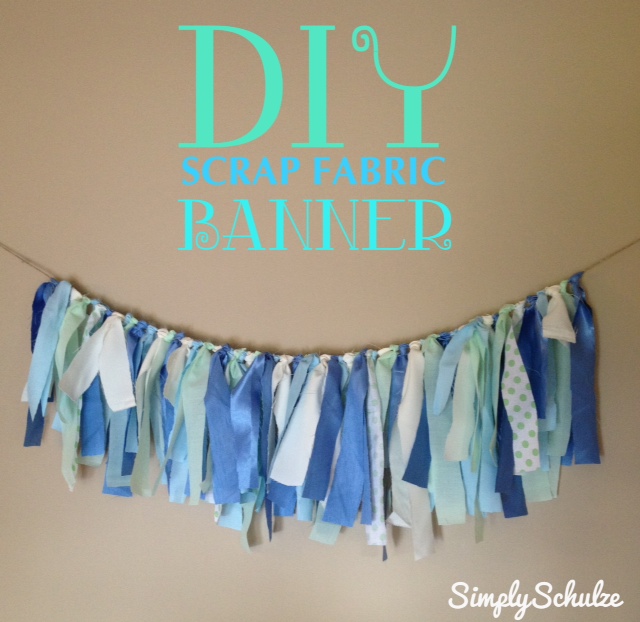
DIY SCRAP FABRIC BANNER
YOU WILL NEED:
- Fabric – the amount and color will depend on your color scheme and the size/length of your banner. There is no limit to the kind of fabric either, mix textures and prints and get creative!
- Twine/Ribbon/String – to tie your scraps around, I used left over twine from another project but a ribbon of a complimentary color would have been nice as well!
- Scissors
INSTRUCTIONS:
Step 1: Begin by cutting your strips of fabric. Whether or not all of your strips are the same width and length is up to you. When cutting my strips I started with one fabric and cut a bunch of the same width and length, then moved onto the next fabric and cut them about the same width but a different length from the original group.

Step 2: Lay out a piece of twine or ribbon, the length will depend on how long you want your banner to be. Make sure you leave enough slack on either end for hanging.
Step 3: Fold a fabric strip in half (as shown) and lay it across the twine or ribbon, then pull the two “tails” of the fabric under and through the “loop” (see picture), pulling it tight to form a knot.


Step 4: Continue in this fashion, after each knot is made slide it down so that it fits snugly against the one before. I arranged mine in no particular order but you can follow a pattern of colors to make the banner look more uniform if you wish.

Finished product! This would be great to hang above the crib in a nursery, I know my hubby was too paranoid to let me hang anything heavy over baby P (even wooden letters lol) so this would be a great worry-free piece of decor! 🙂

Pingback: Rustic Burlap “Autumn” Pennant Banner | simplyschulze
Pingback: “Where the Wild Things Are” Hand Painted Sign | simplyschulze
Pingback: DIY Scrap Fabric Wreath – St. Patty’s Day | simplyschulze