

When planning my gallery wall I knew that I wanted to incorporate some unique design elements when it came to our pictures and frames. Since I had to scale down the size of the gallery wall due to lack of space in the new house, I decided that instead of incorporating typography prints into the design I could free up room for more photos on the wall by simply adding a printed mat to one of the larger photos. I drew inspiration from a photo mat I had seen handwritten on using a sharpie but didn’t duplicate the idea exactly because while I do believe my hand writing to be pretty neat (*hair flip* lol), I figured given that I would have to see this project on display everyday that I would leave the printing job up to my trusty ol’ laser printer. The particular photo I was needing a mat for was one of our wedding photos, so what better wording to surround it than the lyrics to our first dance? Which is “The Book of Love” by Peter Gabriel if you’re wondering (if you want to see me cry buckets just wait until I finish my third glass of wine and put this song on repeat, lol), if you’re a Scrubs fan you’ll know this as the song that plays in last scenes of the series finale. Anyway, enough about that (but really, how awesome is the show Scrubs? lol). This project is quick and easy and with the holidays right around the corner, would make a great gift! This can be done using any text, you can use song lyrics, the text from a love note or even an excerpt from a novel (for all the book worms out there like my hubby!), to name a few. Lastly, if the adorableness that is my hubby and I in the vineyard hasn’t already made you nostalgic for your own wedding and itching to craft (haha), allow me to further convince you – this project costs next to nothing, all you need is access to a laser printer, a photo mat and some mod podge! I hope this inspires you to frame one of your favorite photos or jazz up an existing framed piece 🙂
WHAT I USED:
- Plain Photo Mat
- Laser Printed Wording – it must be a laser print! If you use an inkjet print it will smear when you paint on the mod podge. If you do not have a laser printer you can print the document at your local print center for a few cents a page. NOTE: I printed mine at home and cut it into sections. If you are going to be super OCD about your wording all lining up, print your wording on a paper size that is LARGER than your frame mat and cut the paper to fit the mat using an x-acto knife. This way your paper will fit your mat exactly.
- Mod Podge – matte or glossy, doesn’t matter. Personally, I prefer matte.
- Scissors
- Foam Brush
WHAT I DID:
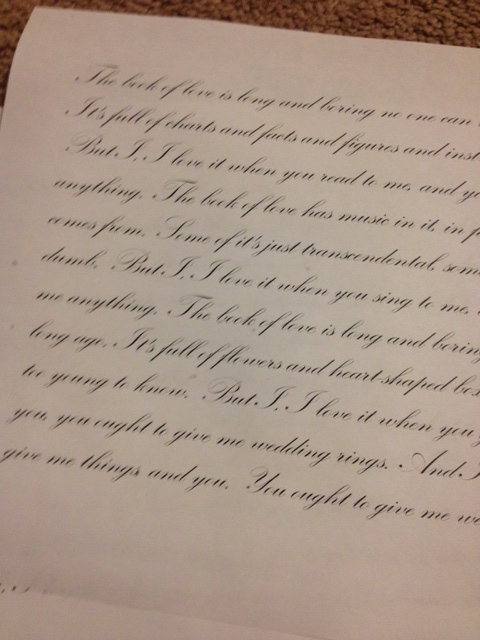
Step 1: I began by typing up my wording. I simply copied the lyrics from a lyric site, then pasted it onto a Word document and lined it up as shown below. Next I copied the entire body of text and just pasted it over and over until I had a full page of wording then printed.

Step 2: Next I cut the pages into sections to fit my mat. I did not care about my wording lining up perfectly since it was going to be displayed at a distance, but if I had wanted it to be perfect I would have done as I suggested above by having a 16X20 sized document printed at my local print center then cutting it to fit the mat using an x-acto knife.
Step 3: I coated the backs of each of my printed pieces with mod podge and placed them carefully onto my frame mat. I gently smoothed the paper once I had placed them onto the mat ensuring that there were no air bubbles trapped between the paper and the mat. I then allowed the mat to dry.


Step 4: Once my mat had dried I used a my foam brush to coat the top of the mat (atop the print), then allowed this coat to dry. That’s it! Once the mat dried my beautiful picture was ready for assembly and display 🙂

Total project cost was right around $5.00!!!

Pingback: DIY Fabric Covered Photo Mat – Made from a Cereal Box!!! | simplyschulze