DIY Hanging Beach Sign – A Scrap Wood Project

phonto

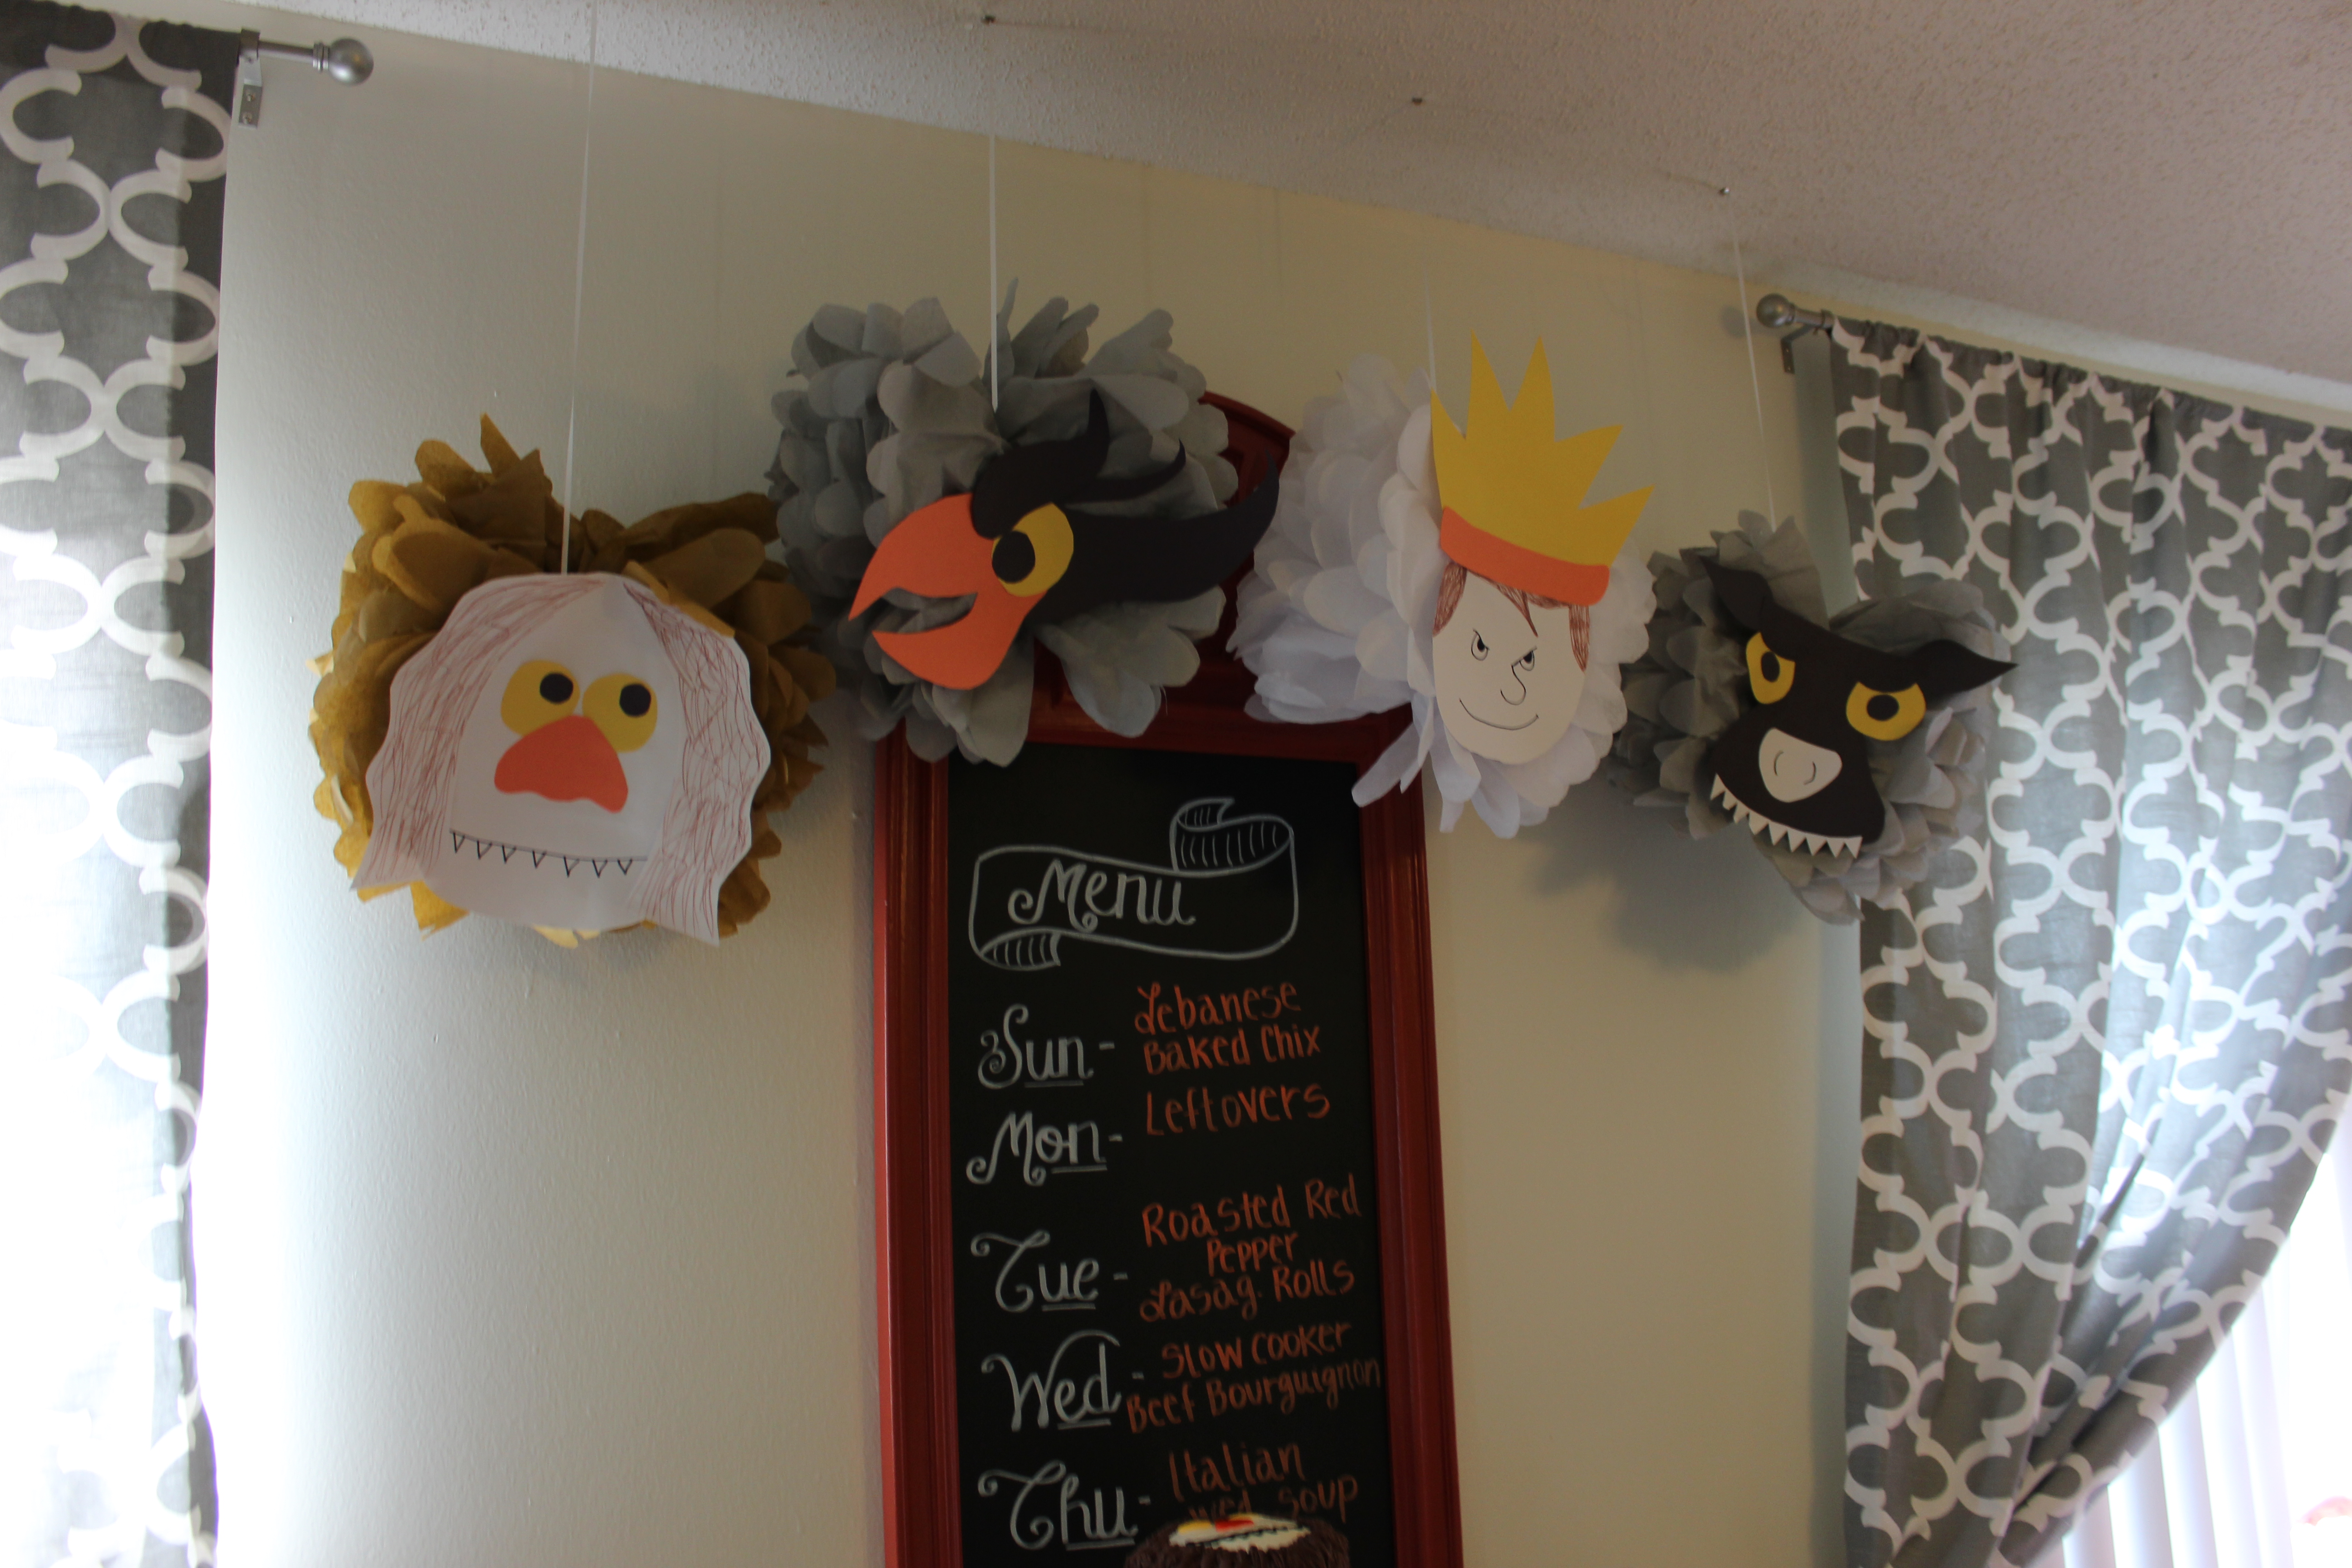
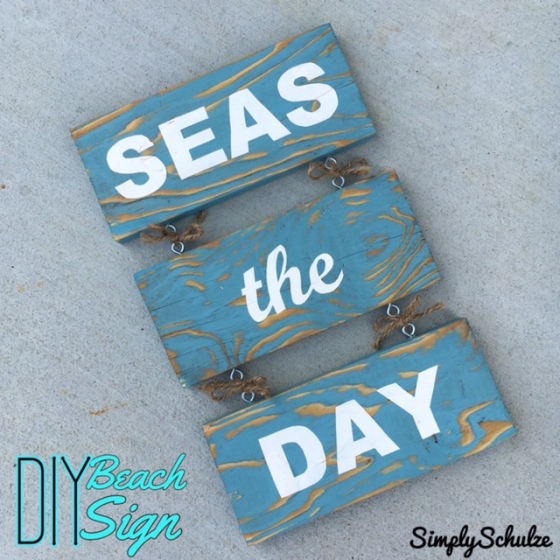
So in catching you guys up on six months worth of projects and furniture updates I won’t even attempt to post in any sort of specific order, just whatever comes to mind that day or happens to be relevant to me at the moment, ha. One of my most recent projects was this little beach sign, that was prompted by an invitation to a “Pinterest Party” (everyone brings a Pinterest recipe and works on a craft from their Pinterest list or all work on one predicated craft, depending on what the group decides). Since we had just moved in and the house was in shambles (and lets be real – still is lol) I wasn’t about to go digging about for supplies but at the same time didn’t want to run out and re-buy a bunch of things that I already owned (albeit may never find based on the current state of what will eventually be turned to my craft room, haha). My solution? A scrap wood project!

One of the things we’ve learned in our many moves is that the movers will pack some strange things. Granted I appreciate them erring on the side of caution when packing items and not just assuming we wont need questionable items and tossing them to the side, there have been reports of movers packing used dog bones, toilet brushes (gah! so gross!) and even trash cans full of trash! Needless to say we usually wind up with one or two things that definitely didn’t need to make the trip and would have been just trashed at our place of origin, haha. This particular move they ended up packing up some scrap wood that was meant for the trash and I’m actually thankful they did! One ended up being a perfect two foot piece and even with our saw table still broken down I was able to find a small space in the corner of the garage to plug in our saw and cut it into three eight inch pieces on the floor – don’t attempt this at home, lol. As for the “seas the day” quote and beach style of this piece, it was inspired by our guest/kids bathroom which is a beach theme (you can read about our bathroom transformation here and although we’ve moved several times since, we’ve managed to keep the theme and same décor going from home to home). I’ll give a quick tutorial but make sure to check back on this post for links to other DIY beach projects you can find in this bathroom!

FullSizeRender

SUPPLIES:

  • 3 8″ pieces of scrap wood
  • paint – if you like my choices I used “Blue Lagoon” and “String of Pearls” both by Valspar (I purchased sample sizes of both) and both amazing coastal colors.
  • electric sander or sanding blocks
  • painter’s tape
  • x-acto knife
  • computer and printer
  • dark or clear furniture wax (hard or soft, whichever you prefer/have on hand)
  • 8 eye hooks – the size is up to you, I used very small ones since they’re not bearing any real weight.
  • twine
  • drill with very small drill bit – this is to drill tiny holes for the eye hooks on the bottoms and tops of the individual signs so it will be easy to twist them in. My hubby can usually twist these in without drilling so if you’re super jacked you might be able to skip this step [insert muscle emoji lol]
  • keyhole hanging system (to mount sign on the wall once complete)

INSTRUCTIONS

Step 1 – Begin by painting each of your three wood pieces in blue (or white if you plan on doing the reverse color scheme. Once dry, distress them by using either an electric sander, hand sander or sand paper.

Step 2 – For painting on your letters using the painter’s tape/x-acto knife method refer to this post. If you have access to a cricut or silhouette you can skip this step and just create your stencil using your machine.

Step 3 – Once you have the wording on your piece and it is fully dry lightly sand over the surface to further distress and remove any excess paint build up around the edges of the words. Dust off your piece and apply your wax as per the instructions on the particular wax you are using. I used a dark wax for this piece to add a warmth/distressed look – the soft wax I’ve been using lately is Chalk Mountain All Natural Wax available via Amazon. If you need some guidance or pointers on applying soft wax to your projects there are some great tutorials on YouTube!

Step 4 – Next, drill *very* small holes on the tops/bottoms of each piece where you plan to insert the eye hooks (I drilled them two inches in on each side), make sure your drill bit is smaller than the girth of your eye hooks because you want them to screw in tightly. Once you have drilled your holes simply twist in your eye hooks.

Step 5 – Almost done! Now use a small piece of twine to tie each of the signs together.  

Step 6 – Finally, secure your keyhole hangers to the back of the top-most piece. D-rings would work too I just prefer the keyhole hangers so that the sign will be flush with the wall.

That’s it! There you have it, a fun little beach sign that can be made with minimal materials. Don’t feel like making it yourself? It’s available in my Etsy shop so feel free to purchase one directly from me!

Fan of coastal chic décor? Here are some links to check out some of my other coastal chic projects:

Coastal Chic Side-Table Re-Do

DIY  Nautical Twine Picture Frame

13599978_10157148296985486_8751564839607738703_n

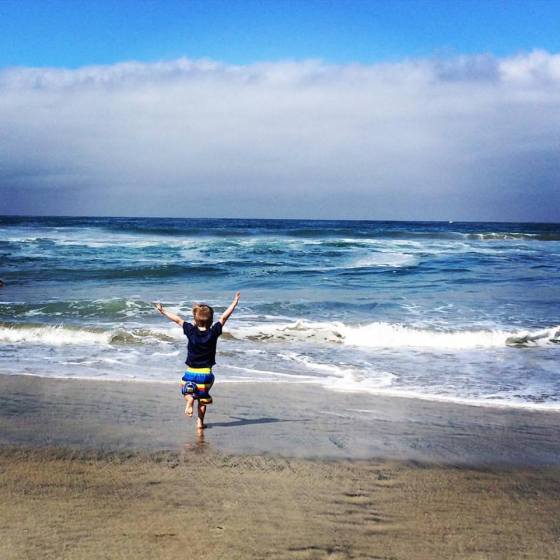
A snapshot of our current coastal living situation 🙂

Life lately – love, loss and lots in between …

Ah, yes, these “it’s-sure-been-a-while” posts have certainly become the norm for me this past year but I’ll try not to make a habit of it from this point forward. The happy cliffnotes version of the Schulze clan’s most recent happenings include a move across the country to sunny California and a new baby BOY on the way (due December 1st). Sadly this year has not been full of happy occurrences as shortly after my last post I lost one of my closest friends, Kim. Her passing was sudden and one of the hardest things I’ve experienced in my life. I felt that I couldn’t continue to post my usual blog content without first addressing and honoring a person who so greatly influenced (and will continue to influence) my life, yet couldn’t quite find the words. So, nearly six months later in wake of being asked to write a memorial article for our ten year high school reunion I felt that I should use this opportunity to begin to express in words how much Kim’s life meant to me and how deeply I’ve felt her loss ever since her passing.

Kim was one of the most wonderful people I’ve ever know, so much of my creativity has been sparked with her in mind and there isn’t a day that passes that she isn’t in my thoughts. While the assumption tends to be that time heals emotional wounds this won’t necessarily hold true in the case of a loss as time can simply bring to light the permanence of a passing as you begin to live life as you would, just with a special piece missing. These last few months have brought so many exciting changes to my life (pregnancy, a move to California etc.) and with each phone call that I can’t make to her, with each passing birthday of her children, her loss becomes all the more permanent to me. While it isn’t as if we spoke every day the fact that I know she is no longer a physical part of my life has me thinking about her constantly, longing to speak with her and full of sorrow for her family and the fact that she was a part of their every day lives and is now absent.  I feel that by addressing my feelings just a little bit to whomever might be reading this, it helps me to keep her alive in my heart (in a happy way) and might help to give those who didn’t know her a just a little hint of just how much her life impacted those around her and what a truly amazing woman, mother, daughter, sister and friend this world is now without.

In loving memory of Kim (12/4/87-2/21/16)


New Year, old projects – catching up on the blog!

Wow it has certainly been a while. Surprise! I haven’t made good on my promise to update more regularly BUT one of my promises I’m making to myself (and to my followers) for the New Year is to post much more frequently and find more time write.

Although I’ve been short on time to write I certainly haven’t been short on time to craft and create! I’ve got a whole slew of great projects to share with you guys including some of my favorite furniture re-furbs to date! Also, if you’ve been looking for some wedding or event inspiration I had myself quite a time creating lots of unique pieces for a few fall weddings and events that I’m so excited to share with you.

As far as my little fam goes I’d like to say that the Schulze clan definitely rocked 2015. After our move to Quantico I spent the remainder of the summer and most of the fall traveling between Q and LI (with my little sidekick P in tow!) to fulfill my MOH duties, crafting all the while! It was definitely an exciting year filled with the love of friends and family and lots of fun, but with a little personal event kind of bumming me out at the close of the year I’m pretty excited to move forward and see what 2016 has to offer (all positive things I hope :)). Hope you all enjoyed 2015 as much as we did and I hope that you keep an eye out as I catch you up on all of this year’s projects!

Here are a few of our family highlights!

DIY “Where the Wild Things Are” Tissue Paper Character Poms

wtwtapoms

Okay, so I’m slowly but surely catching up on posts about Baby P’s “Where the Wild Things Are” first birthday bash (check out my last two posts on my DIY hand painted sign and DIY Pinata) so I’m going to follow those up with a DIY post creating a piece of party décor that seem to be all the rage on Pinterest – tissue poms! Let me start by saying that I love tissue poms, they are SO easy to create (despite the fact that they are sold on Etsy and at local craft stores for much more than they are worth) and are the perfect addition to any party theme, adding a sort of whimsical feel for just a few dollars. Needless to say anytime I host a party of any kind I can always be found floofing (is that a word? lol) and hanging tissue poms right before the event, haha.

When it came time for P’s party I was trolling Etsy for “Where the Wild Things Are” design ideas that I could possibly DIY and came across the most adorable set of character tissue poms that were listed for (hold on to your hats) $54.00!!! That’s right folks, five-four dollars, almost double what it costs me to fill the tank of my SUV (off topic but are you not loving gas prices right now? lol), for an item made up of mostly tissue paper – unreal. I didn’t do any further investigation to see if the item was actually a hot seller (I am to this day blown away by the price, haha) but I’m glad that I was able to use it as inspiration, after all it was as simple as creating a few basic tissue poms and gluing on some construction paper faces!

I don’t have step-by-step photos for this one because as long as you can figure out how to make the poms themselves using either YouTube or Pinterest tutorials then the rest will be pretty self explanatory, all I did was cut the various shapes for the “wild thing” faces out of construction paper and used magic markers to color in where needed. Once I assembled the faces I used Elmers glue to attach them to the front of each of the poms, allowed them to dry and that was that! This was a super easy and fun way to jazz up the party décor and I definitely see myself returning to this idea for future parties, as you can basically create a character from any pom.

IMG_0342

everyone loved these character poms!

IMG_0341

.. a few of the various other poms I used as décor over the food table.

IMG_0343 IMG_0344 IMG_0345