

Crazy thing happened this week … we accepted an offer on the house!!! So exciting and sad at the same time, because although putting the house on the market was a good decision and I’m excited to move on base, I’m getting graduation goggles about selling it given all of the memories our little family has made here so far. That being said as long as nothing falls through on the buyer’s end we will be peacin’ out of this bad boy by the end of June, so I better get all of my house transformation posts up before I’m categorized as creepy if I’m technically posting pictures of somebody else’s home, haha.
In my post on refinishing cabinets I spoke a little about my our master bathroom update but would now like share the whole project in detail! Again, most of our updates were cosmetic as we wanted to create the most change for the least cash. This was our final major house project and we were in a race to get it finished given our very important deadline – the arrival of baby P! Now, I’ve spoken before about how I’m a true believer that with a little paint and the right decor you can create a transformation that is budget friendly but will still rival that which would be made by an actual renovation. We applied that idea here as well as in the guest bathroom where a few small changes resulted in a complete revival of an old dingy space. Since this was our last major project, our vision for the space changed many times between the date we purchased the house and the time that we actually got to the project. Originally we came in guns blazing prepared to paint, rip out the vanity, install a new tub surround, basically change everything until we realized that with limited knowledge on how to do the aforementioned and seriously limited cash preventing us from hiring professionals to do it for us, our vision was going to have to change drastically. We decided to ax the idea of installing a tub surround and simply give the old tiles a real good scrub down instead. Still stuck on the idea of replacing the vanity, we held off because that was going to cost us a pretty penny and with paying as we went along (no credit cards) and other house projects in the works, the master bath remained on the back burner. As P’s due date drew closer, we wrapped up a few other projects and finally decided to tackle the bathroom, going with plan c if you will, our third and final game plan – replace the toilet, repaint the vanity, replace the vanity top, paint the walls, decorate, DONE. We were super motivated to get this done, especially since we had been showering in the guest bathroom for months given the sorry state of our on-suite bath, my big pregnant self even did all of the painting and decorating while J was at a job school in Norfolk because I was too antsy to wait to get it done, haha. Hope this inspires some DIY in your life, remember say no to renos and difficult transformations, chances are you can fake it with some paint and great decor!


it is purely coincidental that I am wearing the same shirt in the two pictures taken over 6 months apart haha
WHAT WE DID:
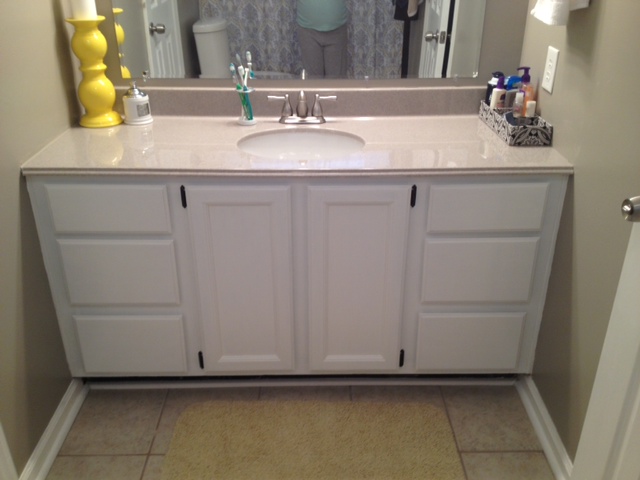
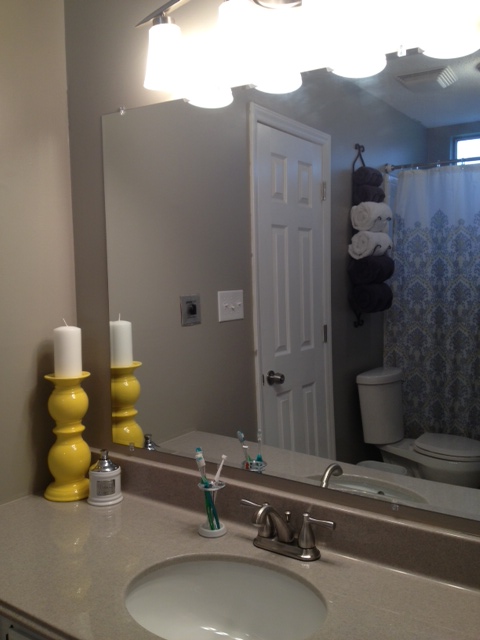
- Replaced the vanity top.
- Repainted the vanity cabinets. We decided to repaint the vanity given our frustration over having replaced the other two and wishing we had just gone this route in the first place.
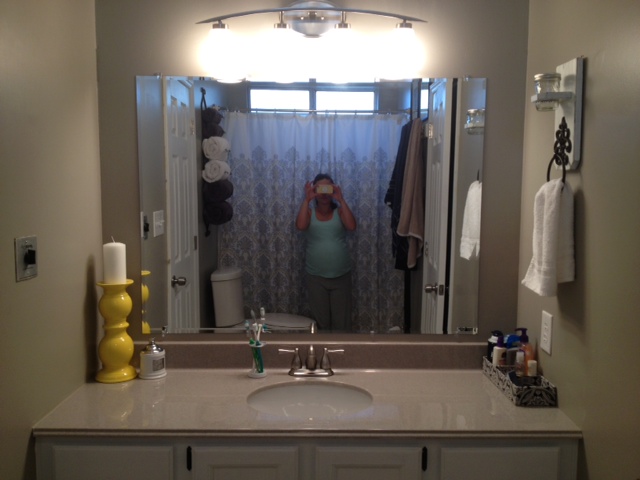
- Removed old mirror and replaced it with a new beveled edge mirror.
- Replaced the toilet.
- Painted the walls.
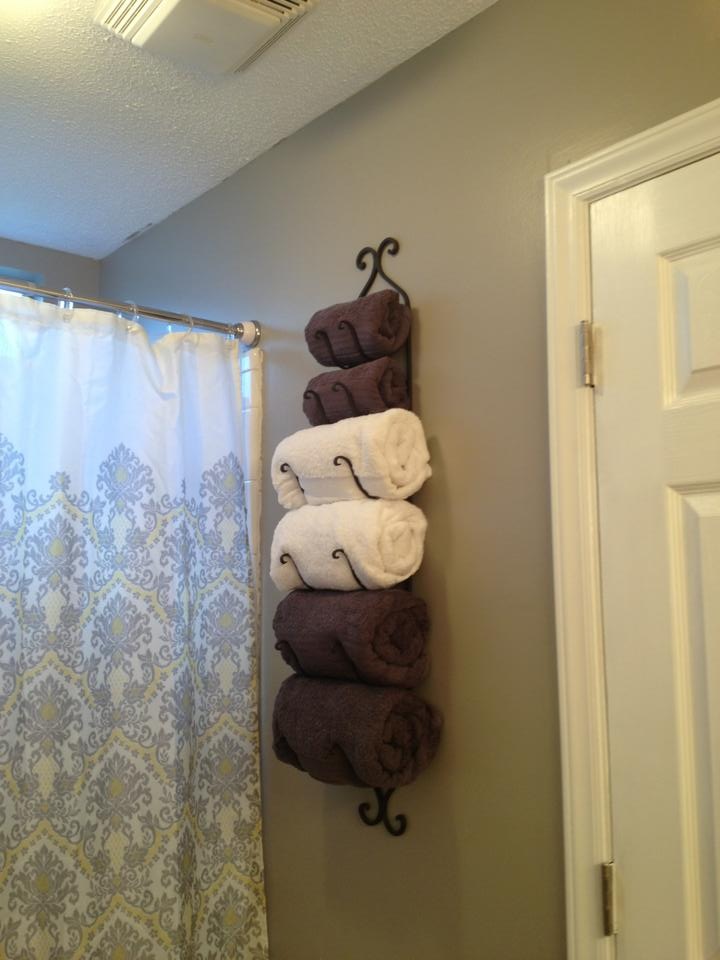
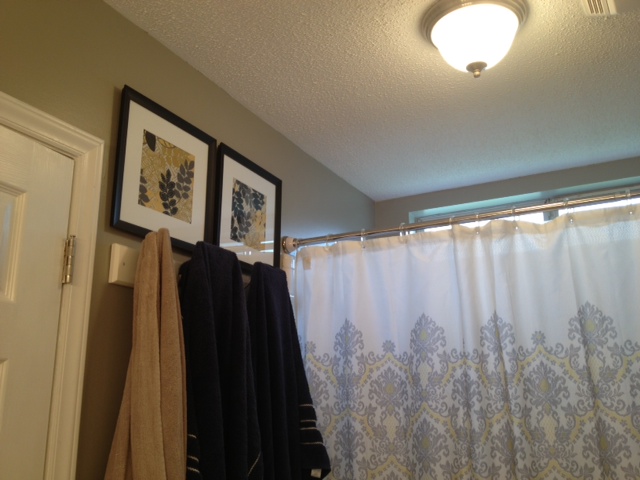
- Hung a wine rack that we repurposed as a towel rack.
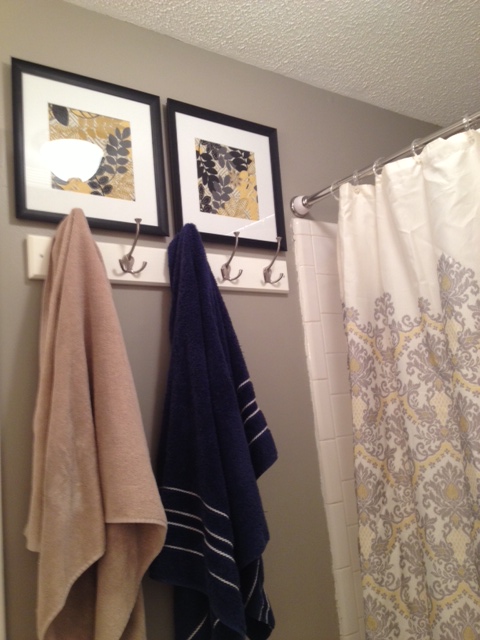
- Hung a 5-hook rack for hanging towels.
- Hung a shabby-chic towel ring.
- Hung two DIY “paintings”.

me picking up the 5 foot vanity in my Kia Soul haha
SOURCES:
- Vanity Top // Purchased at Lowes, available through special order (since we were replacing a custom size we needed to order a custom sized top). It cost us in the neighborhood of $500.00, which was a little less than it would have cost us to replace the whole vanity and floor tiling (but a WHOLE LOT less work).
- Beveled Edge Mirror // Purchased at Lowes, available here for $41.97.
- Toilet // Purchased at Lowes, available here, for $139.00. Since it is a dual-flush it is supposed to conserve water.
- Paint // Color is “Montpelier Ashlar Gray” by Valspar.
- Wine/Towel Rack // Purchased via Amazon for $34.50, available here.
- Five-Hook Rack // Purchased at Target, available here for $23.79.
- Towel Ring // Purchased via Etsy from “midwesterntreasures” for $26.50.
- Shower Curtain // Purchased from Overstock, available here for $24.49.
- Square Grey/Yellow “Paintings” // DIY project, I simply inserted a piece of fabric into a $4.99 frame from Michael’s (I will write a post about this soon!).
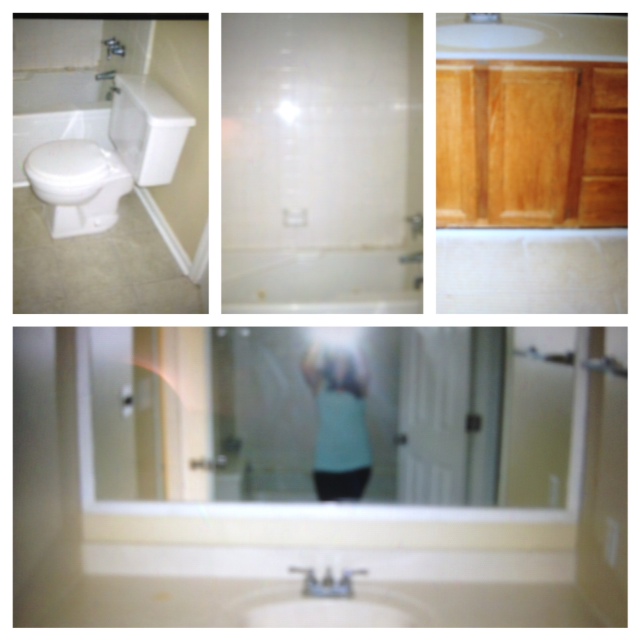
Since the bathroom is attached to the master bedroom which has a grey and yellow color scheme we carried that into the bathroom as well. Sorry I only have one set of before pictures but you’ll still get an idea of how awful it was, don’t worry haha.
BEFORE

AFTER

We estimated this project to have cost us around $850.00 when all was said and done. Although it seems pricey it sure beats a remodel and since we did everything over the course of several months and only purchased items as we had the money to do so, this helped a lot.

After looking at a handful of the blog posts on your blog, I really like your way of writing a
blog. I book-marked it to my bookmark webpage list and will be checking
back in the near future. Please check out my website too and tell me how you feel.
Thank you so much! I will definitely check it out 🙂
Pingback: DIY Mason Jar Bathroom Organizer | simplyschulze