Laundry Room & Command Center Transformation

laundryroom

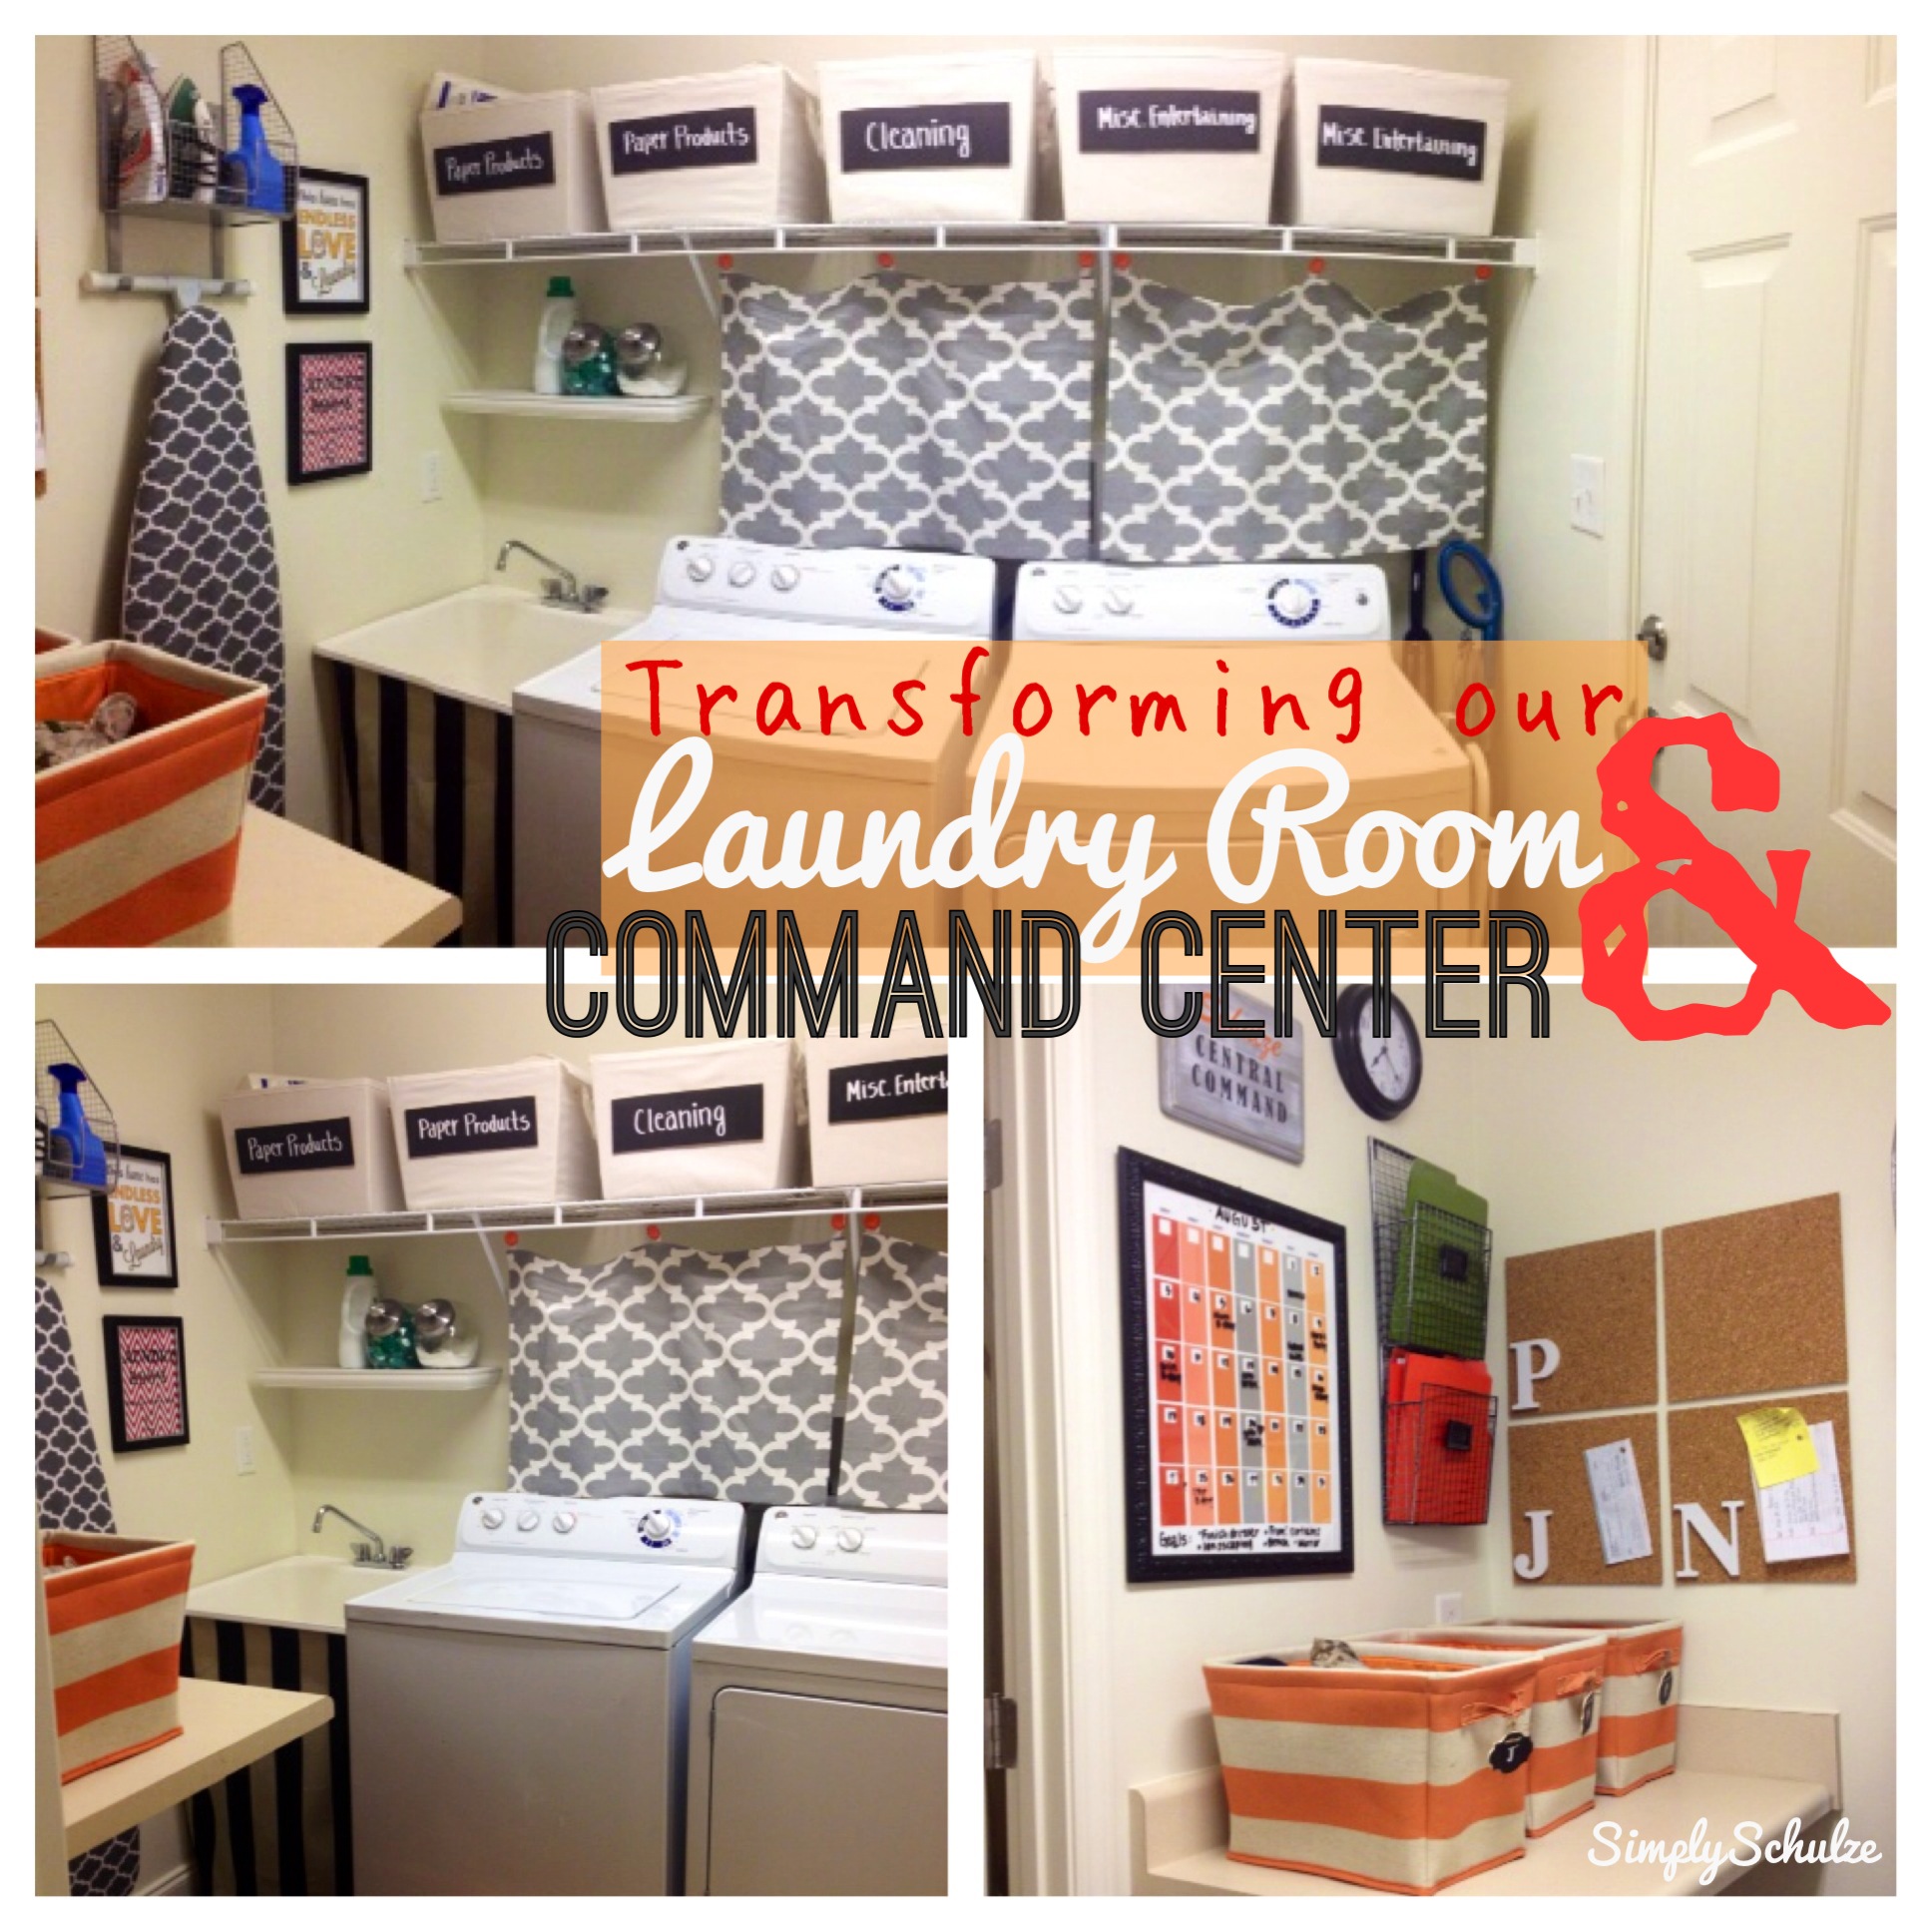
Finally! I am so excited to share my laundry room and command center transformation with you! Now it may not seem like much of a “transformation” to you, but in the short time that we had been living in this home pre-transformation this room was one of my least favorite rooms in the house. Not only is the room barely big enough to fit a standard size washer and dryer, it quickly became the catch-all and family dumping area of the house, anything that didn’t have a place would just get tossed in the laundry room. I was on a mission to fix this problem room because as much as I disliked the laundry room, I knew that if I was successful in transforming the room it would be so wonderful to finally have an actual “laundry” room as opposed to having the washer/dryer hook-ups in the garage as it was set up in our last home. Additionally, I was super excited to draw inspiration from so many of the amazing laundry room and command centers that I’ve seen on Pinterest but were never able to apply to our Honey Tree home.

A lot of this project was simply de-cluttering and organizing the space. With the addition of a few storage solutions and DIY decor I was able to transform the space for very little money (and it was worth every penny! lol). The “command center” was just my little addition to help organize our random to-do lists, receipts, coupons etc. and centralize all of the little “hey-where-the-heck-did-I-put-that ______?!” items. Oh, and to display a calendar of course, which is a great point of fascination to my hubby who had no idea how busy our lives were, haha! I hope this inspires a transformation on your end, you will be amazed at how easy this project was and even more amazed at how much it has organized us with just a few small additions to a tiny under-utilized space. Check out my pictures below for DIY ideas and links to their tutorials, as well as sources for all of my decor!

laundryroom1

Before! Okay, I know a lot of this transformation ha to do with organization lol but I think a lot of people can agree that the mudroom tends to become a family dumping ground for miscellaneous items and I was determined to change that!

laundryroom2

After! Organized and stylish, if I do say so myself 🙂

laundryroom3

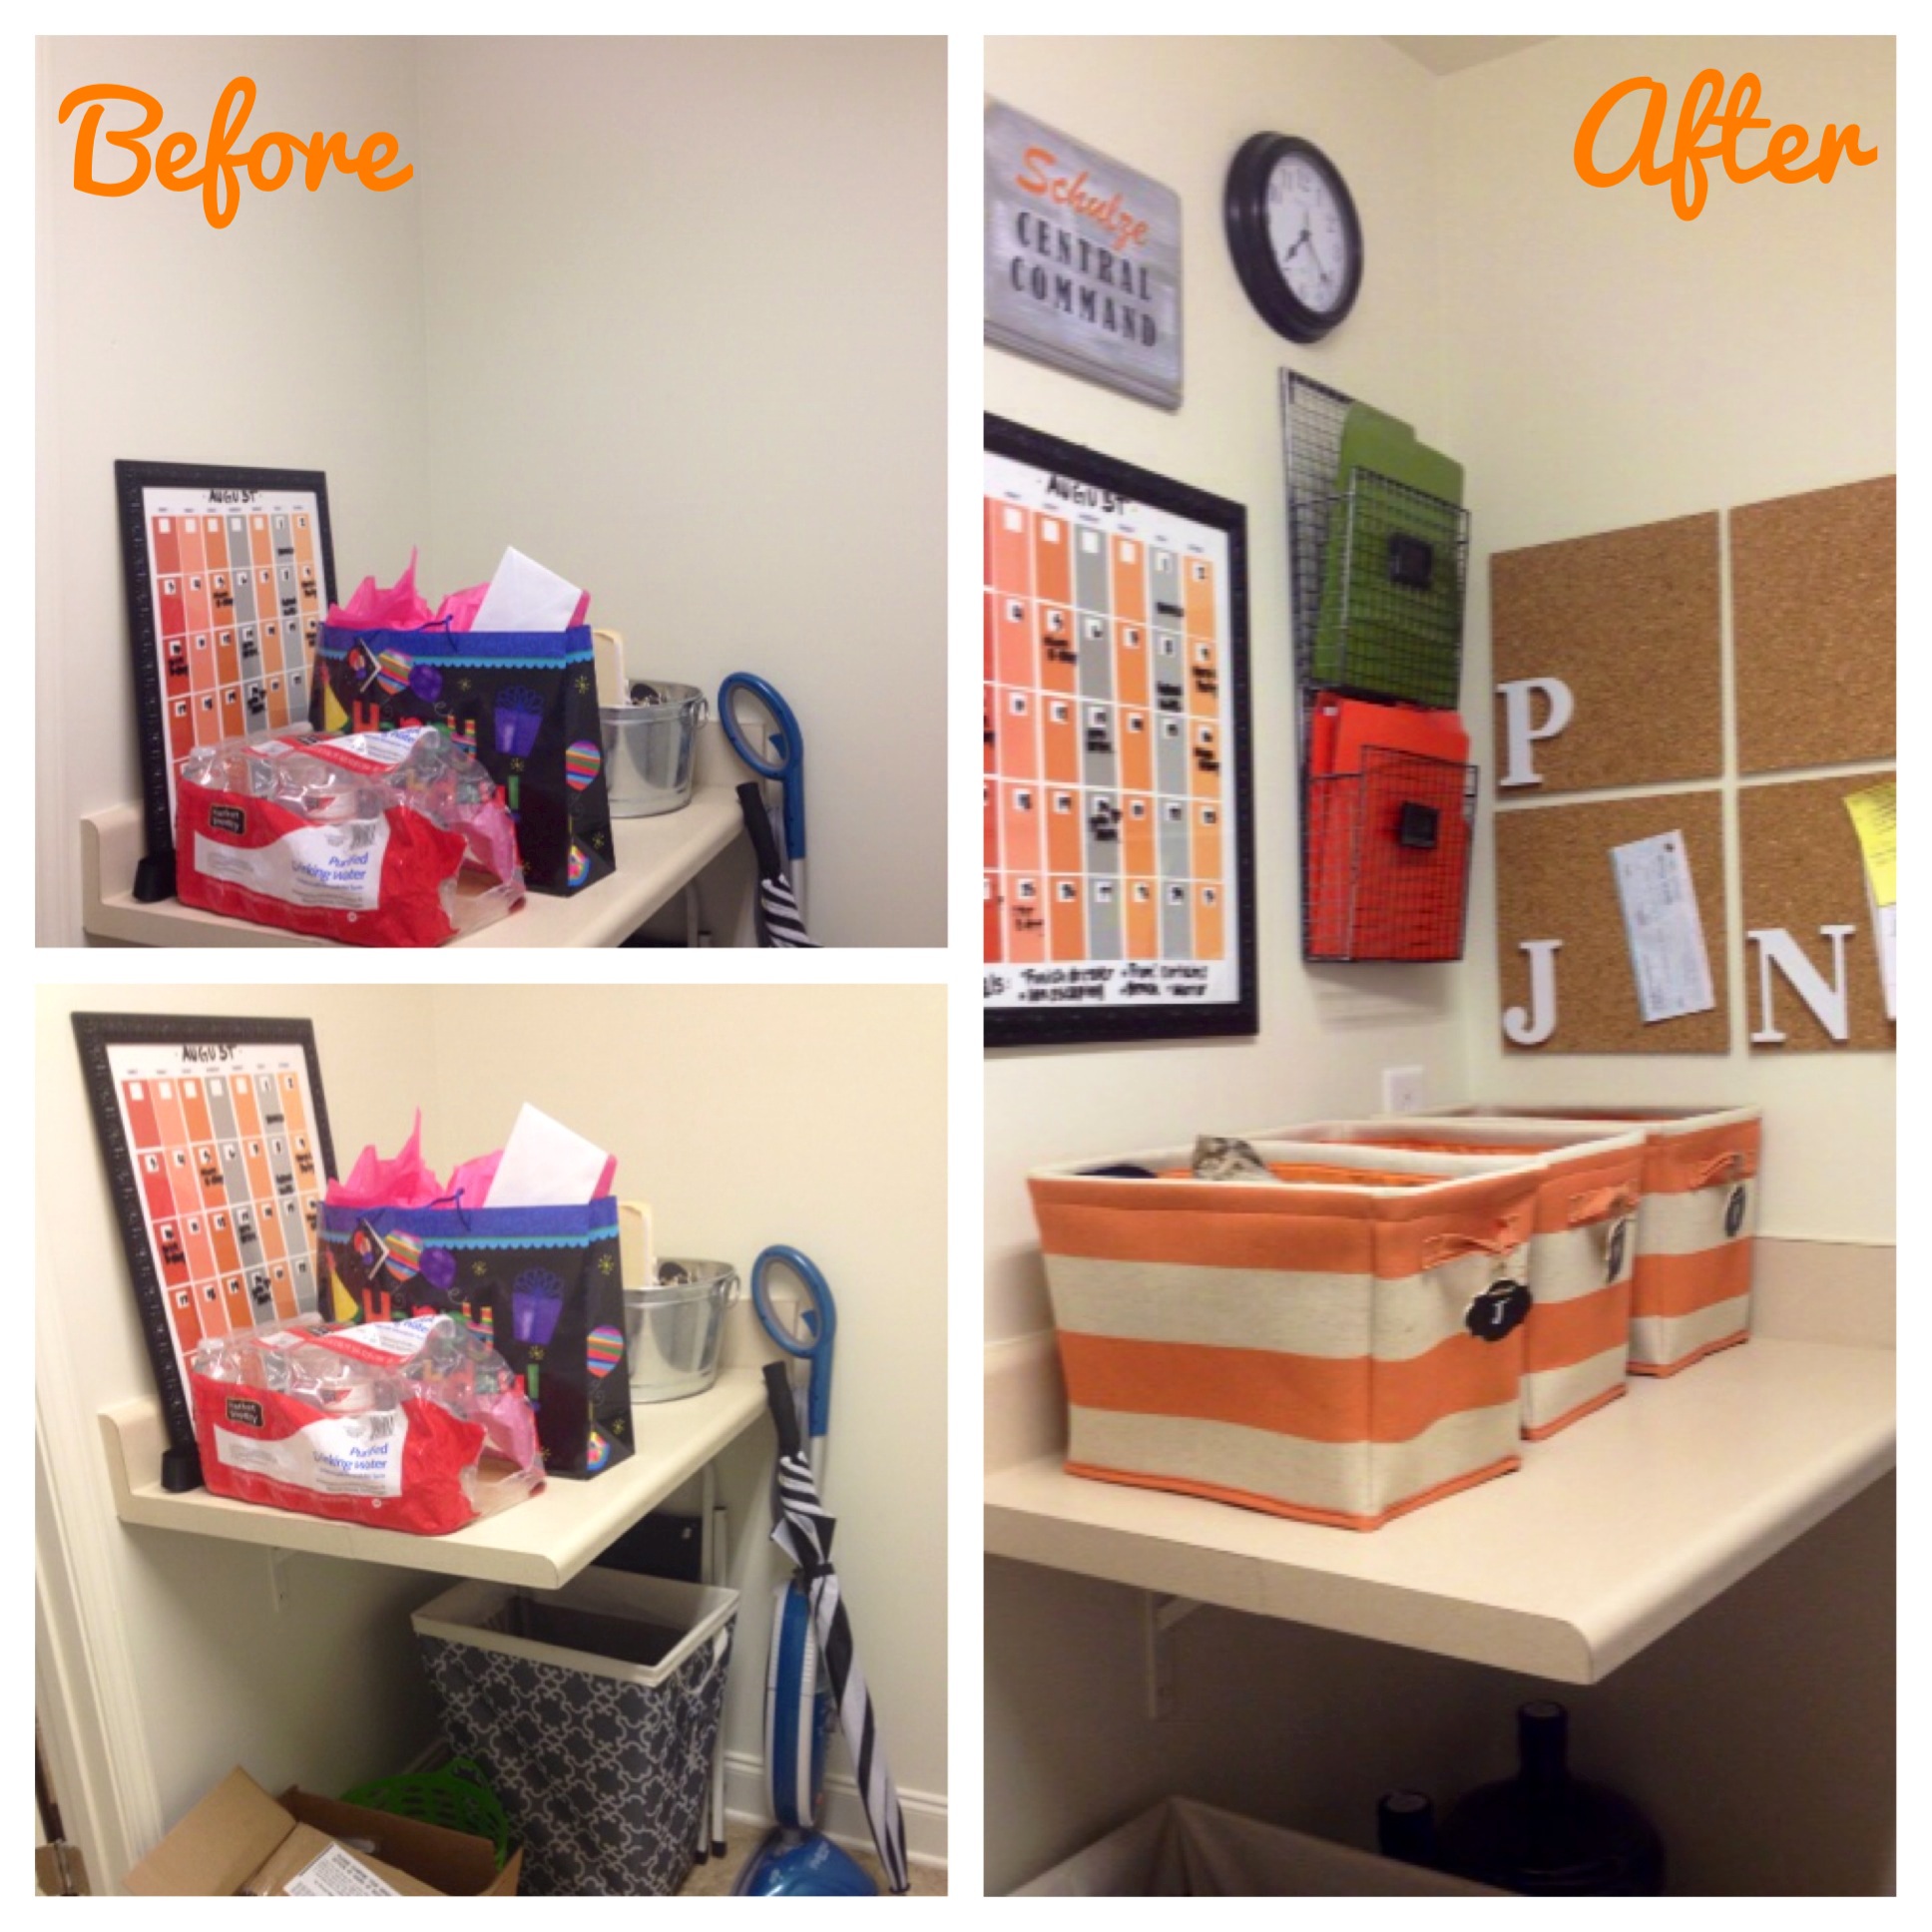
Command area, before and after!

laundryroom4

Laundry area, before and after.

laundryroom6

See sources below to see where I found these free printables!

laundryroom8

Follow this link to find see how I went about creating this sign!

laundryroom9

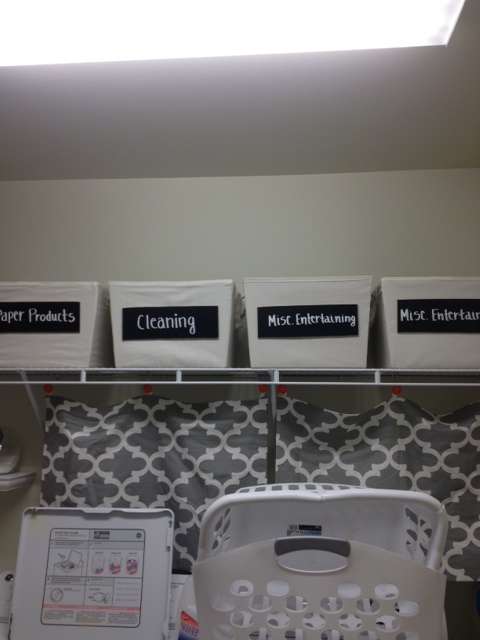
These serve no purpose other than to cover up the ugly wall and washer hook-ups behind them but I think it adds a little pretty somethin’ to the room 🙂

laundryroom10

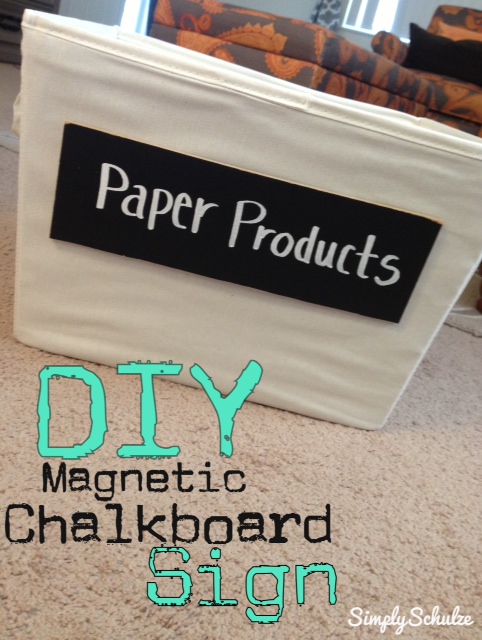
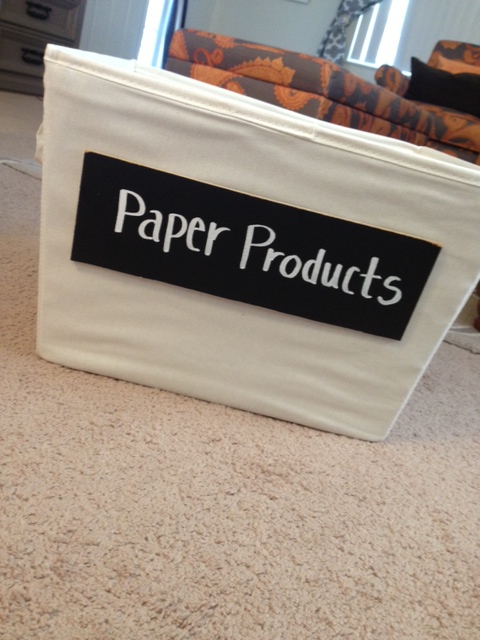
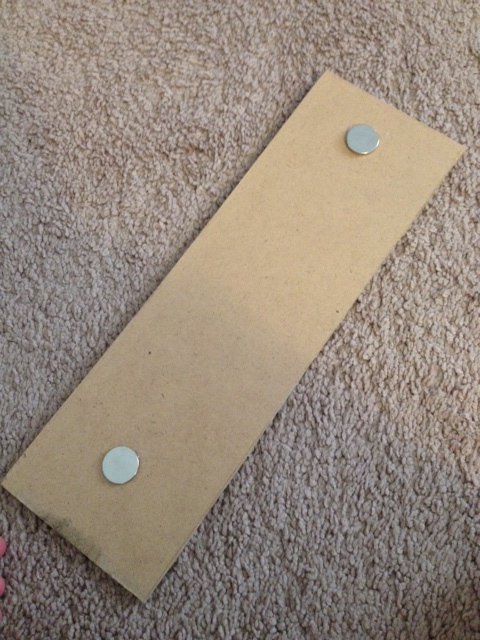
These descriptive chalkboard signs are held on to the totes by magnets, the perfect thing for me since we are not staying here long and who knows what we’ll be using these bins for in our next home. Follow the link to see how I made them!

laundryroom11

DIY calendar I made using paint chips, unfortunately I didn’t have my day planner handy so I could only remember two things we have to do this month, haha, obviously I REALLY need this calendar! lol This picture links to my tutorial so check it out, this project is basically free!

laundryroom7

This transformation cost me somewhere in the neighborhood of $200.00, however, to permanently organize and stylize this room using items that can easily be reused wherever we end up next, it was a small price to pay! That being said, a similar look can be achieved for next to nothing if you’re open to different color schemes and products. 


laundryroom0

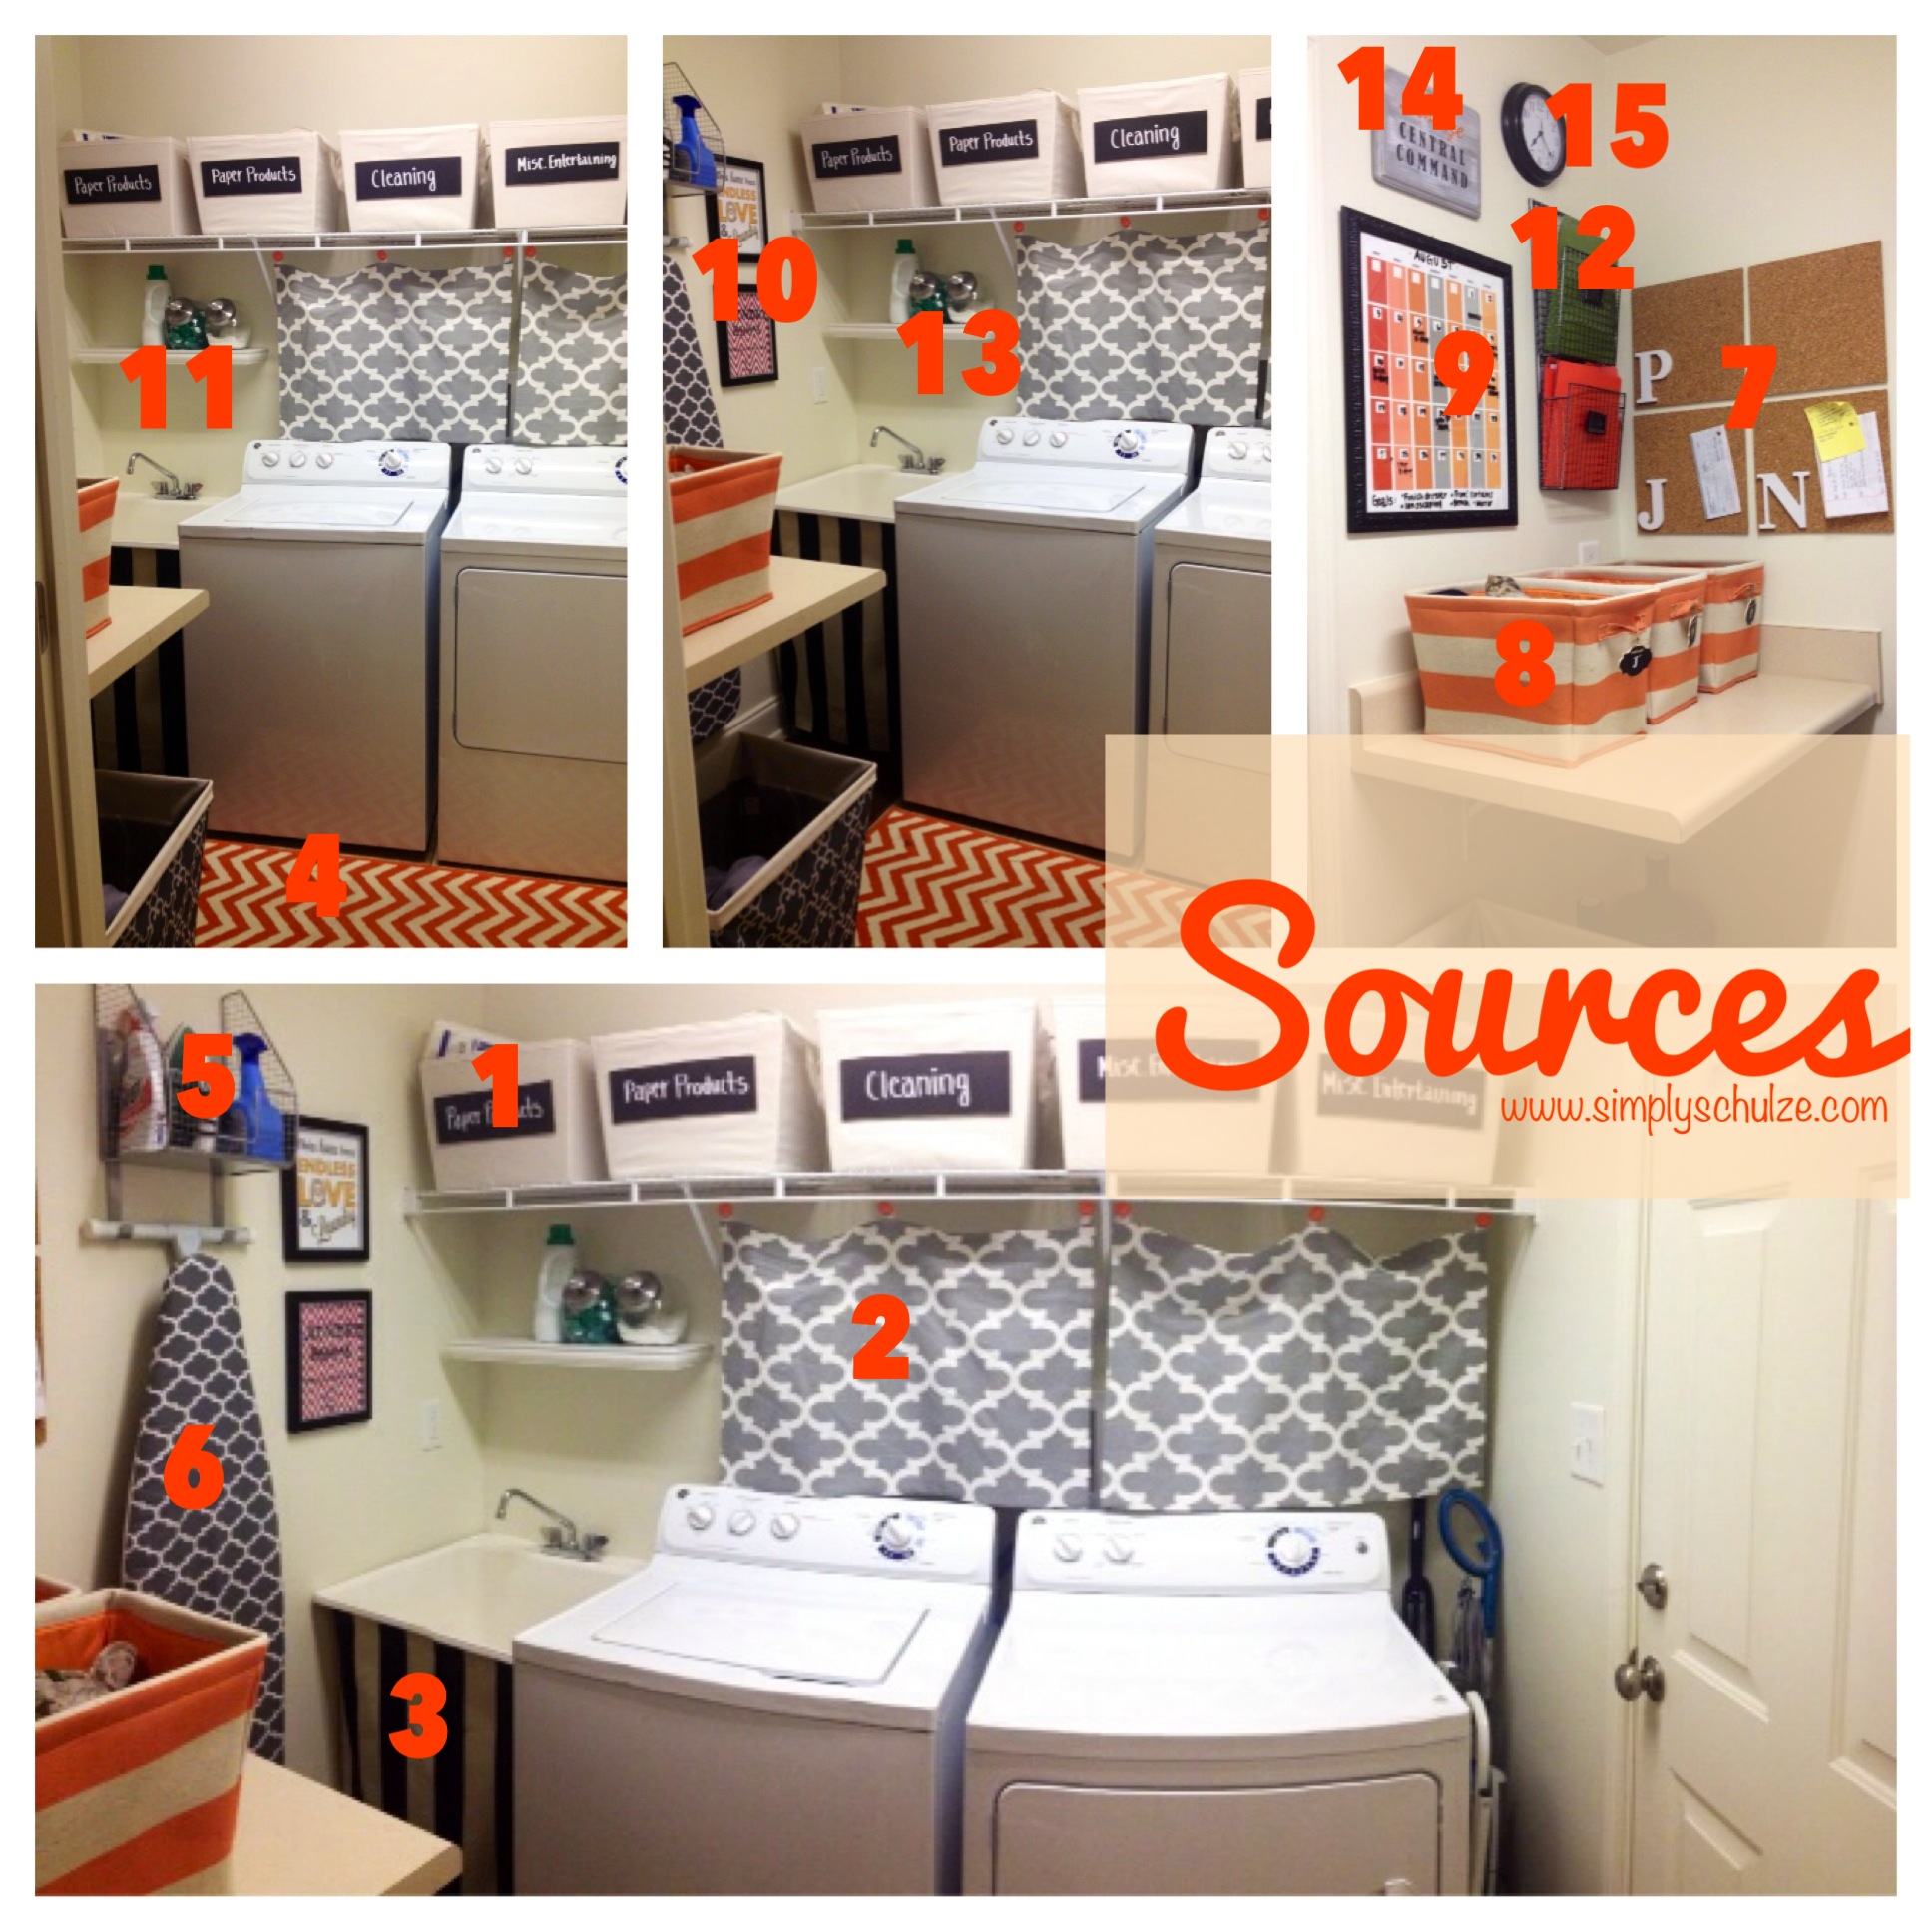
1  // Fabric Totes with Magnetic Chalkboard Signs – Totes available here via Amazon for $13.97 each. These were a little pricey but were exactly what I was looking for, they are sturdy, just the right size and will I will definitely be using them in our future homes. The magnetic chalkboard signs were a little DIY addition that I came up with out of necessity for these bins, check out my tutorial here.

2 // Fabric Curtains/Wall Coverings – These do not serve an actual purpose other than to cover the ugly water hook ups and white wall behind them. I simply used left over fabric from my living room curtains using the same method as I did when creating my sink skirt, just added little loops of ribbon to hold the decorative shower curtain hooks (available here via Amazon for $7.64, lots of other colors available!) I used to hang the curtain from the wire shelving.

3 // Sink Skirt – This is a DIY project I finagled to cover the ugly laundry sink using left over fabric from my side-light curtains, check out my link to see how I made it!

4 // Chevron Rug – Available here via Overstock for $35.49.

5 // Ironing Board Holder – The perfect thing to free up space for the bins above the washer/dryer. Available here via Amazon for $34.99.

6 // Ironing Board Cover – Purchased at Walmart for $7.50. It was just a coincidence that it happened to match my wall coverings perfectly!

7 // Family Bulletin Boards – Available here via Amazon for $6.53, I attached them to the wall using Command picture hanging strips. I personalized them using unfinished letters from Walmart ($1.97 each) that I spray painted white and attached to the boards using hot glue.

8 // Large Striped Totes – Available here via Target, $25.98 for a set of 2. I used the fourth bin as extra toy storage for baby P. These bins are perfect for holding our daily items (pocketbook, keys, wallet, hats etc.) so that we need not leave them randomly about the house. I used left over chalkboard favor tags to label each with our initials.

9 // Dry Erase Paint Chip Calendar – Check out my post to find out how I made it!

10 // Laundry Room Printables – I printed and framed these two free printables I found via Pinterest: “This home has endless love and laundry” and “Laundry, drop your pants here”.

11 // White Floating Shelf – Originally purchased at Home Depot, I reused one from our guest bathroom update on our Honey Tree house.

12 // Metal Wall Mounted File Holder – Purchased via Amazon and available here for $25.00. It is very helpful in organizing receipts, coupons etc.

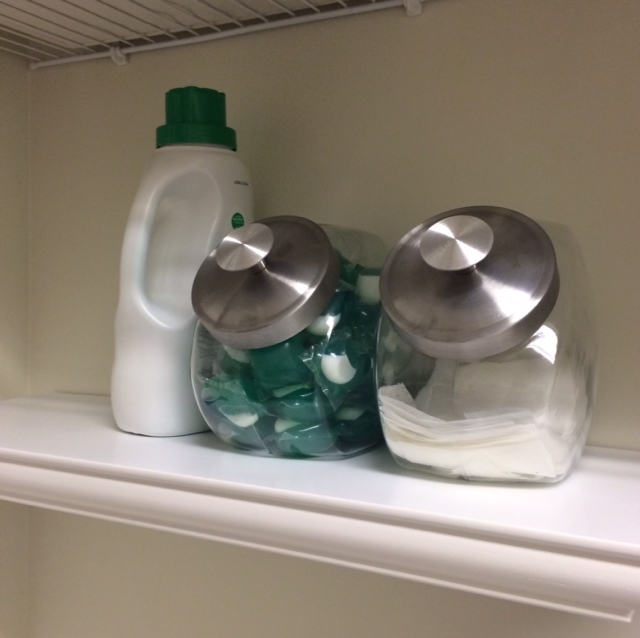
13 // Candy Jars – Used for holding detergent pods and dryer sheets. I purchased mine at Walmart for $2.98 each.

14 // “Schulze Central Command” Hand Painted Sign – Check out how I made this sign by reading this post!

15  // Wall Clock – Cheap-o wall clock purchased from Walmart for $2.98! Gotta love all that cheap back-to-college dorm decor!

DIY Magnetic Chalkboard Sign

chalktotes

I get super excited when I come up with ideas for crafts using supplies that have been left over from previous projects. This particular project was created out of necessity for descriptive labels to attach to our fabric storage totes in our newly updated laundry room/command center (reveal coming soon!!). Since we will be on the move again in less than a year I didn’t want to permanently label the totes in the event that they wouldn’t be serving the same purpose at our next house. I considered several different options such as using velcro to attach laminated labels or using a hook to hang a small wooden sign from the edge of the bin, however, once I remembered that I still had some pre-made chalkboard left over from my mirror-turned-chalkboard, I quickly formulated an idea to easily create a few magnetic chalkboard signs for my bins. This “project” was hardly a project at all, in my case I had to have my hubby cut them down to size using his circular saw but if I had purchased a new piece of pre-made chalkboard at my local home improvement store they would have cut it for me at no charge, so all that is really required is some hot glue and magnets! This is an awesome organization strategy for a renter as you won’t need to deface anything permanently, since the signs are held in place by magnets on either side of the fabric and they can be switched from bin to bin (or surface to surface) seamlessly. I will definitely be returning to this project when I get around to organizing our pantry in the near future.

chalktotes3

DIY MAGNETIC CHALKBOARD SIGN 

*The amount/size of your supplies will depend on your specific need and how many signs you plan to make.

WHAT I USED:

chalktotes1

  • Chalkboard MDF, cut to size – Available here at Home Depot, when I made my original project they cut mine at no extra charge. Since I was using left overs from another project my hubby cut mine down to size, they are roughly 12″X4″ because that is what best fit my totes. NOTE: You can always use very thin MDF wood painted with chalkboard paint if you do not have access to this pre-made product!
  • STRONG magnets – I purchased these small disc magnets via Amazon for $8.99 per pack of 10. If possible test that the magnets you have will hold securely through the bin, I only required two per sign (or 4 per bin, two for the sign and two to hold on the opposing side of the tote) however, if your signs are larger or your tote fabric is on the thicker side you may require more than two magnets.
  • Glue Gun/Hot Glue

INSTRUCTIONS:

Step 1: If your chalkboard has already been cut to size by your local home improvement store disregard this step. However, if you are either making your own chalkboard or you are like me and reusing left overs you will need to cut your pieces to size using an electric or hack saw. I had my hubby cut them to 12″X4″ pieces.

Step 2: Next take your magnets and use a dot of hot glue to secure one to either side of the back of your piece of chalkboard, if you would like a stronger hold use three spaced equally apart. NOTE: I know nothing about magnets but if you purchase the ones mentioned above they are STRONG, lol. When I was messing around with them when unwrapping them two of them snapped together on my finger and I almost cried, haha. Don’t get me wrong, this is what you want because I’m not sure that a plain old fridge magnet would hold the weight of the wood through the fabric and body of the tote, but still,  you have been warned! Another note, before you glue your magnets be sure that you have set aside sets of two that will attract and that you are gluing them on with the correctly attracting side facing out. Now all you have to do is hold your sign in place where you would like it displayed on the front of the fabric tote and match up the opposing magnets to the inside front of the tote. How easy is that!?

chalktotes2


Without giving away too much of my awesome laundry room makeover here is how I have the chalkboard signs displayed on my totes!  

chalktotes5 chalktotes4


Quick No-Sew Sink Skirt

sinkskirt3

So this post is one of the prequels to my long anticipated laundry room/command center makeover! I’m so excited to finally reveal the project as a whole but for now I’ll share this quick little DIY job that was one of the finishing touches. The sink in our laundry room doesn’t see much action (although I am grateful to have a larger sink basin available to wash off baby P’s high chair trays as they will not fit in our dishwasher or kitchen sink) and is quite honestly an eyesore, as it is just a big ol’ stained plastic basin. Needless to say when I decided to give our laundry room a style makeover, I knew that I needed to do something to downplay the ugliness of the sink. Since I had seen lots of examples of sink skirts and had lots of fabric left over from my DIY no-sew side-light window panels, so I thought that it would be a cute and quick no-sew addition to the room. We are technically “renting” this home so when figuring out how to rig up a sink skirt that wouldn’t require any kind of permanent hardware, I decided the easiest solution would be to either suspend a tension rod between the wall and the washing machine or to use temporary velcro to attach the fabric directly to the outer basin of the sink. I chose to go with the latter, simply because I already had some removable Command velcro strips on hand (I may decide to go with the tension rod idea later on but for now I think this looks good enough!). This project is easy-peezy and could work anywhere you need to cover an empty (or cluttered, lol) space or ugly appliance! Additionally I love that the fabric lends a lot of style to the space, even though the skirt really serves no purpose, sometimes it’s all about looks 🙂

May not look like much now, but when I reveal the whole room it really adds a lot :)

May not look like much now, but when I reveal the whole room it really adds a lot 🙂


QUICK NO-SEW SINK SKIRT

WHAT I USED:

  • Indoor/Outdoor Decorator Fabric in “Vertical Stripe Ebony” – purchased on sale at $8.00/yard, left over from my side-light window panels.
  • Iron-On Hem – Available at your local craft store, Walmart etc.
  • 2-3 Command Damage-Free Hanging Velcro Strips
  • Glue Gun/Hot Glue
  • Iron
  • Scissors
  • Measuring Tape

WHAT I DID:

Step 1: I began by measuring out my fabric to the correct length and width (allowing for an extra 2 inches on top, bottom and sides for creating my fold-over hem) and cutting it accordingly.

sinkskirt


Step 2: I then used iron-on hem to fold over the edges (top or bottom first doesn’t matter) and create your hem. Check out my DIY No-Sew Curtain Panels to read more about this process, just disregard the instructions for creating the panel pocket. NOTE: If you plan to suspend the sink skirt using a tension rod, follow the previously mentioned tutorial exactly, pocket included.

Step 3: Once all of my hems were made I removed the sticky backing to one side of each my Command strips and used hot glue to secure it to the top, inner edge of the fabric panel. Next I adhered the other two Command strips to the top edge of sink, right below the lip using just the regular sticky backing of the strip (these things are super strong, they’ll hold no problem).

sinkskirt1

FYI, this is just to show placement, the sticky side will be down and velcro side will be facing up. I removed the paper from the strip, then put my hot glue directly onto the sticky part and firmly pushed the strip onto the hem.