
This project has me so excited and I’m not sure why since it’s nothing crazy. Probably because it’s the first step in finally getting my laundry room and family command center in order! I had seen something like this on Pinterest a while back and had decided against making it since we didn’t have the place for it our old home, however, now that we have a laundry room and soon-to-be family command area, I knew this would be the perfect addition.
So today, teething baby in tow, I headed to Lowes to fetch my free paint chips. Now, I’m sure the staff couldn’t care less about my taking thirty-five (that’s how many I needed) paint chips since they are after all, free, but I couldn’t help feeling that I was abusing my paint-sample privilege. I didn’t feel too bad considering I was purchasing other items, but I was sure I was going to get in trouble anyway, haha. At one point the lady at the paint counter motioned me over and said “I saw you over there and couldn’t help but notice …” and I was sure she was going to say “that you had a few stacks of paint chips in your hands, put those back”, lol but of course she went on to ooh and ahh over my squishy baby who apparently couldn’t stop smiling at her while I was busy abusing the paint chips. So proud of that baby P, already aiding and abetting in my questionably kosher crafting adventures! Anyway, moral of the story is, nobody cares, go nuts and take as many paint chips as you want :).
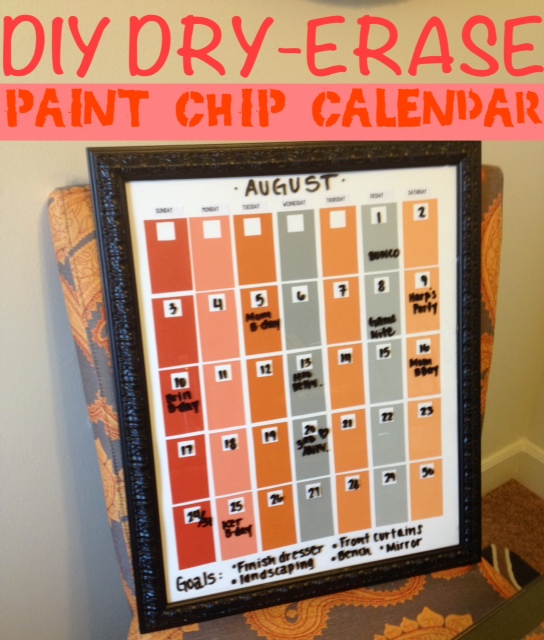
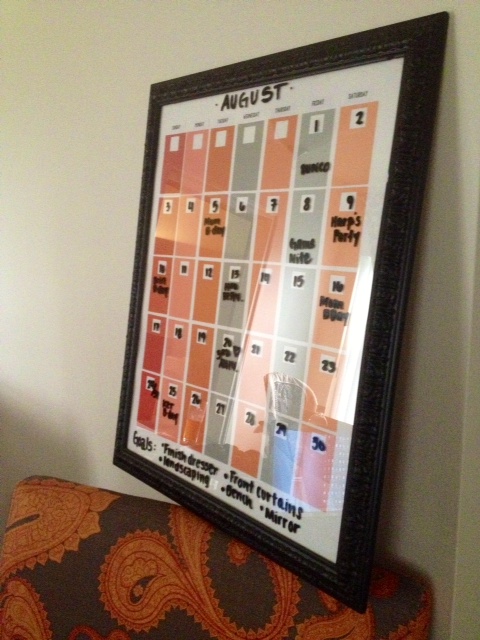
Once I got home this took me about 45 minutes to put together and since it didn’t require any hazardous materials I was even able to do it in the presence of baby P! The frame was a thrift store find that I had redone (aka hit with some spray paint) when we were planning on putting up a gallery wall in the old house (more on that later, as we’ll be putting up a smaller scale gallery wall in this house soon!), so the frame was essentially free which means that this project cost me ninety-seven cents (the cost of the poster board)!!! I can’t wait to hang it in my command center as part of my new and improved laundry/mudroom. Apparently we really needed this calendar too, when my hubby got home and I showed it to him he all sorts of questions about the events on it, none of which he knew were happening, lol. Here is my tutorial, it’s quick, easy and can be customized to fit any color/decor scheme!
NOTE: If you have a rotary cutter this project will probably take you significantly less time. Personally I didn’t care if my lines weren’t perfect but if you’re a stickler for a perfect job I would definitely consider using one.
Sorry that my pictures are so awful, I was so excited to post this I didn’t even hang the calendar which is why it’s leaning on a chair lol. I will post better ones soon!
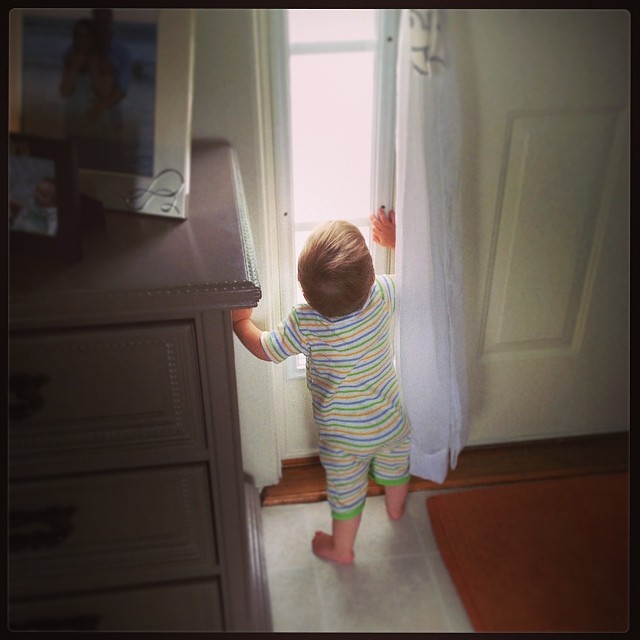
Baby P watching our lawn getting mowed while I worked on the calendar 🙂
YOU WILL NEED:
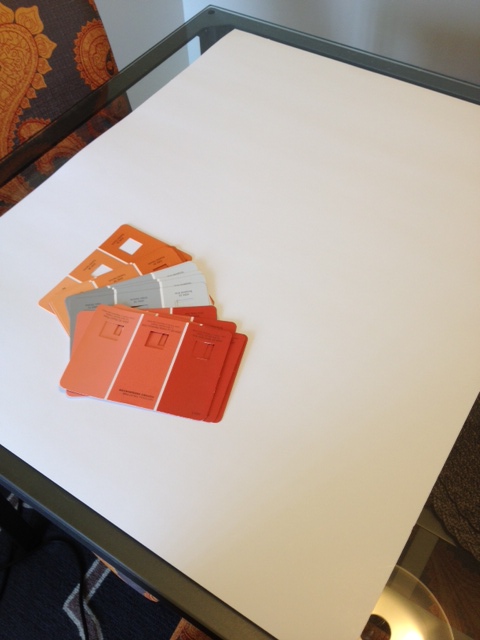
- 35 paint chips – I used seven different colors, five of each color. You can do it the opposite or use all different colors if you prefer. Try to stick to lighter colors so that your dry-erase marker will show up well against it. I used the Valspar chips from Lowes since the little square at the top is perfect for inserting the date.
- 1 piece of white poster board – any other light color will do as well.
- 16X20 frame – based on the size of the paint chips I think this size works best.
- Glue Stick or other crafting glue
- Scissors
- Ruler
INSTRUCTIONS:
Step 1: Begin by cutting your poster board to size. Then comes the tedious part – cutting all of your paint chips. I simply cut them down to eliminate any wording (for example the name of the paint and it’s code). This is a great project to do while watching a show!
Step 2: Line your chips up on your poster board, seven across and five down. Make sure you leave enough room at the top to write the name of the month and if you’d like, some room on the bottom to write “notes” or “monthly goals”. Once you are happy with their placement, use your glue stick to glue each one down.

Step 3: Along the top either write the days of the week or as I did, print them out and glue them on.
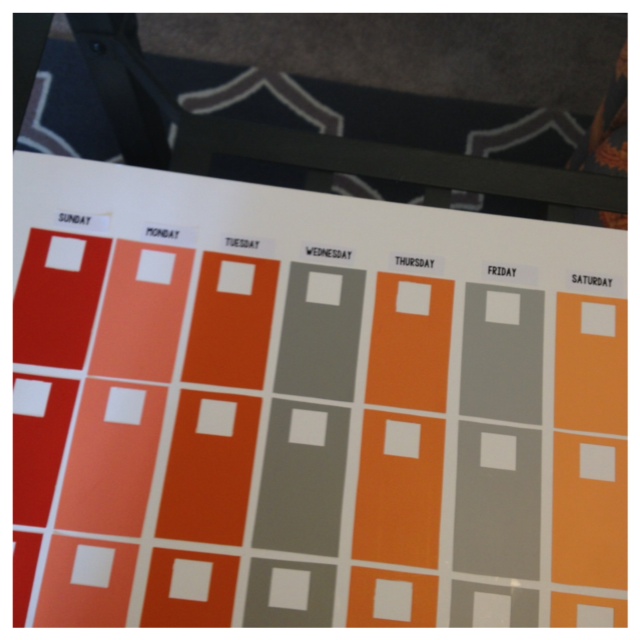
I chose colors that complimented our home’s color scheme, in case you’re into paint colors they are all Valspar. From right to left: Terra Cotta Red, Desert Rose, Roasted Squash, Hazy Stratus, Toasted Apricot, Urban Sunrise and Apricot Honey.
Step 4: Place your calendar into the frame and boom, DONE! Use a dry-erase marker to fill out your dates and happenings then display it proudly because you my friend, are a DIY diva (or dude, whatever lol)!


Pingback: Laundry Room & Command Center Transformation | simplyschulze