

Ever since I successfully created the hand-painted sign for our laundry room/command center I felt as though I’ve opened a Pandora’s box of DIY decor options, lol. The second I finished my sign my imagination ran wild with endless possibilities for signs with quotes, dates, holiday sayings, silhouettes and the list goes on! Since I felt that I needed to create another sign that very minute, lol, I decided to create one to spruce up the then bare walls in baby P’s room which was the one room in the new house that was coming along a little slowly for my liking. Now I’m not sure if I’ve mentioned this before, but baby P’s new room had some big shoes to fill. The original design for his owl-themed nursery was so perfect that I was having a hard time imagining that we would be able to recreate it in the new house. However, now that his new room is a little bigger than his first, I have had the opportunity to create a fun little decor additions to his room (that we wouldn’t have had space for in his old nursery) to fit his growing collection of books and toys as well as his growing personality 🙂
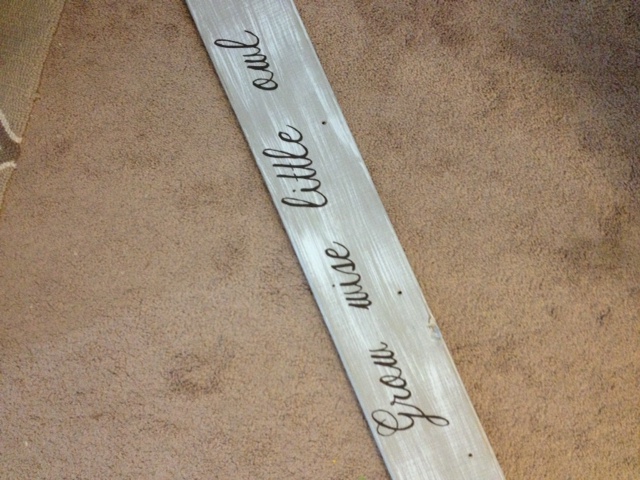
Now back to baby P’s sign – when we moved I made the hard decision (but smart for our wallets) not to re-purchase the owl-themed wall decals that we had put up in P’s old room so I figured that in lieu of the “grow wise little owl” decal I could just paint that same saying onto the sign in a similar font, making it a permanent piece of decor rather than a decal that would have to be left behind! While originally this project was just supposed to be a sign with an owl-themed saying, it took on a whole new life as a coat-rack/hook rack when I remembered that J’s sweet cousin had gifted us the cutest little owl furniture knobs when I was pregnant with P, which she figured I would probably use on one of my future furniture re-dos. Since P’s room couldn’t really fit any other furniture I all but forgot about the knobs until I had come up with the idea for this sign and had an “ah-ha!” moment and realized that these knobs would be the perfect addition to the sign not only because they were owls but because we would now have the option to use it as a baby coat rack come the fall/winter seasons and perhaps also a way to hang a few little framed pictures. So a little paint and a few drill holes later I had the most beautiful little coat rack which I’m sure my baby P will enjoy for years to come. I hope you love this idea as much as I do, this will work with any piece of scrap wood and any amount/style of hooks or knobs and you will be amazed at how easy it is to create!

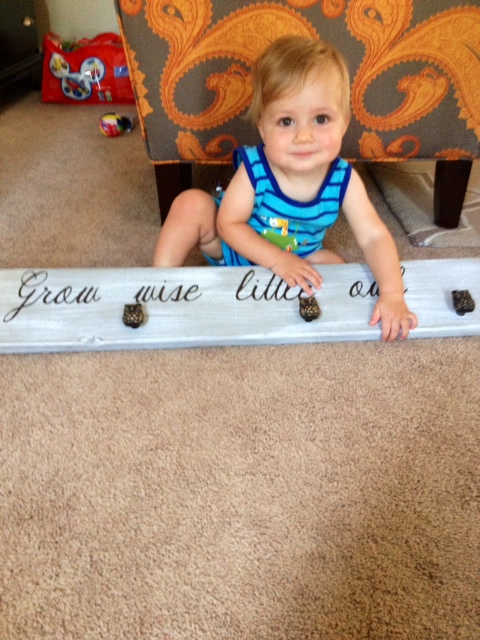
squishy baby holding the key hole fasteners for this project!
SUPPLIES
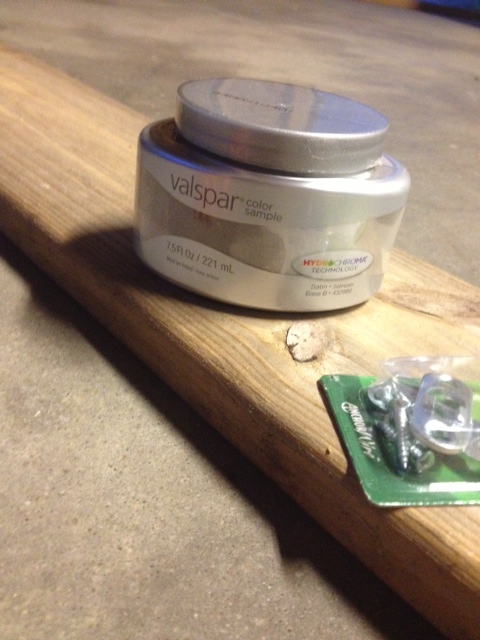
- 1 piece of wood, any length – mine was a piece of a 1″X6″X12′ that I fished out of my neighbor’s trash and have been using for project after project (and still have a lot left!). Check out my DIY Mason Jar Organizer to see how else I re-purposed this would-be trash wood!
- Chalk Paint – see how I mixed my own using paint samples from my local home improvement store here. The color I used is “Opera Glasses” by Valspar and it is one of my new favorite colors, I also used it to paint baby P’s rocking chair
- Acrylic Paint – I used brown.
- White latex paint – for dry-brushing, I just used left over trim paint from our old house. If you are not planning to distress your wood disregard this item on the supply list.
- Clear Matte Spray Enamel – this is a clear top coat I used to seal the piece once I had finished painting it, I used a matte finish since I wanted it to look a little vintage (not shiny). This is the one I used, available at Walmart for about $3.50.
- Painter’s tape
- Scotch or other clear tape
- Sanding blocks, sand paper or electric sander (150-grit is fine)
- Black foam brush
- Small paint brush
- Electric/power drill
- Furniture knobs – I used 4
- 2 keyhole fasteners
- Ruler
- Pencil
- X-acto knife
- Computer and printer
INSTRUCTIONS
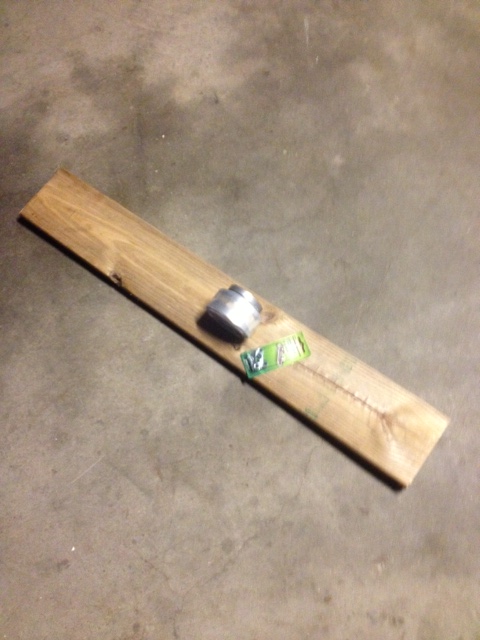
Step 1: I began by painting and distressing my wood. For a detailed version of how I dry-brushed and distressed the wood check out my post about my DIY Rustic Picture Display. In short, what I did was apply a coat of chalk paint to my wood (or two, I can’t remember, lol) using a black foam brush, then once it had dried I used my regular paint brush to dry-brush the surface and once that had dried I used my electric sander to distress the edges and surface with 150-grit paper (this can also be done using a sanding block or regular sand paper). NOTE: To save time I only painted the front, since I would be attaching hooks to the front there was never any reason anybody would ever see the back so I didn’t bother with it.
Step 2: Once my wood was finished it was time to paint on my words. I created a word document with my saying in the appropriate size. I found a free font that I liked on dafont.com, the font I used for this particular sign is called “Austie Bost Rest of Our Lives” in case you are interested. I downloaded my font (if you don’t know how to do this just Google “how to add new font to Word” or something like that and you can find out how to do so in a few easy steps which just involves adding the font file to your font list which you can find if you search it in your computer’s control panel. Once you have created your saying in your word processing program simply print out your document (probably on several pages).
Step 3: Now I as ready to drill the holes where my knobs were going to go. If you are just making a sign without the knobs you can disregard this step. I marked four equally spaced dots on the front of my board and had my hubs drill a hole where each knob was to go. I didn’t attach the knobs just yet though, I didn’t want them in the way when I was painting my lettering on. While I had my drill handy I also attached my keyhole fasteners to the back of the board, one on either end. The drilling of the holes can actually be done at any point but make sure you attach your keyhole fasteners before you screw in your hooks as it will be difficult to get the fasteners evenly aligned if your board cannot lay flat due to the hooks on the front.
Step 4: I then prepared to paint my wording onto the board. I covered the entire area over which I wanted my saying to cover with painter’s tape (make sure the tape is touching but overlapping as little as possible, as it will be harder to cut through certain areas if the tape is overlapped, it’s not a big deal if it overlaps but I just thought I’d mention it to make your life easier). Once my wood was covered with painters tape I arranged my wording atop the tape and covered that with scotch tape. Now you are ready to create your own little DIY stencil!
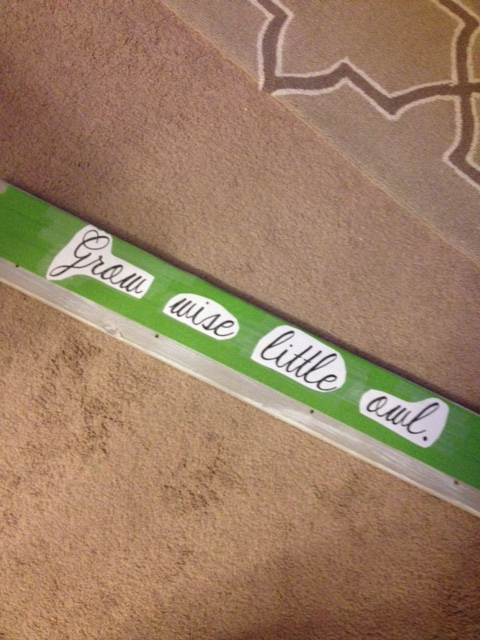
Step 4: Next I *carefully* cut my wording out using my x-acto knife. This is pretty tedious but I had some SVU on in the background to pass the time :). NOTE: Make sure you leave the centers of your letters like “o”, “a” or “d” etc. if they peel off during the cutting process just stick them back onto the wood where they are supposed to go. Time to paint!
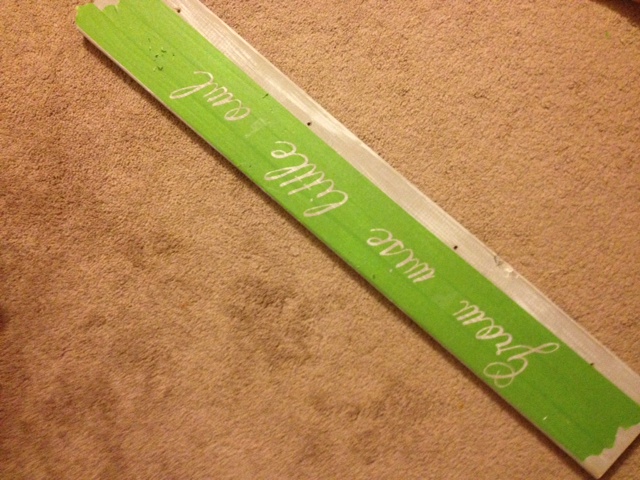
Step 5: Using my small paintbrush and my brown acrylic paint I painted an even layer into the area I had “stenciled” with out of my painter’s tape. Depending on the color of your paint you may want to wait a few minutes for the paint to dry then return and add a second coat. I only needed one since my paint was very dark. I then slowly peeled off the painter’s tape to reveal my wording. You need not wait until the acrylic paint dries just be careful not to smudge any of your letters while you are peeling up your tape, as a matter of fact it is probably better to remove the tape immediately because if you wait for your lettering to dry you risk having little globs of paint that dry in a funny fashion where the painter’s tape met the wood BUT if you are really nervous about messing up your wording just wait for it to dry before peeling. Woo-hoo! Almost finished!
Step 6: The next step was to apply my clear enamel coat once my acrylic letters had dried (I waited until the next day). I sprayed an even coat of the enamel over the entire front of the board and allowed it to dry for the recommended amount of time (a few hours maybe?). Finally, J and baby P screwed in the owl knobs and my coat rack was ready to mount on baby P’s wall!

Baby P was very adamant about helping! 🙂


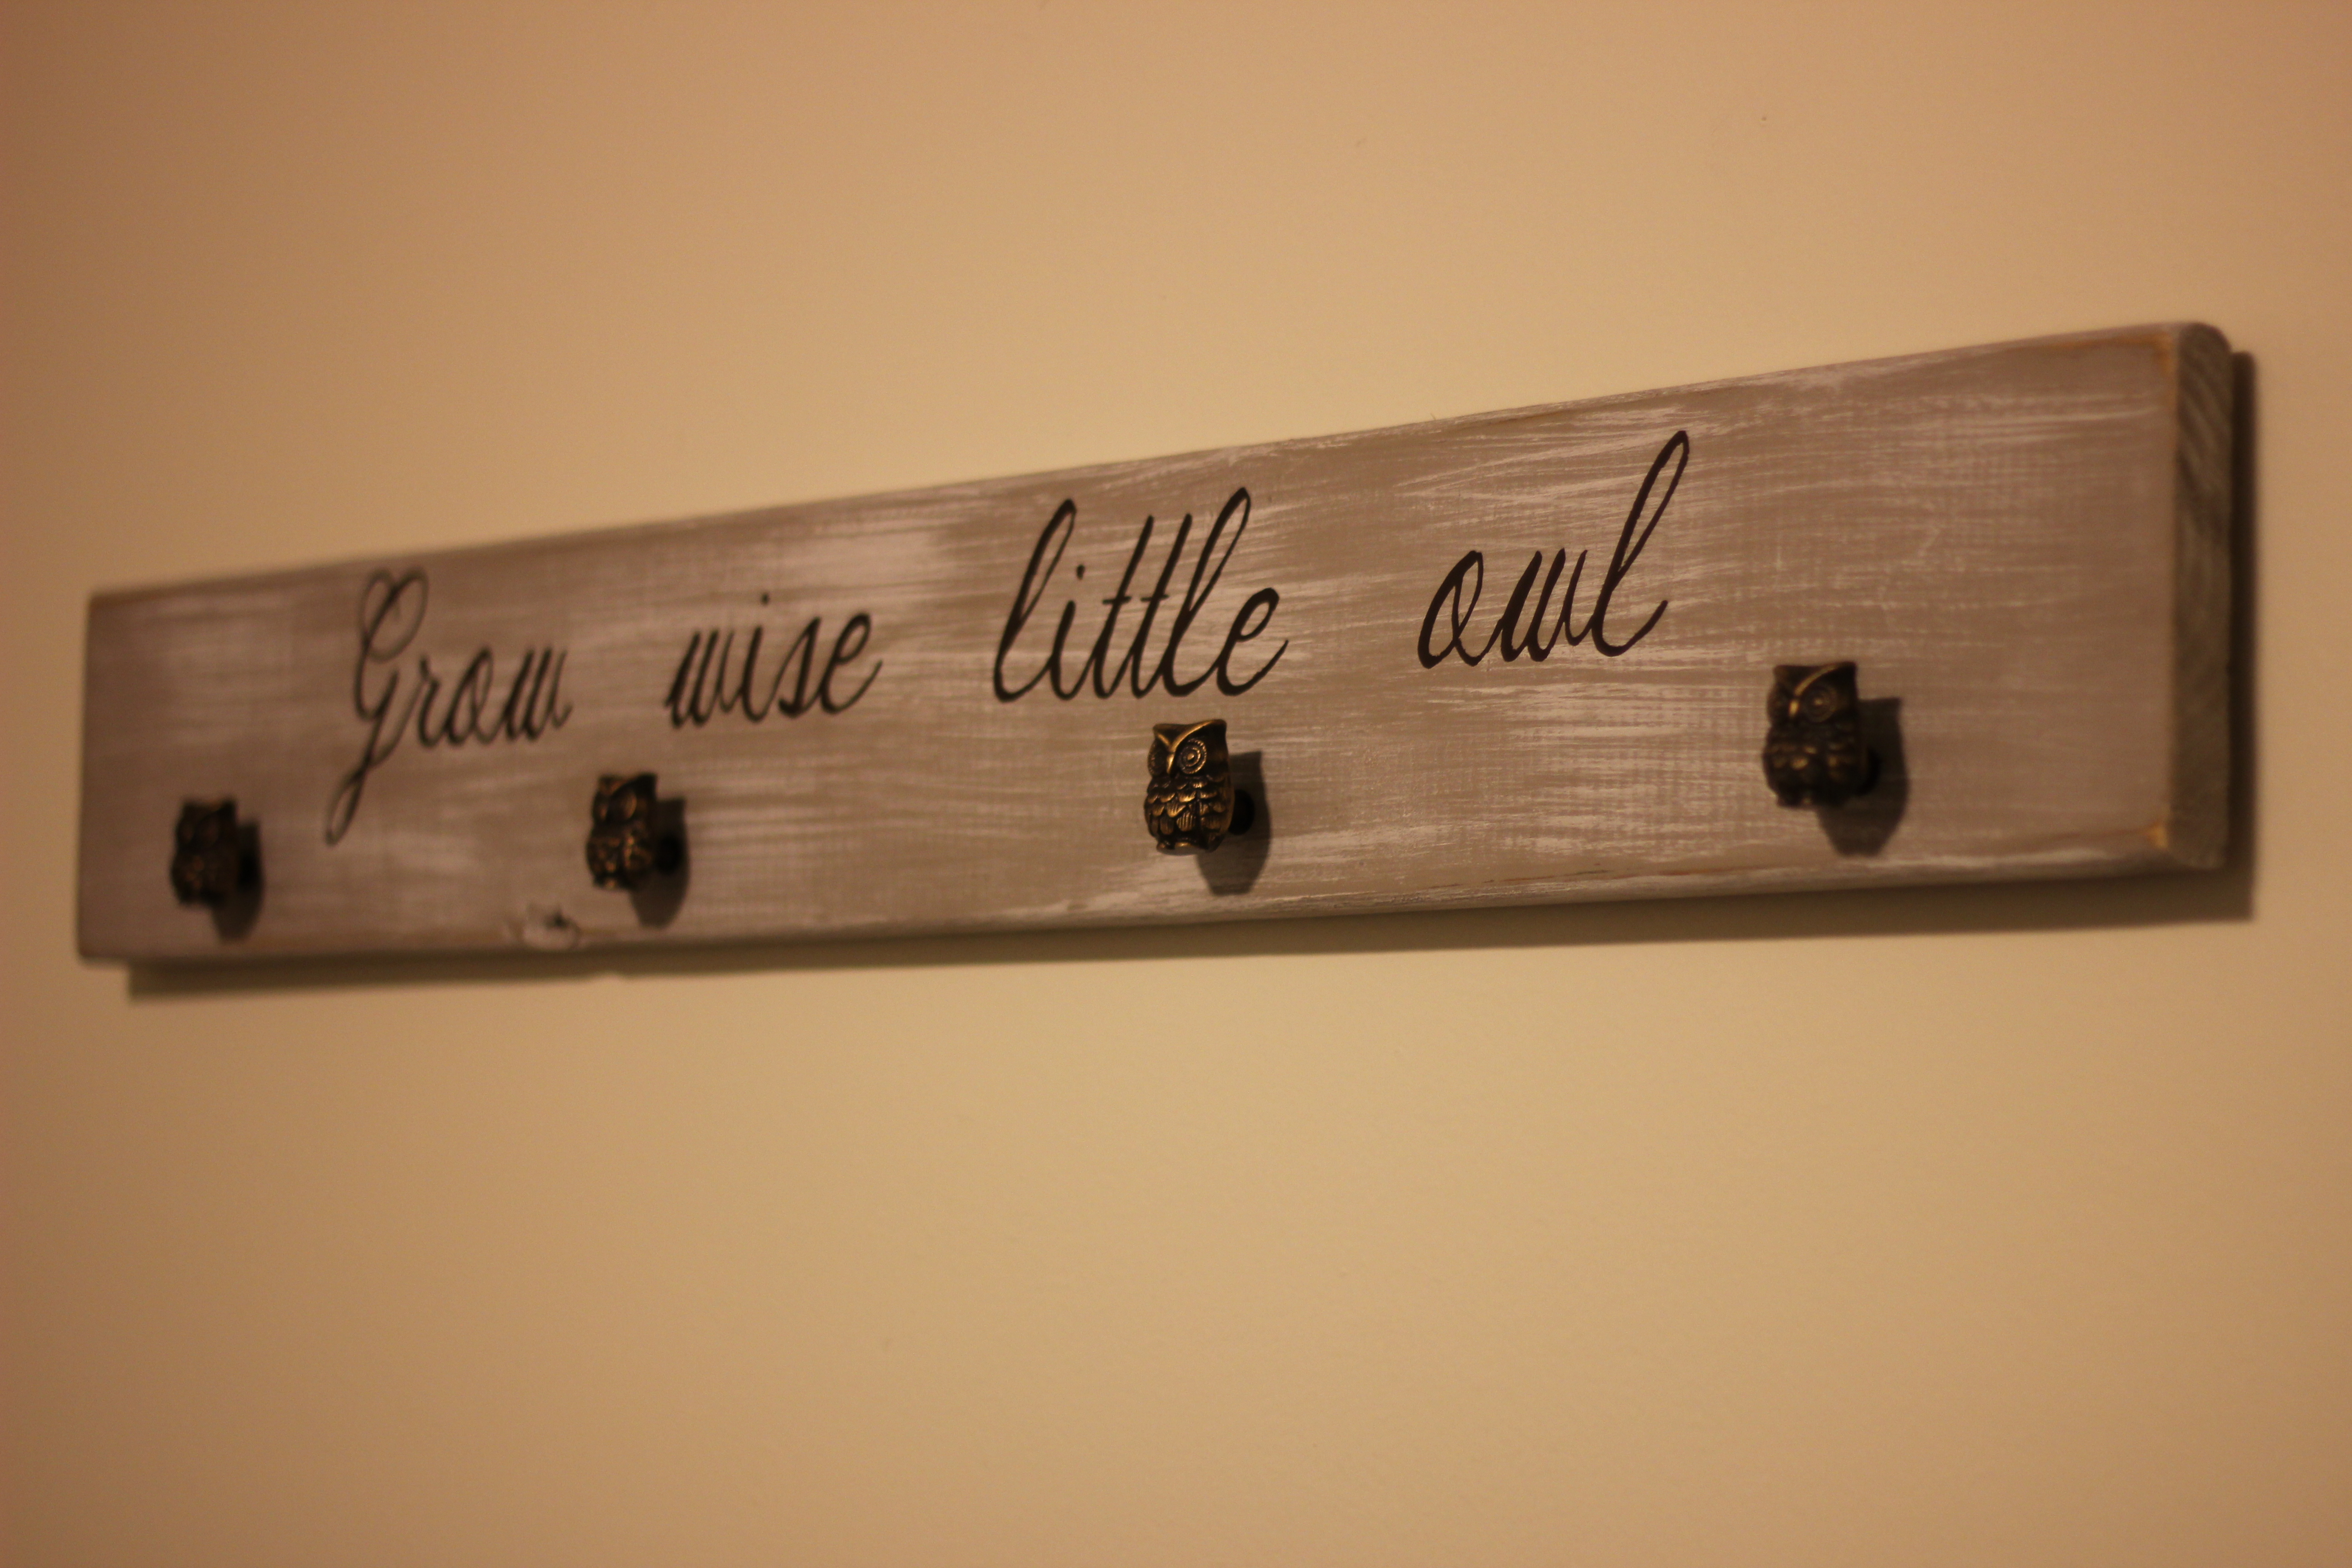
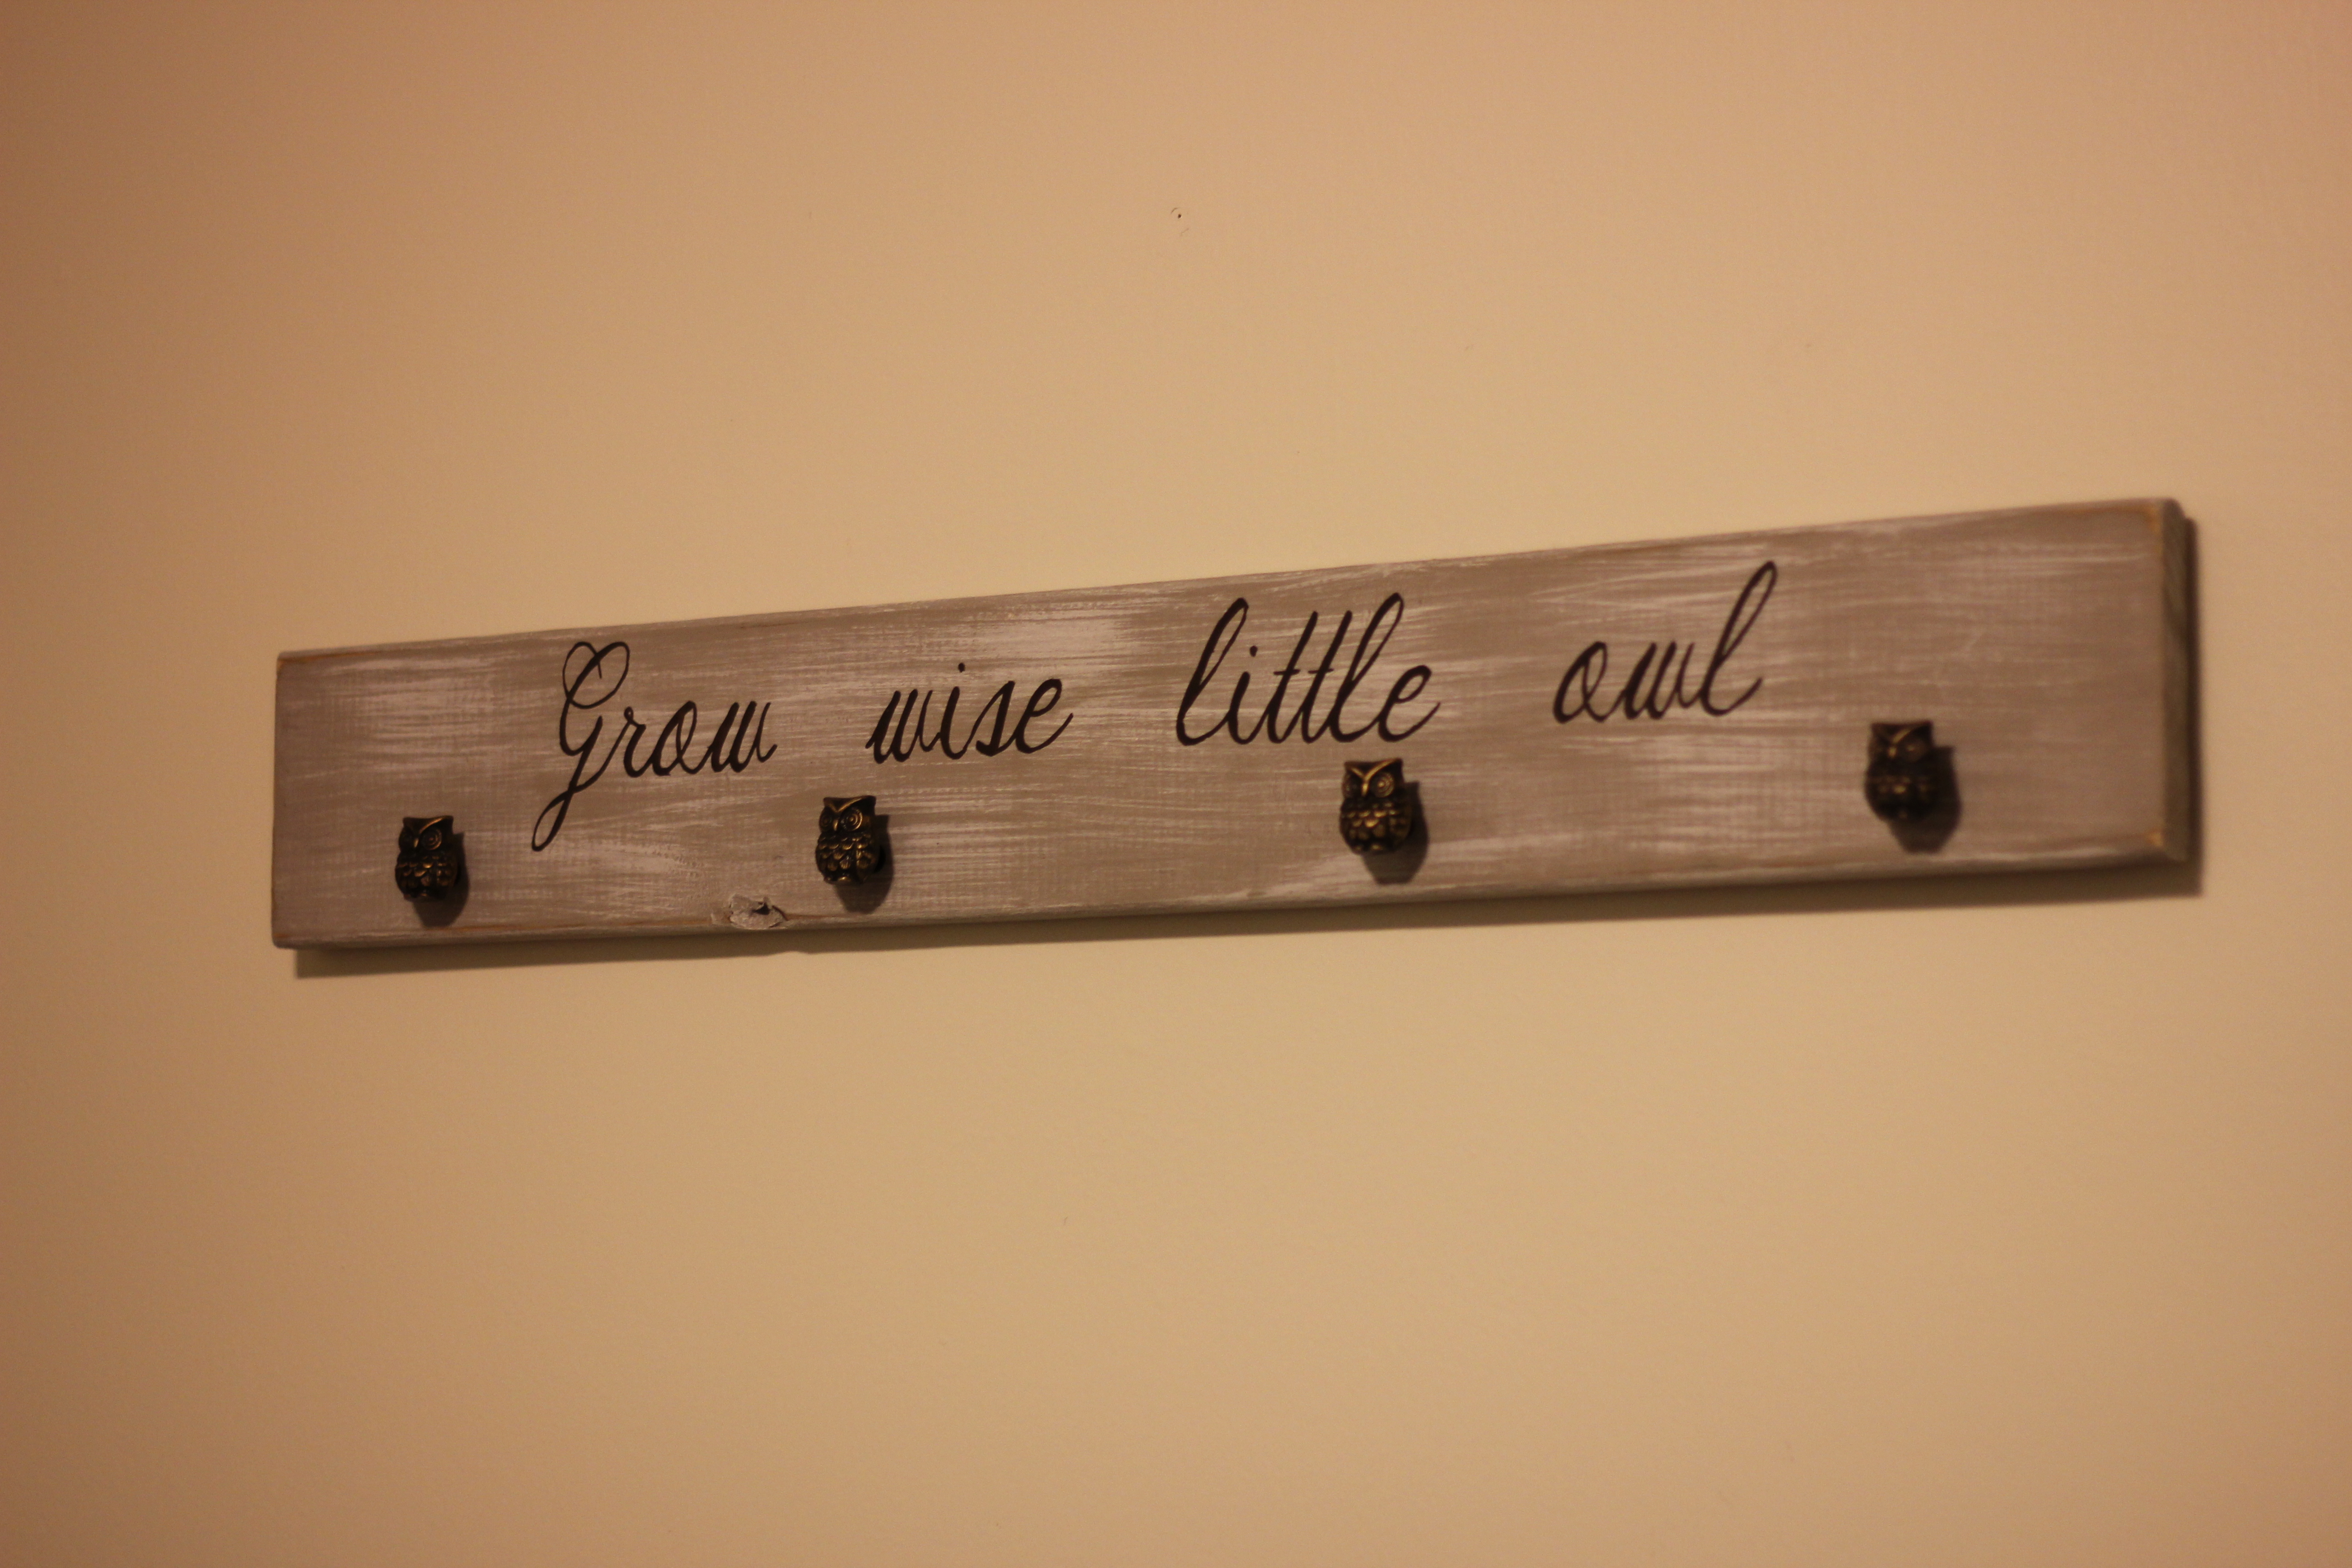
Finished product!

Pingback: “Where the Wild Things Are” Hand Painted Sign | simplyschulze
Pingback: Baby Rocking Chair Re-Do – My first re-upholstery project! | simplyschulze