

If you’ve read any of my other blog posts I’m sure you can gather that I love re-doing furniture, so naturally I was pretty sad when we downsized to a smaller home last month, as I took this to mean that there would be very few opportunities for me to re-do new pieces without any space to put them. Thankfully I was wrong! Although we did give up some square footage when we moved on base, I am finding that we still have the need for some smaller furniture items to re-purpose as storage/organization pieces, so I will still have plenty of DIY-ing in my future after all.
This particular project was actually born out of necessity, when in the midst of our crazy fast move, I realized that the new house had no microwave! I had forgotten that in our former home, the microwave was a permanent fixture and would not be making the move with us. I figured, no problemo, I’ll just buy the cheapest counter top microwave Walmart has to offer (“Westbend” I hear that’s what the rich people are using these days, right? lol). I did just that, and of course wound up with a defective microwave, so after an annoying second trip back to Walmart which involved having to schlep a giant box and a cranky baby P in 100 degree temperatures, I finally got a microwave that worked. The next problem was, with my new kitchen being fit for a dollhouse, every inch of counter space already taken up. Now I was going to need somewhere to put my super fancy Walmart microwave, lol.
I started trolling Craigslist for microwave stands and almost immediately found one that looked promising at our local thrift store. When I went to pick it up the following day and the girl showed me to the piece, I was upset to see that it was not what I was expecting at all. Contrary to the picture online, the actual product was about two feet tall and wasn’t real wood, I nicely let her know “ummm, m’am, this is a night stand” lol. Thankfully she showed me something similar that was the correct height, real wood and the same price as the ugly night stand, it even had some extra storage underneath – sweet!
Now, since I know you don’t care about my microwave drama, I’ll get to the actual project, haha. I have always been a huge fan of chalk paint – in theory, but have never actually used it mostly because the good stuff like Annie Sloane is just way too expensive for me and because of my prior successes with re-doing furniture using latex paint, I’ve never felt the need to try out chalk paint. That being said, after two of my crafty friends both re-did pieces using DIY chalk paint, I knew I needed to give it a shot, especially because both of their projects came out beautifully! I figured the microwave stand would be a great trial piece, after all, I’m hoping that when we finally settle down our home will once again have a built in microwave so this piece would just be temporary.
The verdict on DIY chalk paint? AMAZING! Not only is it super cheap to make, it works great and by applying a furniture wax to seal the piece as opposed to a polyacrylic or gel top coat as I normally would, I eliminated a lot of drying/painting time on the tail end of the project. I am so grateful that I tried this out, even more grateful that it came out better than I could have hoped and most grateful to my friends Lisa and Courtney who I texted (and by texted I mean annoyed, lol) the entire time to make sure I was doing it right haha. Here is my tutorial and description of what I did, including the products I used, hopefully this inspires you to try out chalk paint on your next furniture re-do!
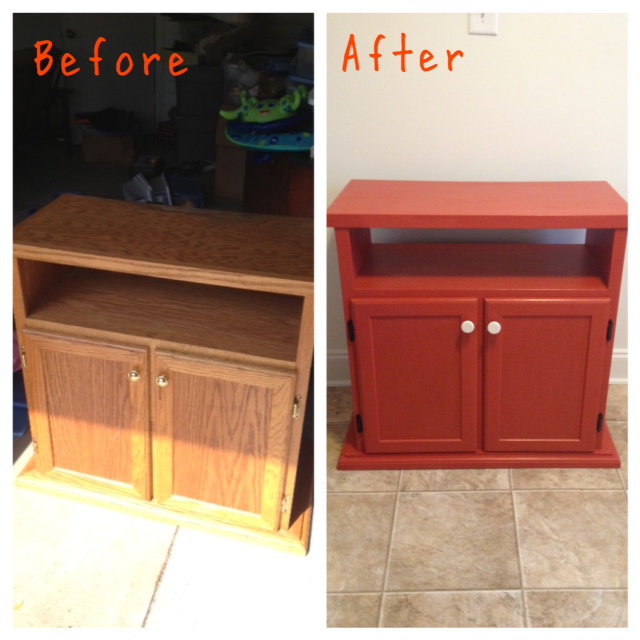
Color is “Farmer’s Market” by Valspar, available at Lowes.
REFINISHING USING DIY CHALK PAINT
WHAT I USED:
- Sample Size 8oz container of latex paint – purchased at Lowes for $2.98 each, I used two because I wasn’t sure how much paint I would need for the project. I probably could have gotten away with using just 8 oz, as I did have a lot left over. Check out my post on my favorite products for refinishing furniture on the cheap to hear me rave about these little sample size paints, lol (really though, they’re the best). NOTE: Adding the chalk to the paint tends to lighten the color a bit, so try going a shade darker if you are trying to maintain a particular hue.
- Calcium Carbonate – Fancy name for powdered chalk, haha. There are several different ways to make your own chalk paint including mixing paint with plaster of paris, but this method is non-toxic and according to my friend who has tried both, the calcium carbonate works best. The ratio is 1 part chalk to two parts paint. I purchased my Calcium Carbonate via Amazon here for about $10.00 with free shipping.
- Black Foam Brushes
- Sanding Block or Sand Paper
- Black Satin Rustoleum Spray Paint (if repainting the hardware)
- Wood Filler (if you need to patch any gouges or holes in the wood)
- Minwax Paste Finishing Wax in “Special Dark” – purchased via Amazon for about $13.00, this will last you a long time. I chose to use the hard wax because it is easy to apply and once you have buffed the piece it is ready for use, as opposed to a gel or poly top coat which requires multiple coats and lots of dry time. The Minwax paste wax is also available at your local home improvement store in a variety of colors.
- Rags (for applying and buffing finishing wax)
HOW I DID IT:

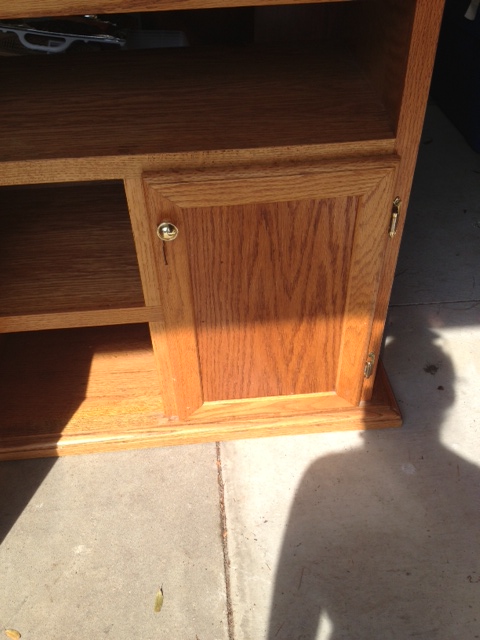
before picture
Step 1: I began by removing all of the doors and hardware from the piece. Since I was going to reuse the hinges and screws I cleaned them off and hit them with a coat of black spray paint and set them aside to dry.

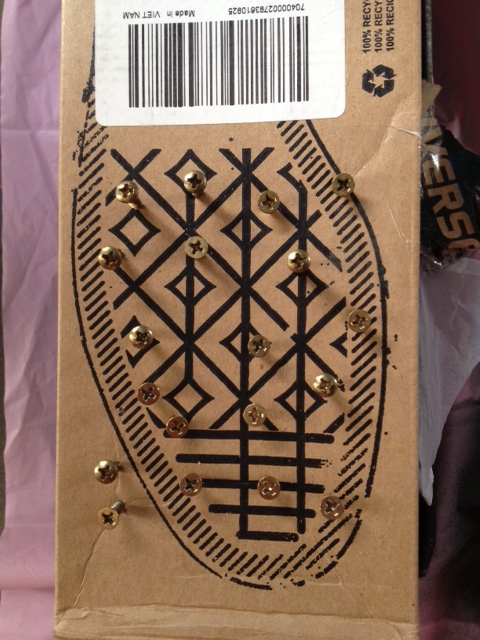
this is a very technical process, lol, I just stuck the screws in an old box so that the spray paint would only get the tops and not coat the threads.
Step 2: I gave each surface of the piece a quick sand. I know people say that when using chalk paint there is no need to sand, but I just thought it couldn’t hurt and because I needed to repair a little damage to the top with some wood filler and would ultimately end up sanding anyway I went ahead and did it. I’m sure if you choose not to sand your piece will turn out fine!
Step 3: After sanding I wiped the piece down with a wet rag and then a dry one to remove any dust particles. I then applied wood filler to the aforementioned spot of damage and smoothed out using a paint scraper. After the wood filler had dried, I returned to the piece and sanded it flat.
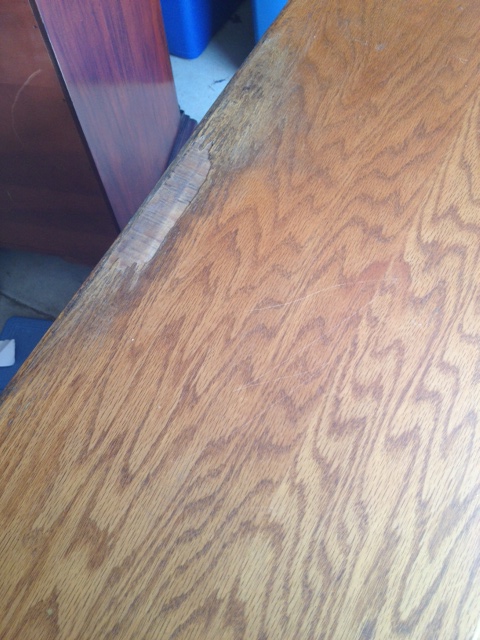
area where some of the wood had chipped off and it was uneven

where I applied the wood filler before smoothing it out and sanding it down
Step 4: Next I mixed my DIY chalk paint by pouring my two containers of latex paint (I used satin finish because sample sizes are only available as such, some people will tell you to use a flat paint when making chalk paint but from my friend’s experience, satin finish works better anyway) into a container along with 8 oz of calcium carbonate and mixing together until all large lumps had dissolved. The stuff is going to be thick like pancake batter but don’t worry, this is what you want!
Step 5: Paint your piece as you normally would, using even strokes in the direction of the natural wood grain. Unfortunately, although it is said that chalk paint only requires one coat, I found this to be false in my experience, as did my friend Courtney (not sure about Lisa). It may just depend on the original color of the piece you are painting, but as you can see in my pictures, even with the dark red going over the light oak wood, I still required three coats, although I probably could have gotten away with two but I had the extra paint and some areas looked lighter so I figured what the hey? Good news in the multiple coats department is – dry time is significantly less than with non-chalk paint, I was able to return to my piece within a few hours and add a second coat. Pay attention to the humidity in your area though, some people say that you can paint after just one hour of dry time but I was working in my garage in high humidity so I allowed about seven hours.
Step 6: Once your piece has dried, inspect it for lumps or bumpy areas. If there are any just sand them down a bit. Some areas had a little dried white grit from where the chalk didn’t dissolve in my paint, so I just sanded them down and dabbed a tiny bit of paint on the spots. Now you are ready to wax!
Step 7: I chose to use the “special dark” wax because I wanted to add that “antique-y” look to my piece and I also found that in doing this the color of the paint was darkened back to it’s original hue, whereas it looked a lot lighter before wax. Confession: I was too scared to apply the wax myself for fear of ruining the piece, so I made J do it, lol. Use a rag (we used old t-shirts) and begin applying a thin coat of the wax all over your piece making sure to rub it into the grooves and edges. Allow it to sit for 15-20 minutes then using another rag, buff it out (as if you were waxing a car). The wax dries pretty quickly so if you are doing a very large piece I might suggest working in sections. Also, the wax is potent stuff so I’d recommend either working outside or in a well ventilated area. Once you have buffed your piece you’re finished and your piece is ready to use, just reattach your hardware and you’re good to go!

hubby in action, applying the wax!

how we have it set up for now
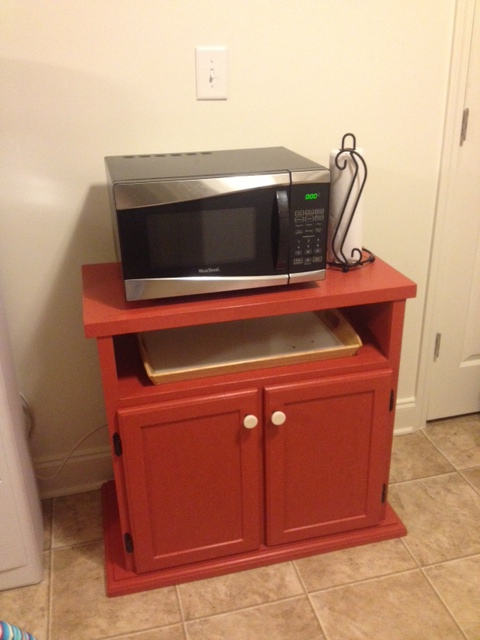

inside storage area, I didn’t paint the inside just the edges, I ran out of painters tape on my last project so I actually used shipping tape haha, worked great! Probably wouldn’t recommend it on your walls though!
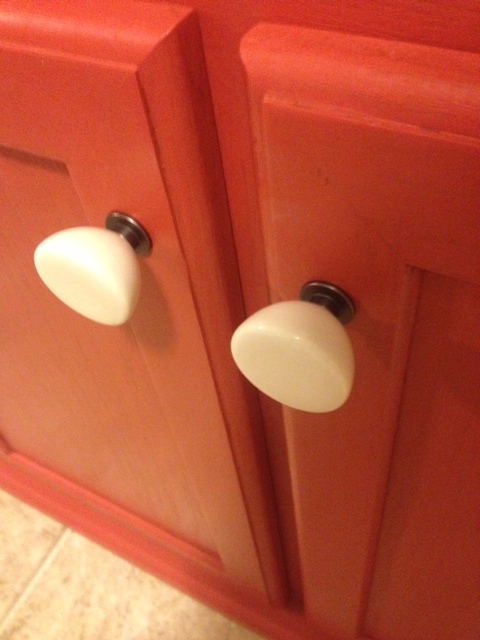
The knobs were purchased at Target of all places! $12.99 for a pack of four, about what you would pay if you purchased knobs individually at Lowes or H.D.

The total cost of this piece was around $50.00 (the original piece being purchased for $35.00 with the addition of paint and new knobs). We are LOVING it, it fits in with our kitchen so well and matches our DIY menu chalkboard that we have displayed in the living room. I am also delighted to report that even with one of baby P’s favorite activities being slamming doors into furniture, it hasn’t even gotten a scratch! 🙂
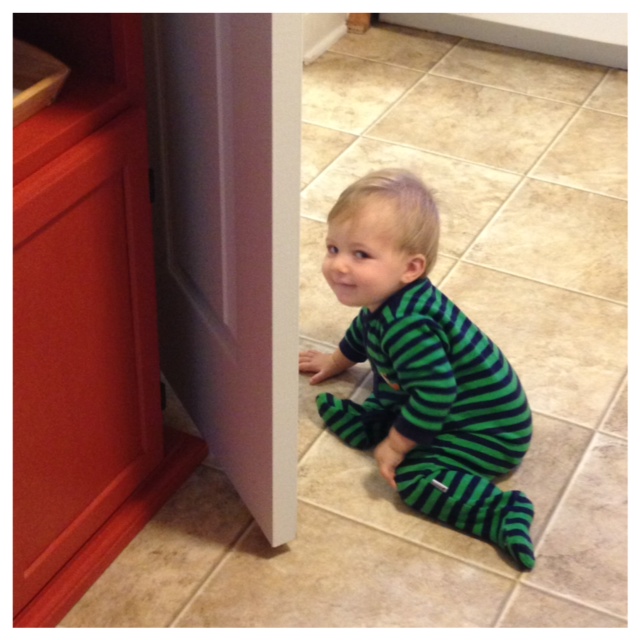
mischievous squishy baby knocking the door into the furniture, he knows he’s being bad look at that little face! haha

Pingback: DIY Rustic Picture Display | simplyschulze
Pingback: DIY Shutter Shelf | simplyschulze
Pingback: DIY Hand Painted Sign | simplyschulze
Pingback: DIY Mason Jar Bathroom Organizer | simplyschulze
Pingback: Baby Rocking Chair Re-Do – My first re-upholstery project! | simplyschulze
Pingback: DIY Hand Painted Coat Rack | simplyschulze
Pingback: Two-tone Side Table Re-do: Blizzard Project #1 | simplyschulze