“Where the Wild Things Are” Hand Painted Sign

wtwtasign

So I predict that this will be the first of many posts about baby P’s “Where the Wild Things Are” themed first birthday party. This particular project was part of the DIY “snowball effect” that resulted as my mind raced with DIY inspiration with each party decor addition, lol. While I was already spread way too thin trying to get everything done with for the party, I couldn’t resist adding one more little decor detail in the form of a cute little “we love you so” sign – especially because it cost me nothing but time to create! I used the same piece of wood (taken from my neighbor’s trash) that I used to create my DIY coat rack and my DIY Mason Jar Organizer and the same homemade chalk paint (made using “Stone Mason Grey” by Valspar) that I used when making my first DIY Hand Painted Sign for our laundry room/command center. Since I really liked the font I used for his invitation (called “Hello Goodbye” which I downloaded for free here from dafont.com) I used the same one for the sign and as for the silhouette of “Max” I found that here via Google images. For a full tutorial refer to my DIY Hand Painted Sign post for detailed step by step instructions to create your own sign!


IMG_0354

The sign as we displayed it with P’s guest book and favors.

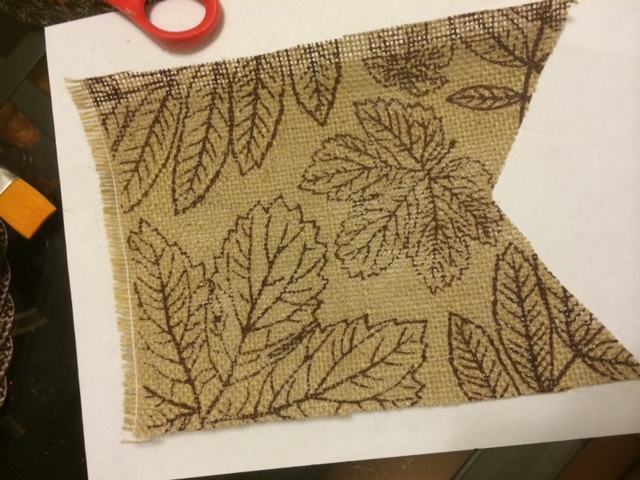
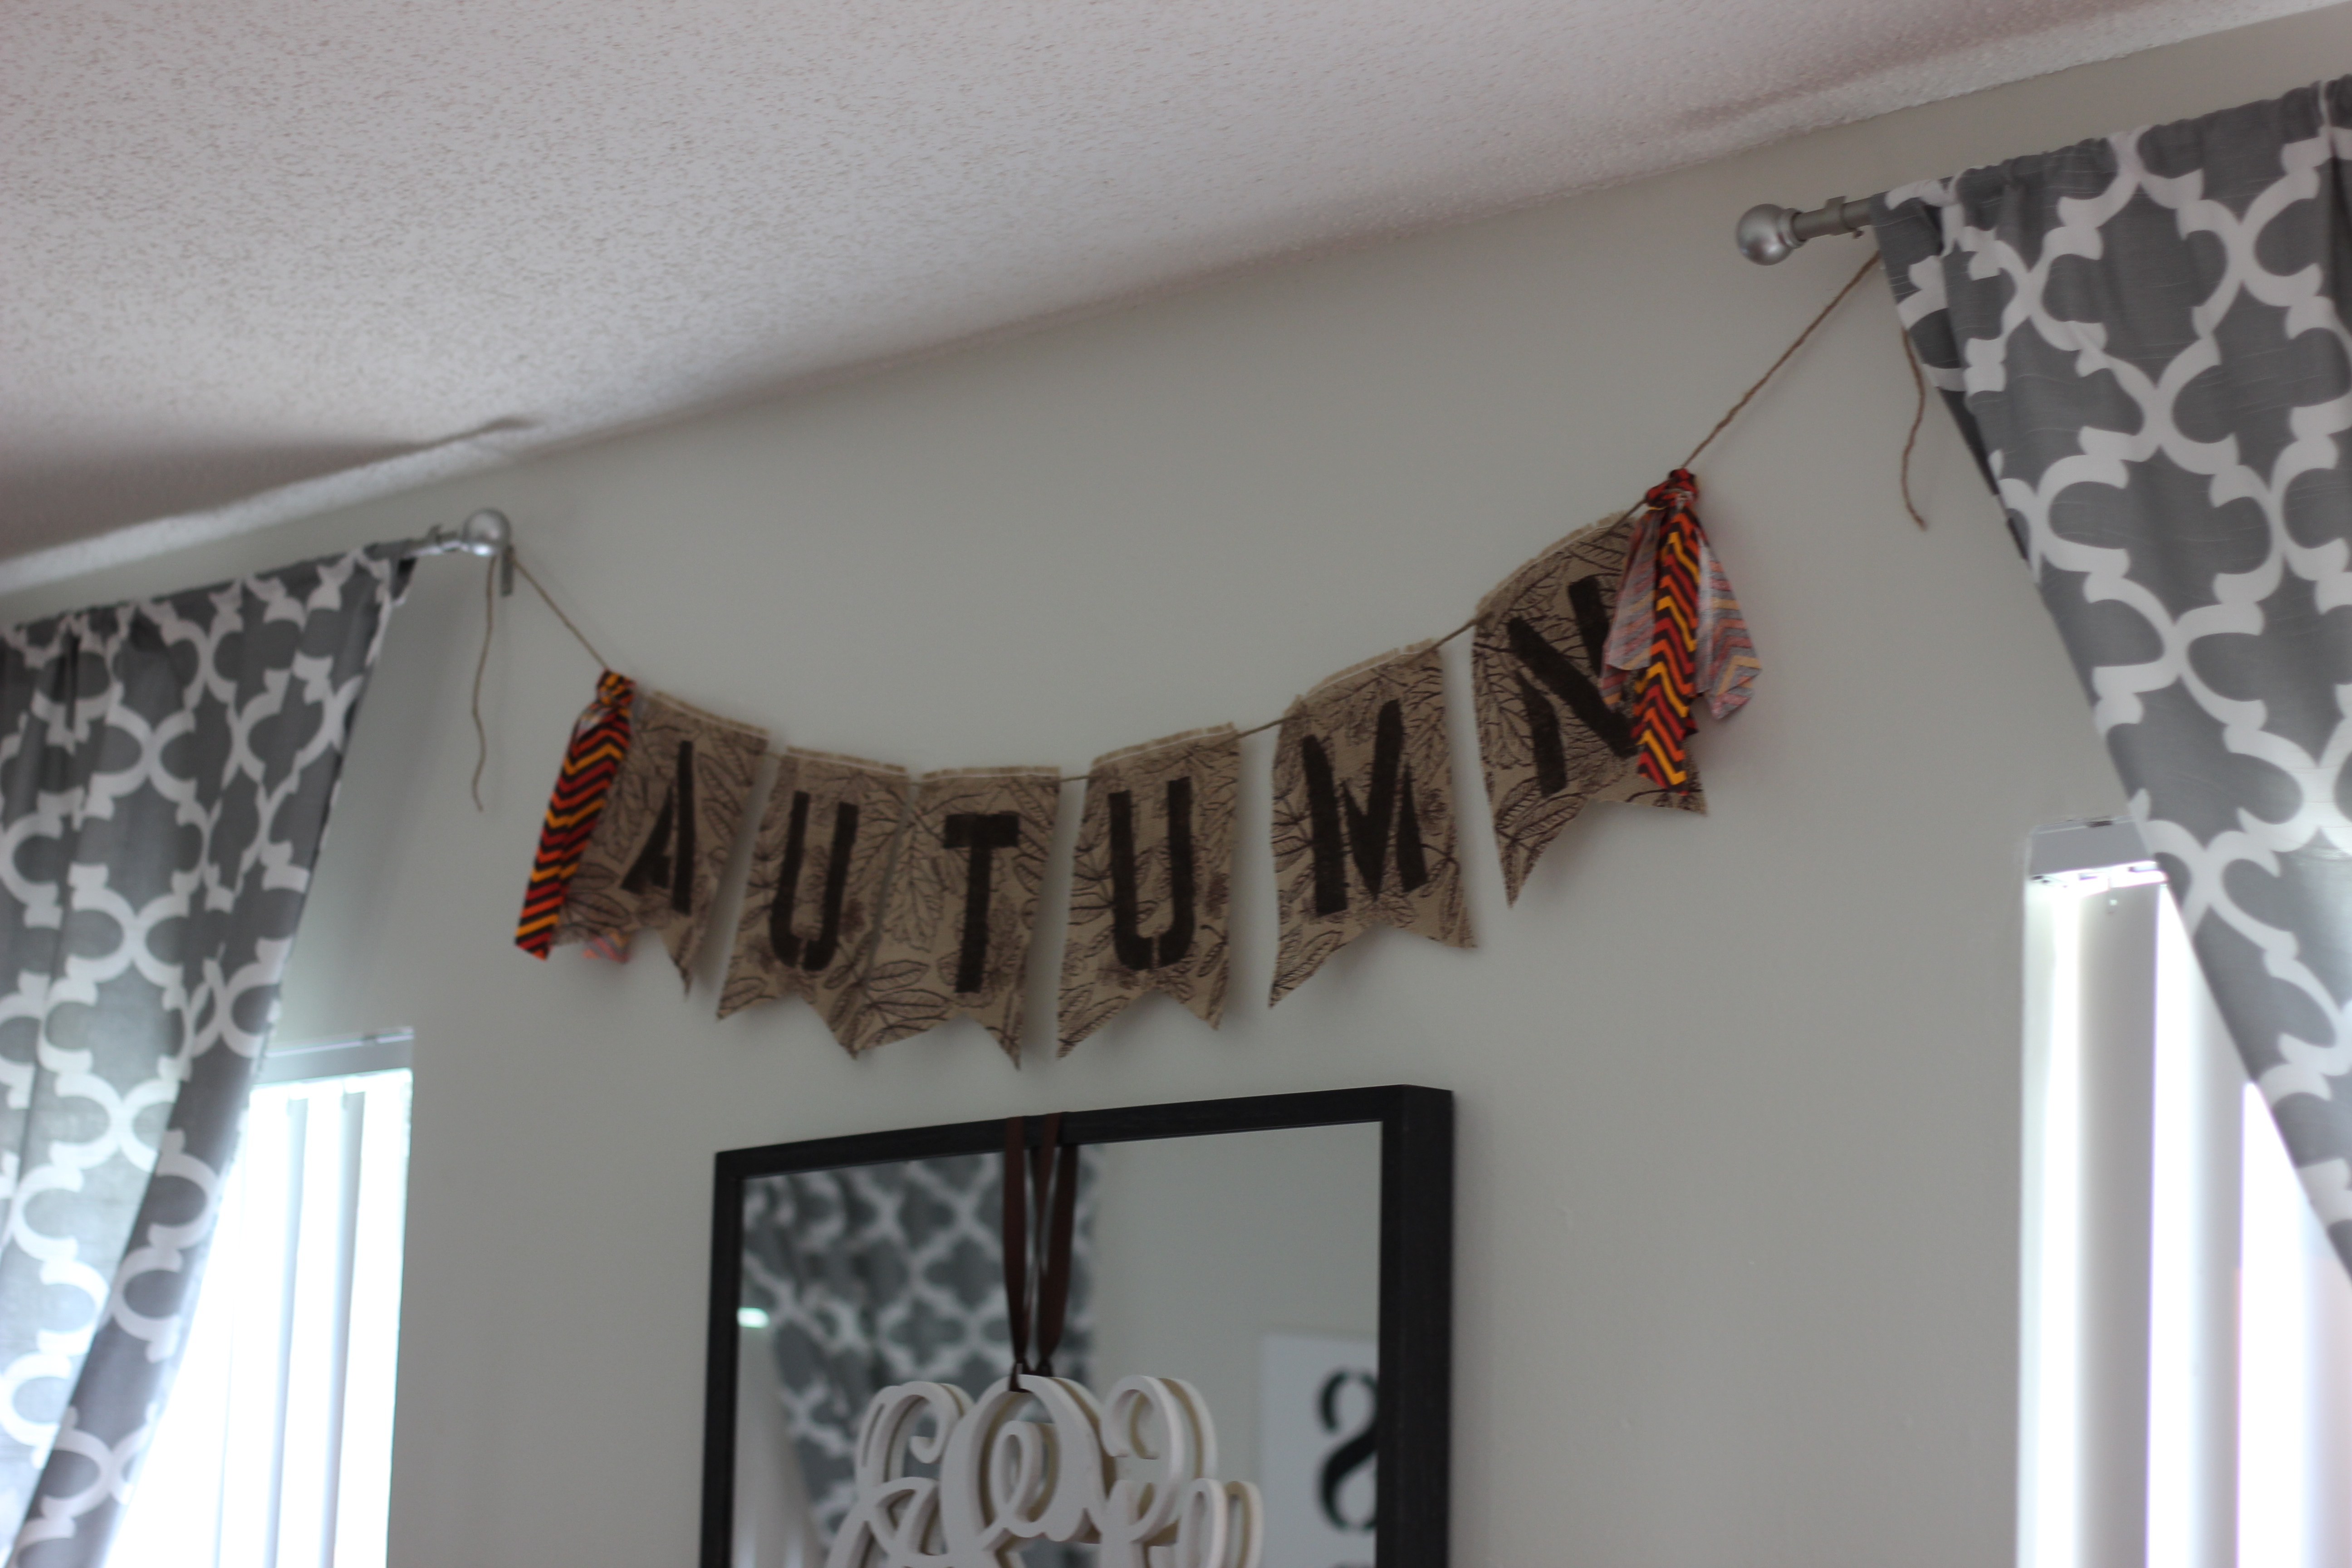
Interested in making a scrap fabric banner like the one pictured above? Check out my tutorial here!

DIY Hand Painted Coat Rack

Ever since I successfully created the hand-painted sign for our laundry room/command center I felt as though I’ve opened a Pandora’s box of DIY decor options, lol. The second I finished my sign my imagination ran wild with endless possibilities for … Continue reading

Rustic Burlap “Autumn” Pennant Banner

photo (8)

So as I’ve mentioned, last year I made a commitment to myself to keep up with my holiday and seasonal decor. As a kid my Mom always put a lot of time (that she didn’t have) and effort into decorating my childhood home for the holidays and I’d like to do the same for baby P and any other future children I may have. Since in my opinion it’s a tad early for Halloween decor (it still feels like summer!) I thought I’d get my decorating started with a few easy fall themed pieces that compliment our regular home decor. This pennant banner is super easy to create and is both fun and elegant and most importantly – cheap! Mine cost about $3.00 to create. Happy fall, now go make a cute pennant banner to celebrate 🙂

pennantbur

This project was inspired by my DIY Rustic Pennant Banners that I use for party decor, follow this link to see how you can jazz up your next event!

My fall version!

My fall version!

SUPPLIES:

  • Burlap – the amount you need depends on what you would like your banner to say and how many letters it will contain, but you will likely need less than 1/4 of yard which will cost you about $1.00-$2.00.
  • Twine
  • Brown acrylic paint
  • Small paint brush
  • Large stencils – I used my reusable stencils that I used to create my DIY Rustic Burlap Pennant Banners, they are available at Staples.
  • scrap fabric (optional)
  • Scissors
  • Scrap paper

INSTRUCTIONS:

Step 1: Begin by creating a pattern out of scrap paper (I just used a piece of computer paper out of my recycling bin) in whatever shape you would like your pennants to be. I chose a square shape with an inverted triangle at the bottom which measured about 7″ wide by 10″ long.

I made sure that my letter fit atop the pattern.

I made sure that my letter fit atop the pattern.

Step 2: Once you have your pattern, use it as a guide and use a marker to trace as many as you need onto the back of your burlap then cut them out.

photo 2 (4)photo 3 (4)

Step 3: After all of your pieces have been cut. Use your stencils and acrylic paint to apply your letters to the tops of the burlap using your small paint brush. Use a generous amount of paint. Set aside to dry.

Step 4: Once your letters have dried use your scissors to poke a small hole in either end of each of the tops of the pennants through which you will thread a piece of twine. At this point if you wish you can dab some mod podge on the ends of your pennants to keep them from fraying but since mine was going to be up high out of tiny finger reach (lol) I didn’t bother.

Step 5 (optional): If you want to add little fabric tassels to the ends to jazz it up use the same method I used in creating my Scrap Fabric Banner but instead with a few pieces knotted together.

IMG_0168 IMG_0167