So before I get too ahead of myself with incessant posts about baby P’s first birthday and DIY Halloween decor I just wanted to share this little tid bit of my fall decor that I whipped up using things I always have on hand – wine bottles and scrap fabric 🙂 Now as I do on at least one day most weeks, I found myself in the fabric store buying the fall themed burlap for my DIY Autumn Pennant Banner and happened to walk past their display of little seasonal over-priced chochkies (is that how you spell that word? lol) and saw a cute little decorated wine bottle. As I do with most of the fabric store ready-made decor I passed since I was not about to pay $12.99 for a bottle (a small one at that, if it had actually contained wine at any point I feel bad for the person who emptied it – they got jipped! lol) wrapped in twine, however I did snap a picture and make a mental must-DIY-that note.
Before I get to the tutorial I think it’s worth mentioning that as I fulfill my holiday decorating goal of keeping my home decor themed with each holiday, I’m realizing the fact that Halloween falls right in the middle of the start of fall and Thanksgiving really messes with decor in that I came up with a whole bunch of autumn-y type ideas for our home only to remember that I would have to put up Halloween pieces and then pull the fall stuff out again for the whole harvest/autumn theme that goes along with Thanksgiving. Super complicated stuff this decorating business is, lol! Anyway, before I figured out that I would wind up in a decorating pickle, I decided to re-create the little wine bottle craft that I saw in the fabric store the week before only I would go a step further and create a set of four! Two things I love about this project: first, it is super easy and cheap to create and while I know wine isn’t free but lets be real, wine bottles are plentiful at the Schulze home, lol. Second, since there are four bottles and the embellishments are interchangeable I can easily swap out the wording for any holiday for instance, “noel” for Christmas, “love” for Valentine’s Day, “booo” for Halloween and so on. This can be made with any scrap fabric if you have a particular color scheme in mind or want it to fit the theme of a particular room instead of a holiday that would work too!

my inspiration!
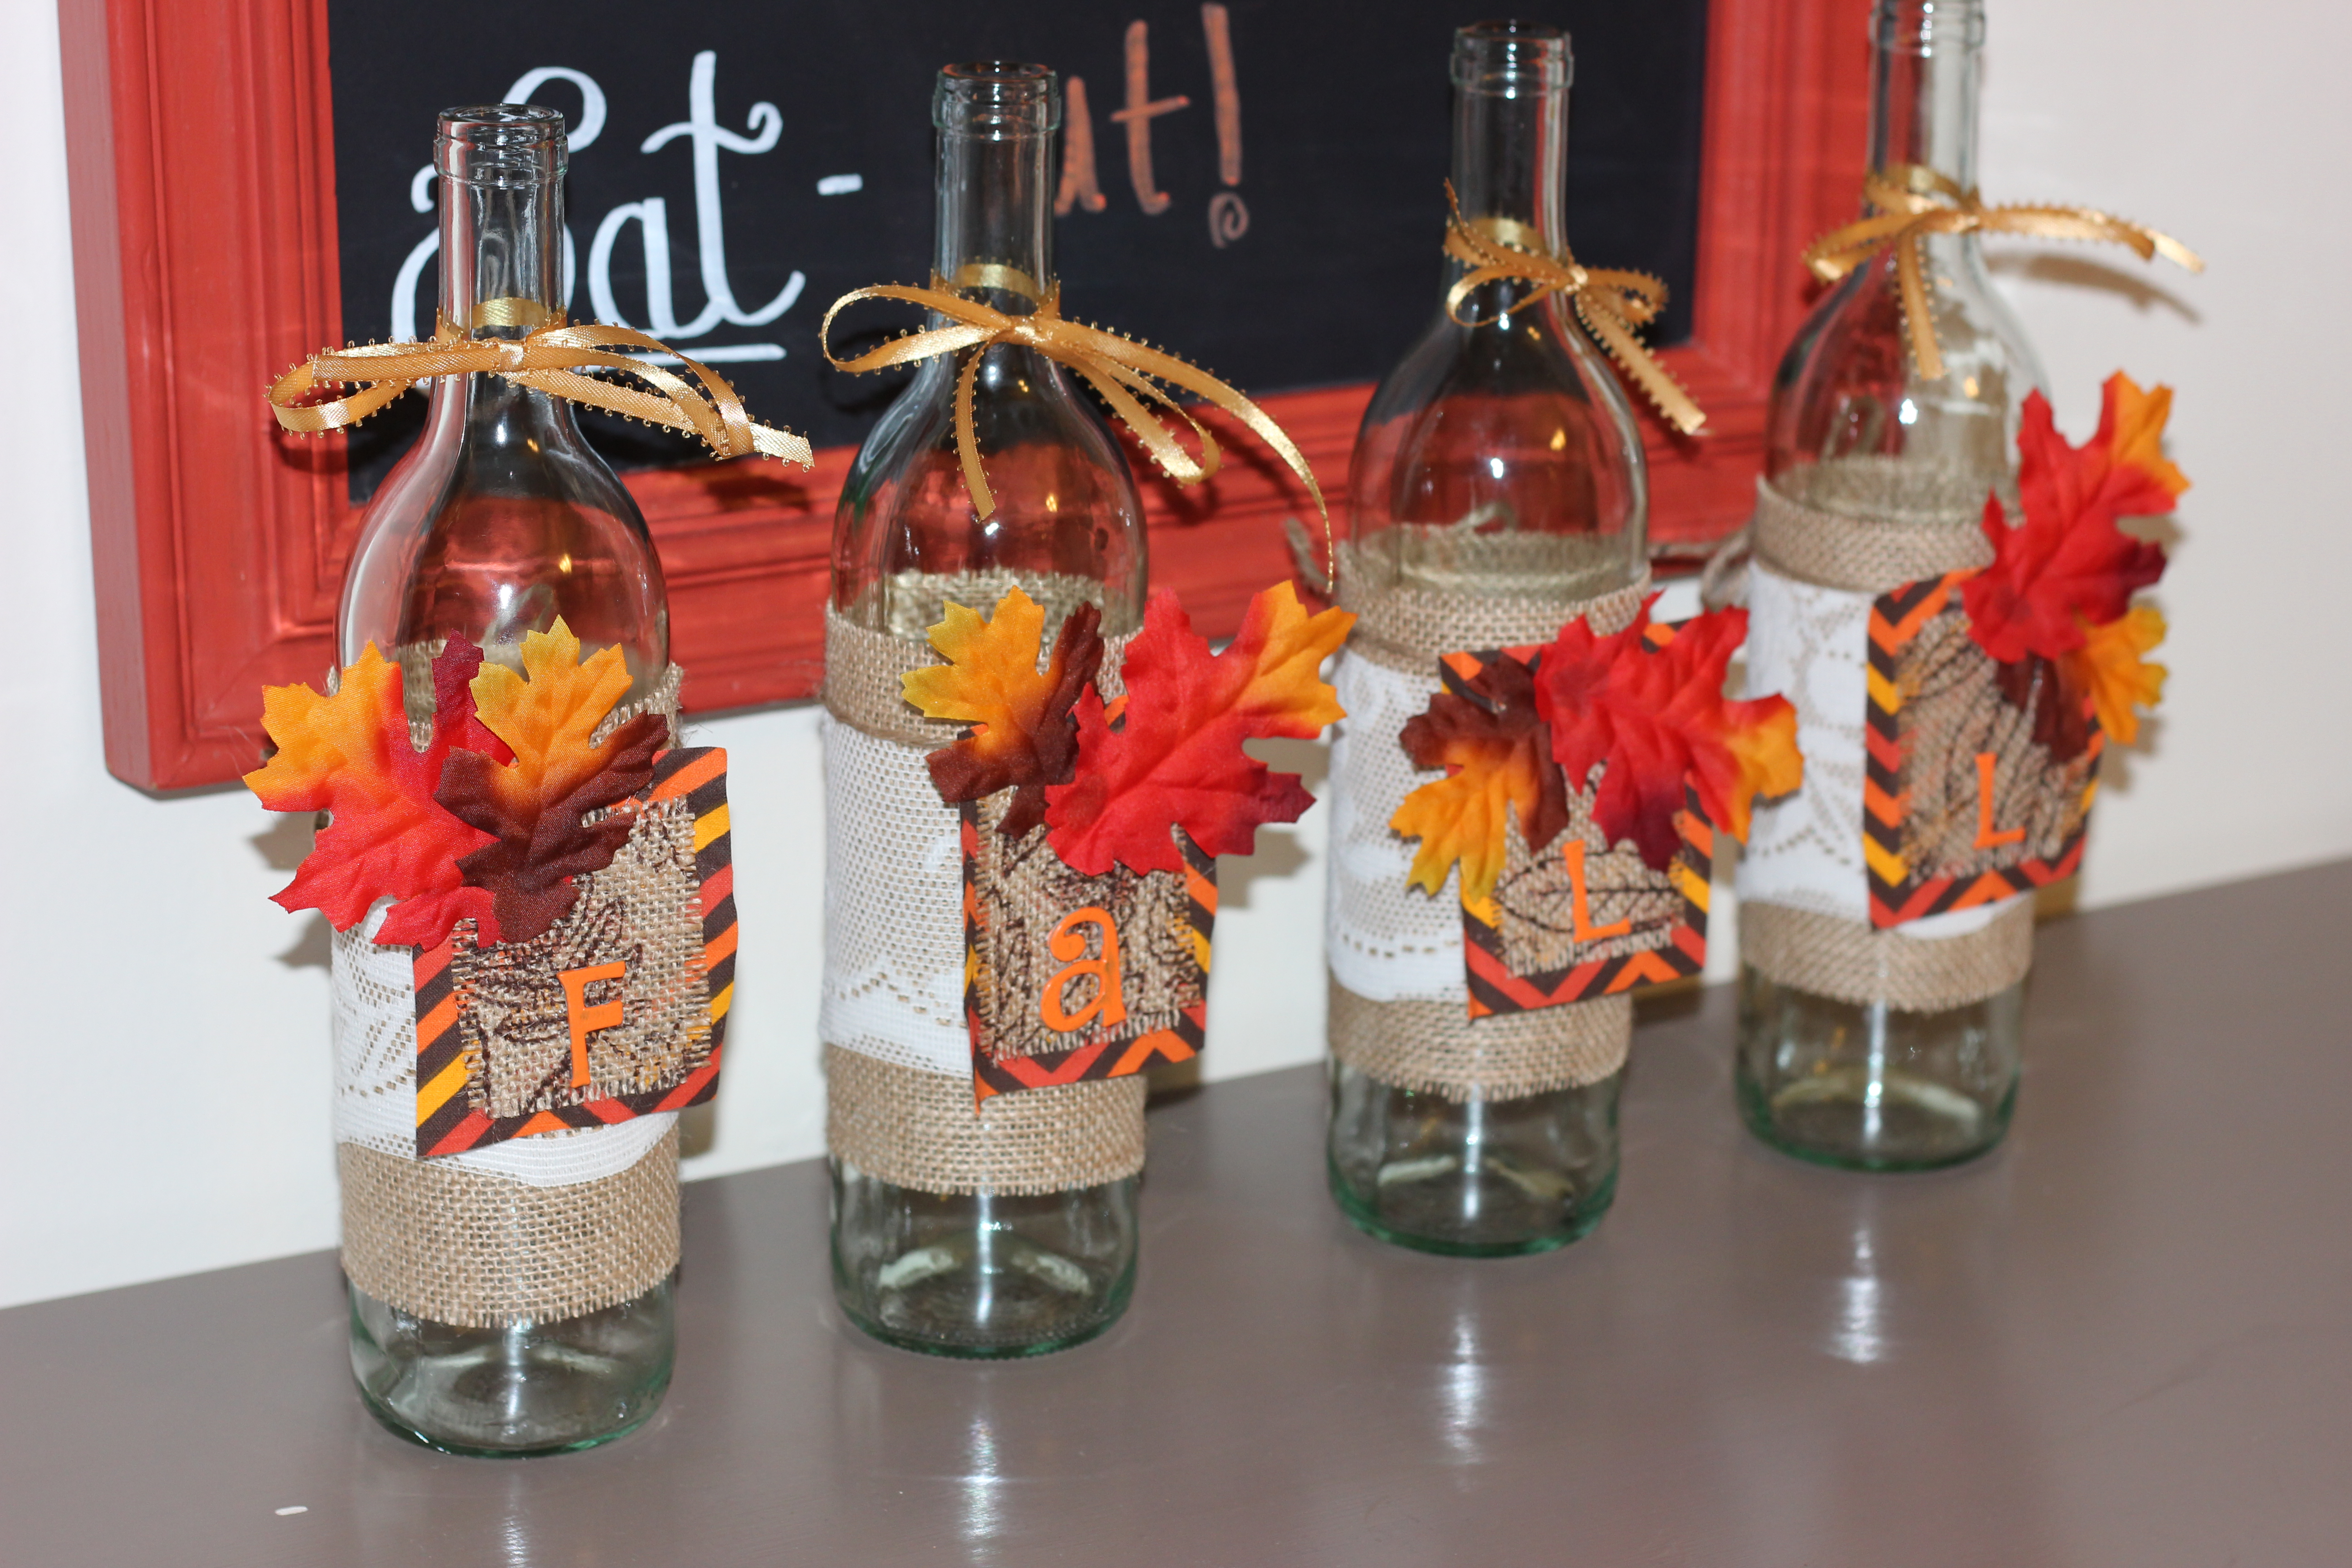
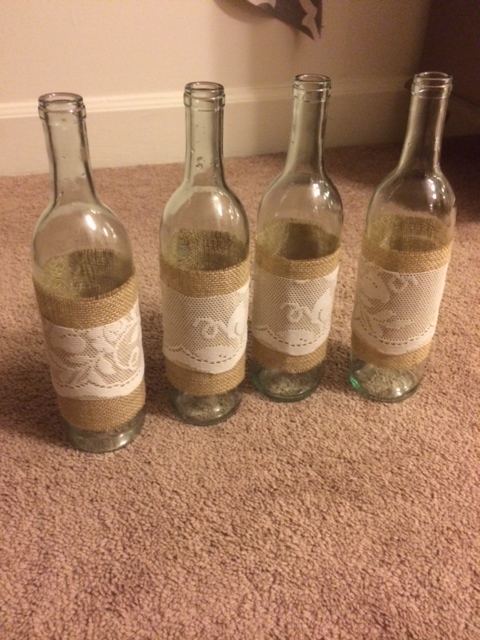
my version 🙂
SUPPLIES
*this supply list is for my specific creation, any scrap fabric combinations can be used!
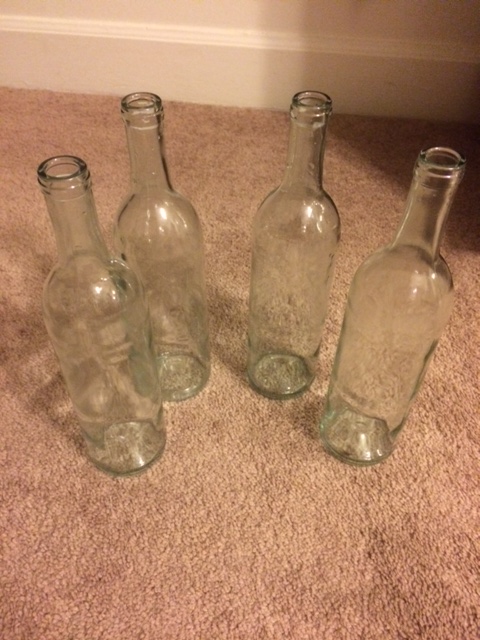
- 4 wine bottles, labels removed
- scrap burlap (plain and printed)
- scrap lace
- scrap fall print fabric
- twine
- gold ribbon
- faux fall leaves
- crafting letters or stencils
- orange acrylic paint
- hot glue/glue gun
DIRECTIONS
Step 1: I began by removing the labels from my wine bottles by soaking them in some warm soapy water then scrubbing off with a sponge. Since I drink relatively cheap wine the labels remove pretty easily but if yours are a little more stubborn Goo-Gone will take them right off.
Step 2: I then cut my strips of plain burlap and lace and secured them around each of the wine bottles using a few dots of hot glue.


my lace was actually cut from a pair of curtains that I found at a thrift store for $0.50!
Step 3: Next I prepared my “fall” portion of the decor by cutting four small squares of fall themed fabric and then four smaller squares of printed burlap to be glued atop the first squares. Next took my faux fall leaves (purchased at Walmart for $0.98 for a package of about 12!) and used a dot of hot glue to attach two to each fabric square.

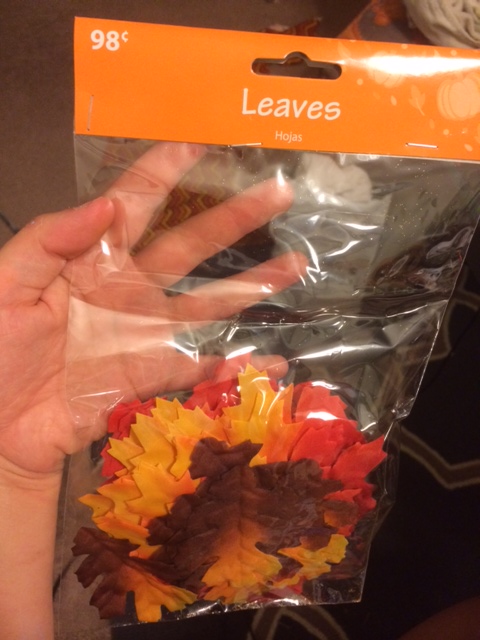
98 cent Walmart leaves!
Step 4: At this point I took my craft letters left over from another project and painted them orange (they were originally brown but I felt that the orange stuck out better, at this point you can also stencil the wording directly onto your fabric squares using acrylic paint). Once they had dried I glued each to the front of my fabric squares. To attach the square to the bottles I cut two small holes in the top of each of the fabric piece and ran a piece of twine through each and tied them around the body of the wine bottles. Finally I tied a decorative ribbon bow atop each of the bottle necks – done!

finished product 🙂