As much as I love to craft and create, the easier the project the better! I love chalkboards and had been searching for one to display in our kitchen as a menu/note board for quite some time. Problem was, anything I was finding on Etsy or at local homegoods shops like Marshalls was way too expensive for my decorating budget. After hopping on Pinterest and seeing what my DIY options were, I found that most people were using either old frames or mirrors and inserting a piece of plywood painted with chalk paint or simply painting over the existing mirror with chalk paint. I knew this would be perfect since I had two dresser mirrors left over from my repurposed entertainment center, good thing I resisted my husband’s pleas to take them to the dump every weekend, my subconscious must have known I would be able to reuse them somehow, haha! I began this project while snow-bound during our “snow storm” aka 3″ of snow which is nothing to us northerners but apparently here in the south it was enough to get my hubby a week off of work, lol. After inspecting the mirror I was going to use I decided to go with adding a piece of chalk-painted plywood instead of painting over the mirror since the existing piece was super heavy and I have a phobia of hanging super heavy items on the wall with a soon-to-be-crawling baby in the house. I removed the mirror from the piece (very carefully!) and disposed of it, left with only the wood frame I prepped it to be painted (see my tutorial on how to paint wooden furniture here). After finally getting out of the house (4 days inside is NOT fun lol), I headed to Lowes to pick up my sample size paint (I used Farmer’s Market by Valspar to match our dining chairs), chalk paint and plywood. Here’s where the “no chalk paint required” part comes in, the craft gods must have been smiling upon me that day because Lowe’s saw was broken so they were going to be unable to cut my plywood to size, so I decided to go to Home Depot instead. There as I was picking out my piece of plywood in the lumber aisle I found that they had pieces of plywood that were ALREADY CHALKBOARDS, WHAAAAAAAT??!!! I was so thrilled! This was amazing since it eliminated quite a few steps in making my chalkboard, now all I would have to do was paint my frame and glue the board in place. I even saved some coin since the chalkboard only cost about $9.00, and the chalk paint alone would have cost $9.00 in addition to whatever the plywood would have cost me, I still have quite a few pieces left over for future chalkboard projects. This was a fun and easy project and is great for birthday boards, menu boards, you name it! Here is my tutorial:
YOU WILL NEED:
- Mirror or empty frame
- Chalkboard cut to size (available at Home Depot here, they cut it for me for free)
- Latex Paint or spray paint (if repainting frame)
- Black Foam Brushes (if repainting frame using latex paint)
- All Purpose Crafting or Wood Glue (preferably something that is fast-bonding, but as long as it dries clear and works on wood, you’re good to go).
HOW I DID IT:
- If you are using an empty frame, go right to step 2. If you are using an old mirror, CAREFULLY remove the mirror from the frame. Mine was not secured with any adhesive so it came out easily. I do not recommend busting up the mirror, I’m no health professional but I do know that nobody wants a DIY project to land them with a hospital bill, which WILL happen if you cut yourself with a piece of mirror glass or drop a heavy mirror on your foot. You have been warned lol.
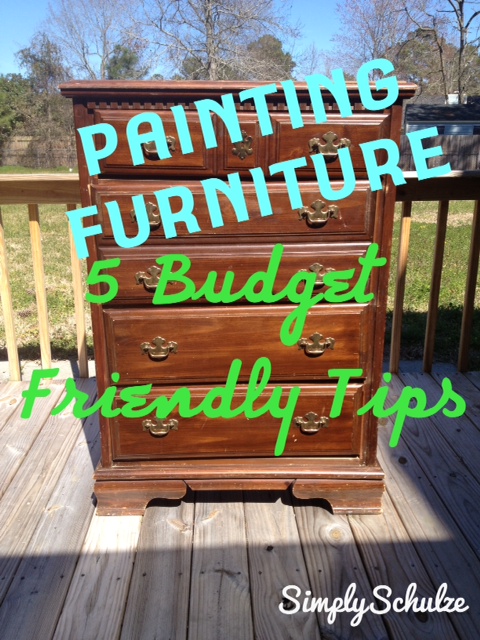
- If your frame is wood you can follow my steps for repainting wooden furniture using latex paint here . If your frame is metal or even if it is wood, you can hit it with spray paint if you’re looking to save time. My frame was very think and ornate so I painted it using my latex paint method, but since the piece wasn’t going to see much action I cut down on the dry time allowing only about 6 hours between coats, then using 2 coats of polyacrylic as a top coat.
- Once your mirror is painted and dried, you are ready to glue in your chalkboard. Apply a line of glue to the inside of your frame where the board will sit, then insert your board, pressing down hard (I used a tackier glue so that it wasn’t running all over the place and I made sure that after pressing it in I turned it over to wipe up any glue that had gooped out onto the front). Allow the glue to dry for the recommended time and you are done! Check out my before and afters below.

Here is my before and after of the mirror. You can see from the before pic why my husband wanted to throw them out, what the heck were we ever gonna do with these things? lol I didn’t include the cost of the paint because technically I purchased it to use on a bigger project that I am working on. The color is “Farmer’s Market” by Valspar. COST: ~$9.00

Since I had an extra mirror and I’m an awesome sibling haha, I made one for my sister’s apartment to match her jungle-y printed chairs. I used a sample size of “Painted Parrot” by Valspar. COST: ~$3.98